
It seems like the weather is always a theme in Montreal: crazy winters, crazy summers and no spring. After about two weeks of enjoyable temperatures, the mercury has shot up to the mid thirties by late morning and the sub-tropical humidity makes it feel like it is well over forty (that is a Floridian 105 for those south of the border). Seems a like the right time to make a chiller. But not for me, not for the cold-brew or the iced coffee – for the welder!
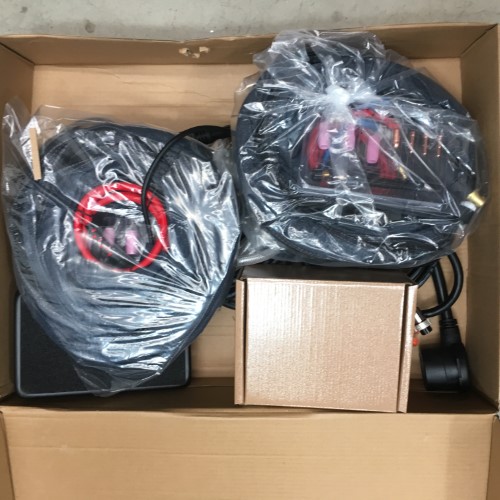
The new production welder came with two torches: one air-cooled for work below 120 amps and a second water-cooled version in the same form-factor for up to 250 amperes.
It is pretty simple really: cold water goes in one hose, flows through the torch nozzle picking up heat as it goes and comes back on another line. Now, I could have just hooked the cold side up to the tap and dumped the returning hot water down the drain, but a) that would be wasteful, b) there was neither a convenient drain, nor a supply line in the vicinity of the welder and c), if you have been following since this project started, you will know that that just isn’t how we roll :). Besides, it turns out that welding chillers have rather a lot in common with espresso machines. Wait, what?
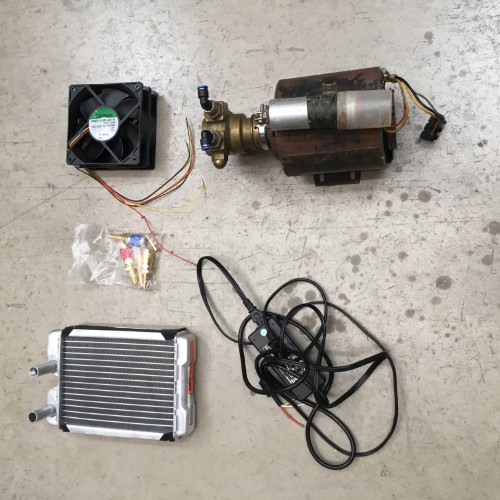
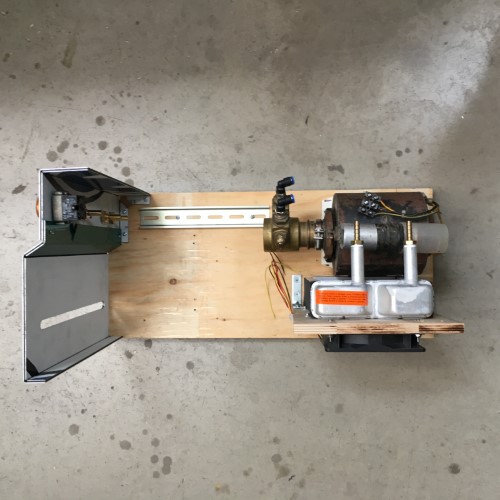
Above are the essential components of a welding chiller: a heater core from a car, some specialized quick-connectors, a couple of computer fans plus a power supply and a motor and pump from a coffee machine that I just happened to have on the shelf. Chillers, also like espresso machines, are somewhat specialized pieces of gear and, despite their relative simplicity, tend to have a rather hefty price tag. Total cost of the build so far (for the connectors and the heater core): about $45 Canadian.
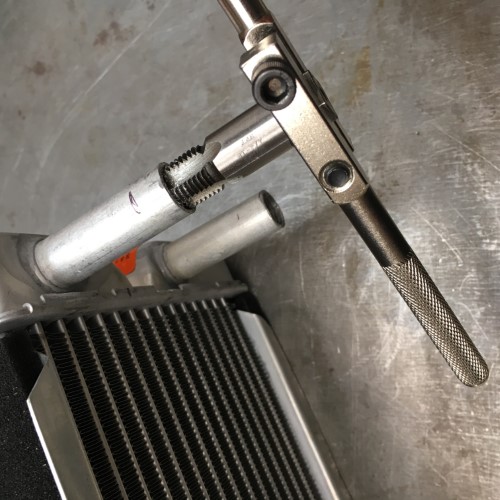
The first job was to cut off the crimped ends of the inlet and outlet on the heater core and to tap the tubes. I’m not sure what this thing is made of, possibly an amalgamation of aluminum dust and recycled chewing gum, but they actually took enough of a thread to stay leak-free at the very low pressures involved here. Hmm – might not be a good idea to run the pump with the valves closed.
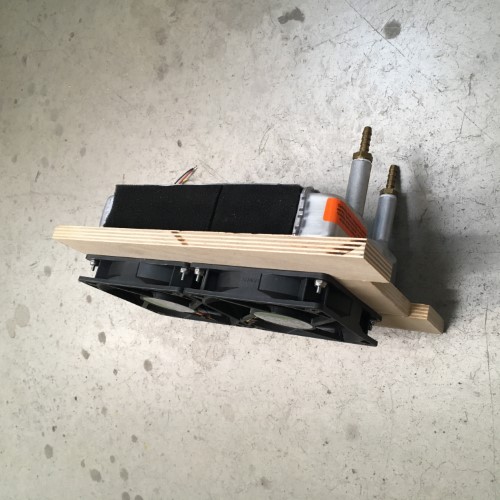
I mounted the fans on a simple wooden flange in an attempt to increase the air through-put and fixed the heater core (aka a radiator) to the opposite side.
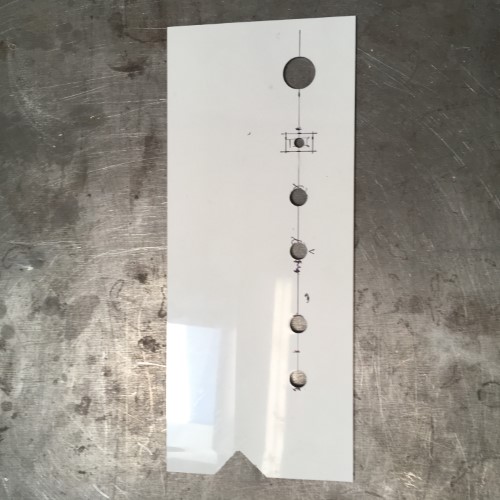
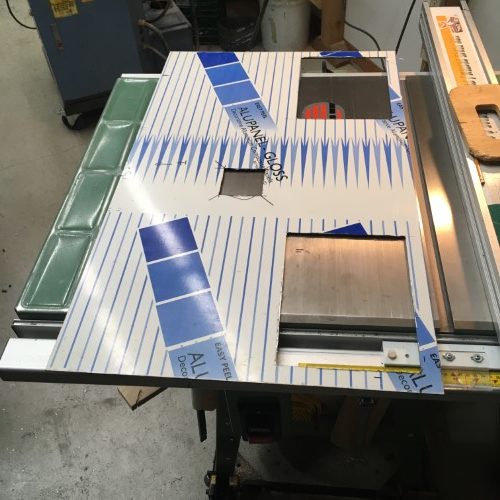
As seems to be case with most projects, it is actually the box that is the most work. To speed things up, I chose a material called Alupanel which is a laminate sandwich of plastic inside two thin sheets of aluminum. Because it is mostly plastic, it is very easy to cut, but the ductile aluminum skin allows it to take and maintain a fold. The front panel cutouts:
The flip side is scored on the table saw with about a 1/4″ of saw kerf .
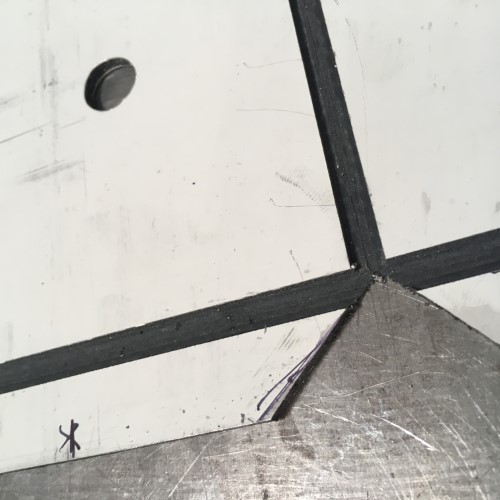
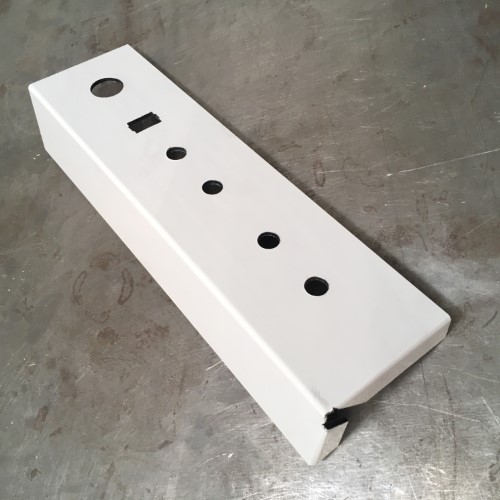
Thirty seconds afterwards, the part is folded up without any tools.
A second panel is cut for the rest of the front and the pump and radiator assembly are mounted on a plywood base board.
The remaining work is really just about hooking everything up. I used a bit of DIN rail that does double duty as cable-guide and structure to connect the front and back panels. The “reservoir” is an 8L plastic jug that the distilled water I bought to fill the machine came in – I was researching 8L containers for camping etc., but then I thought: wait a minute! The plumbing connections are a first draft in this photo. The pump is on the “cold” side of the circuit, so pretty much any kind of material will do for the piping runs – I used 6 and 8mm pneumatic fittings and hose because they are convenient and were on hand. The return side will probably be above the rated temperatures for pneumatic hose, so those are made from slightly sterner stuff – fiber-reinforced vinyl I think.
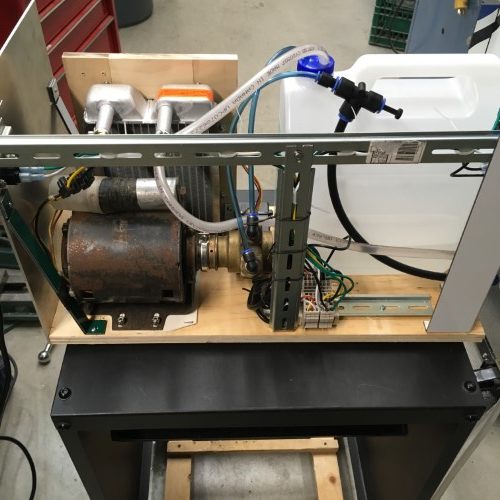
The hot water return runs through the radiator and dumps back into the top of the reservoir (through a hole in the cap – why make things complicated?).
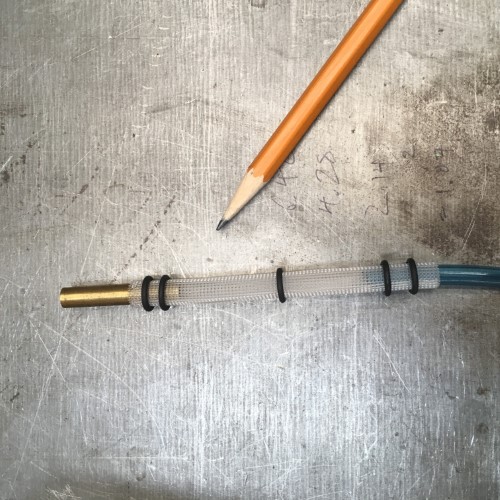
The supply side, specifically the tiny channels inside the torch, is protected with a simple filter made from a scrap of fine plastic mesh and a few o-rings.
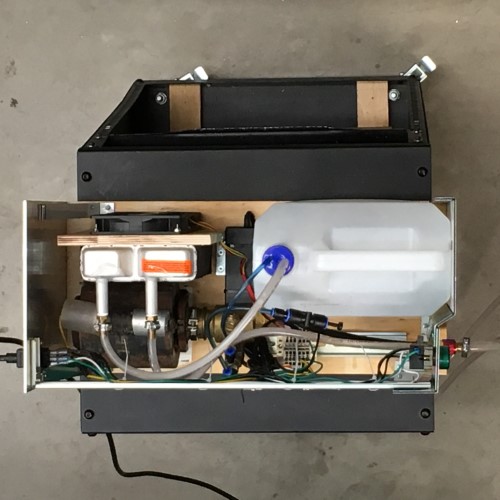
The cover is cut from another piece of Alupanel and, rather than drilling a million holes by hand for air circulation, I riveted some stainless perforated sheet metal (surplace drip trays!) into cutouts on opposite sides.
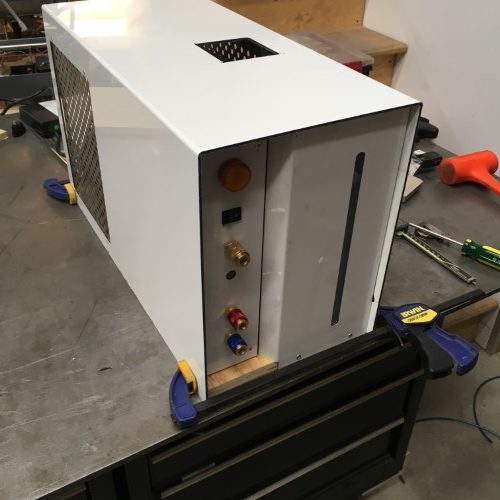
The tall, rounded slot on the front panel is a sight-gauge for checking the level of the water in the reservoir. The hole on the top, which was supposed to be round but isn’t because my father borrowed the hole-saw kit, is for topping it up with more distilled water. Almost everything here was made with surplus parts and materials (even the Alupanel was actually an old sign), and while it isn’t perhaps the prettiest thing ever and the case took way longer to make than it should have, it might possibly win the “oh I could make one of those” prize for diy/new cost ratio. Actual cash outlay: (quick connectors, the heater core and a couple of plumbing fittings) about $75 CAD (maybe $350 total if you had to buy all the parts). A quick check online for a brand-name version of a similar device: $2600. Now we’re chillin.
1 – image: National Geographic