
TSB – 05 Metal Cam Guide Installation
Ver 1.0
2024 01 21
Summary
Installation of metal Cam Guides on the Lapera Group
Tools and parts required:
- 5mm Hex Key
- Phillips #1 Screwdriver
- Dow 111 food-safe silicone grease
- 2 x Cam Guides
- 2 x Cam Guide Shims

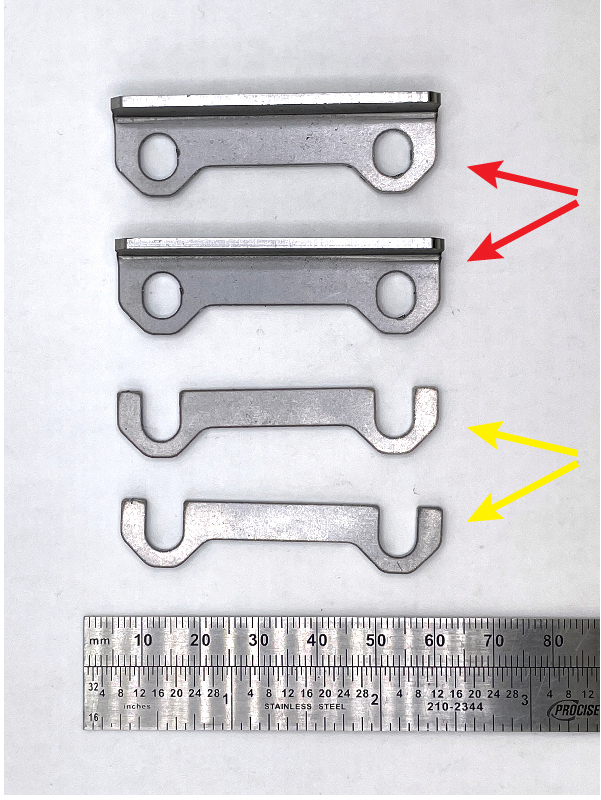
⦿ Cam Guides
⦿ Cam Guide Shims
Step 1
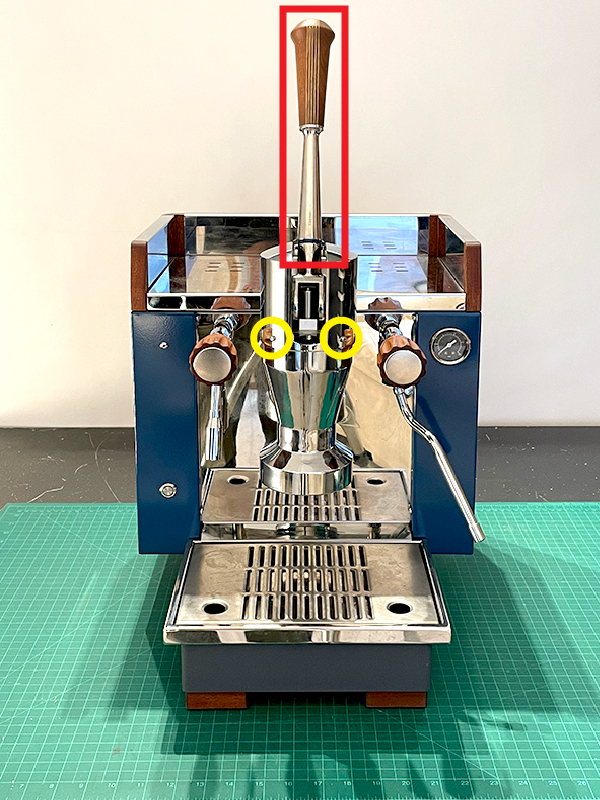
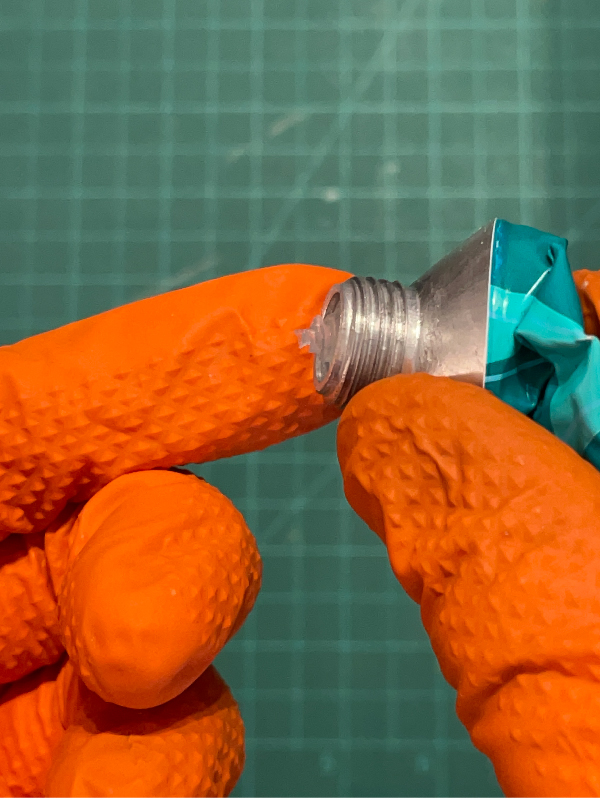
⦿ Unscrew and remove lever
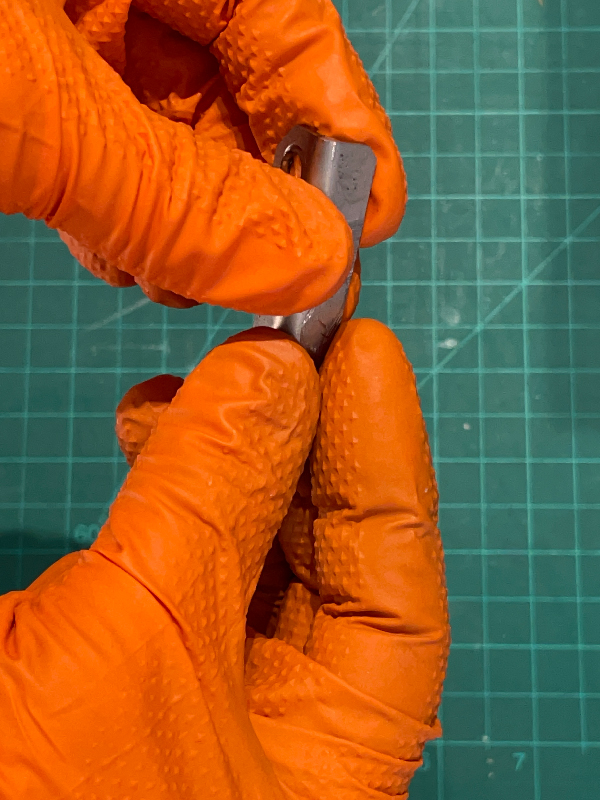
⦿ Remove 2 x M3 screws
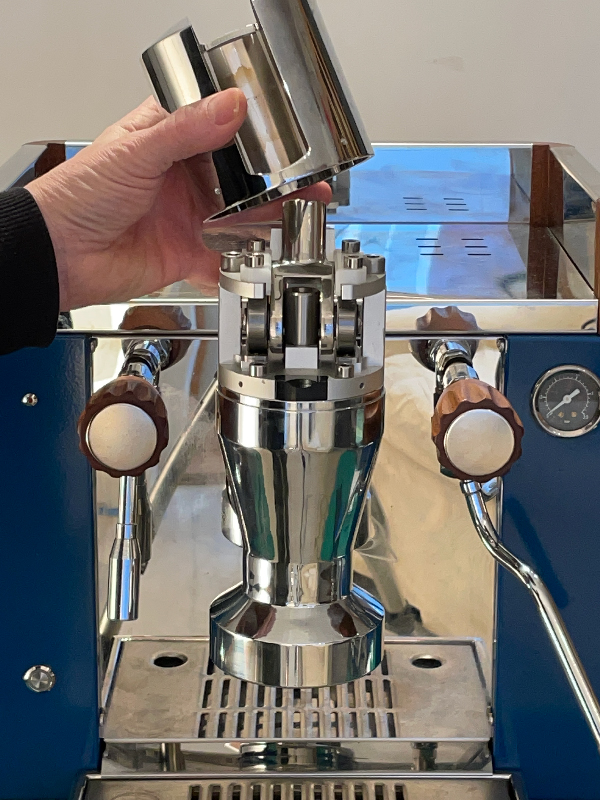
⦿ Remove Group Cap
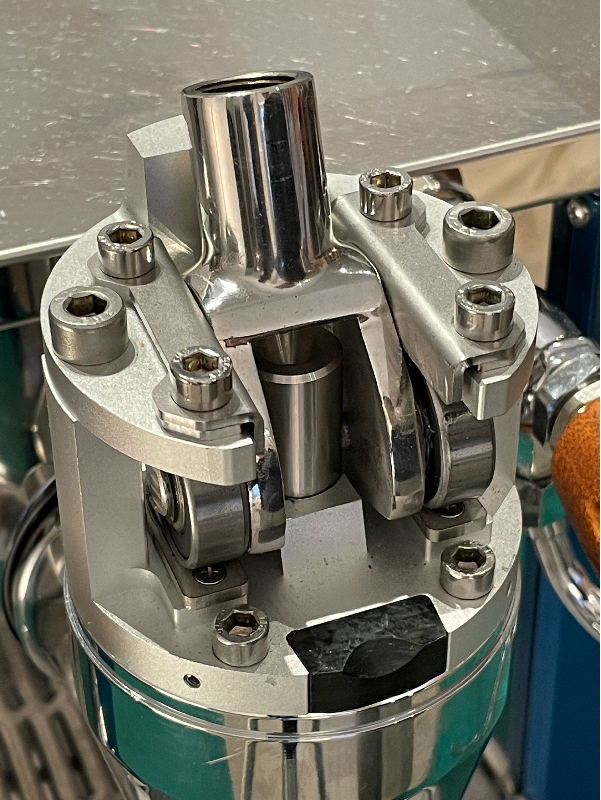
Step 2
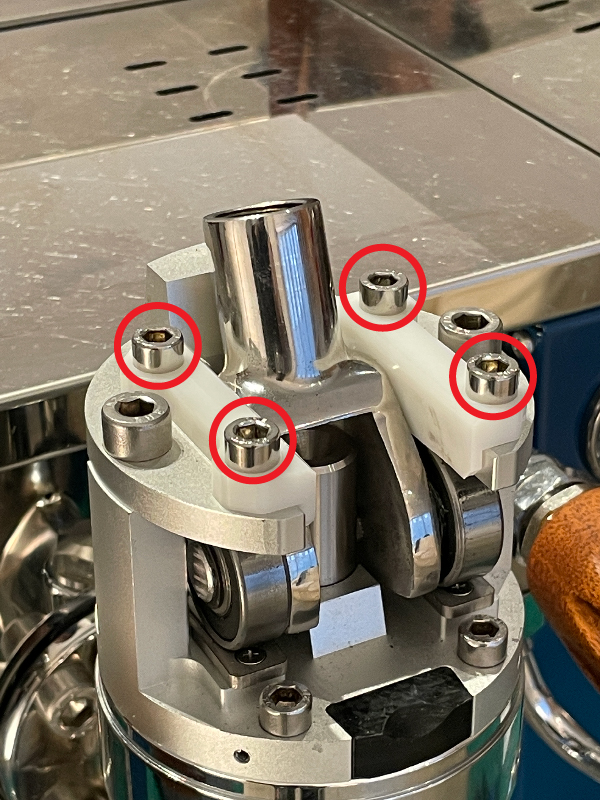
⦿ Remove 4 x M6 screws
Step 3
⦿ Apply a light coating of grease to the Cam Guides and Shims
Step 4
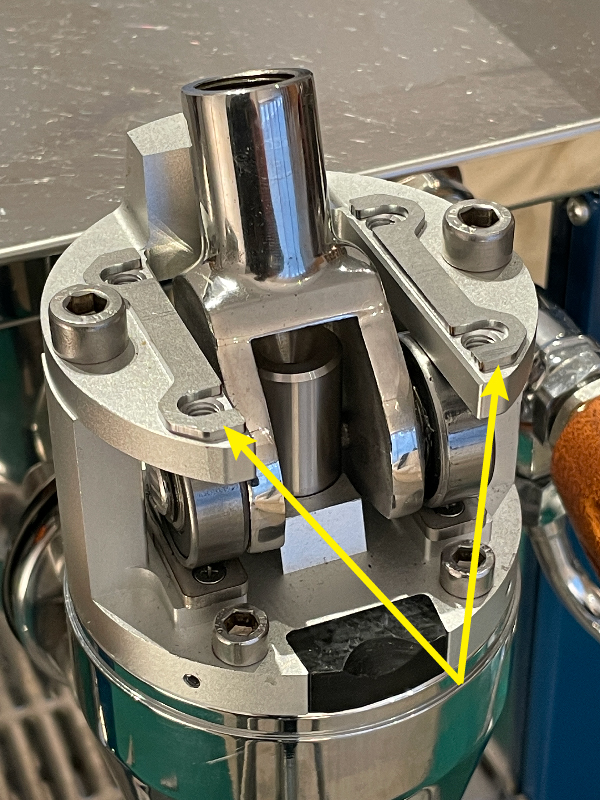
⦿ Place the Cam Guide Shims as shown
Step 5
⦿ Place the Cam Guides on top of the Shims as shown
Step 6
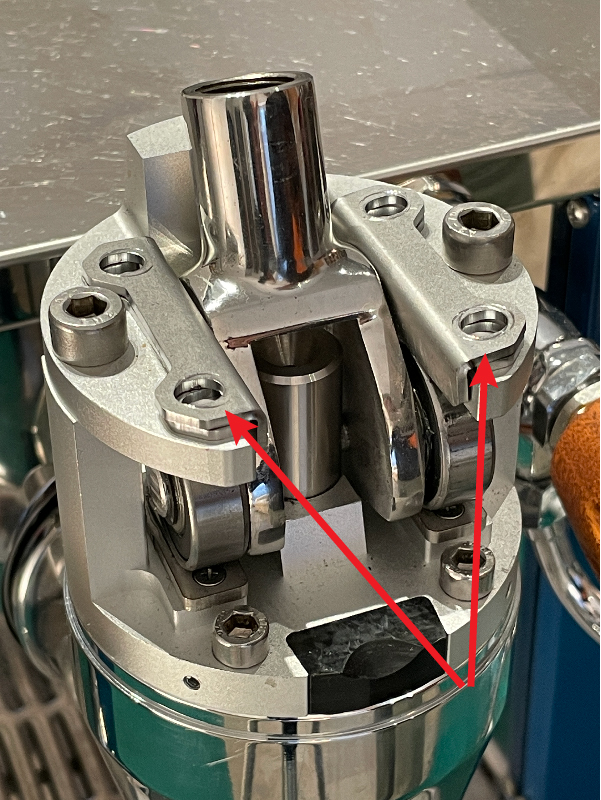
⦿ Install 4 x M6 screws finger tight
Step 7
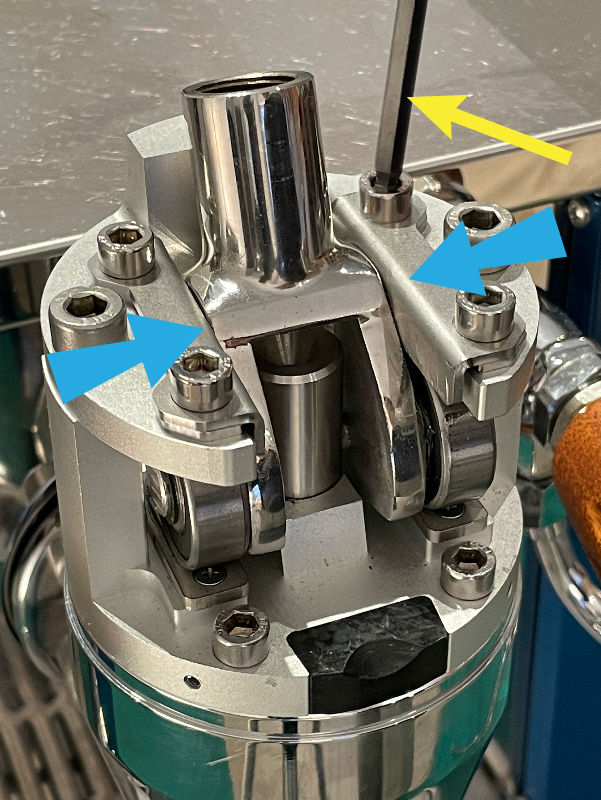
⦿ Push the Cam Guides inwards so that they are flush with the Cam
⦿ Tighten the 4 x M6 screws enough to hold the Guides in place
Step 8
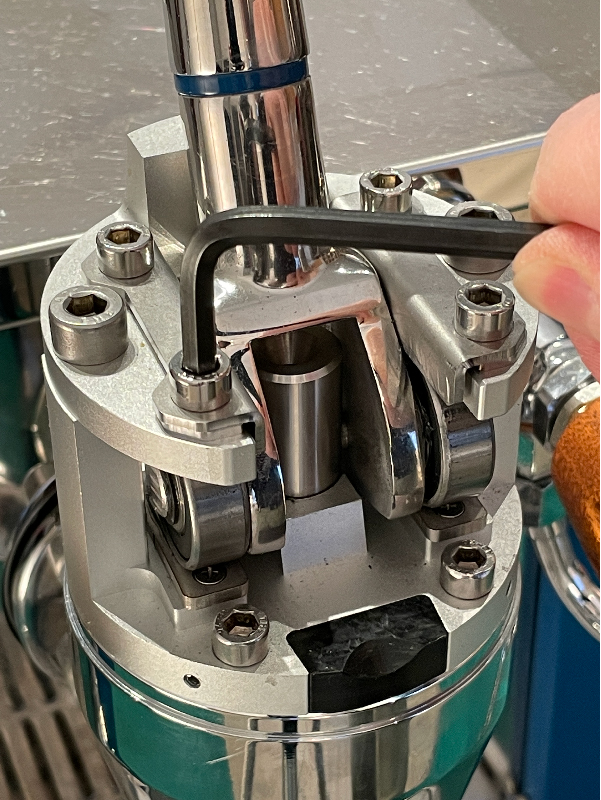
⦿ Tighten 4 x M6 screws firmly (Torque to 16Nm). Check the fit with the Cam during operation and readjust if necessary.