
TSB – 09 Group Sleeve
Ver 1.0
2024 05 10
Introduction
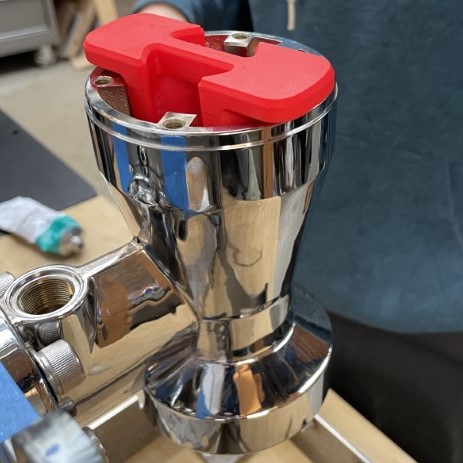
Removal and installation of the Group Sleeve – DS3 Lapera Group (3rd generation)
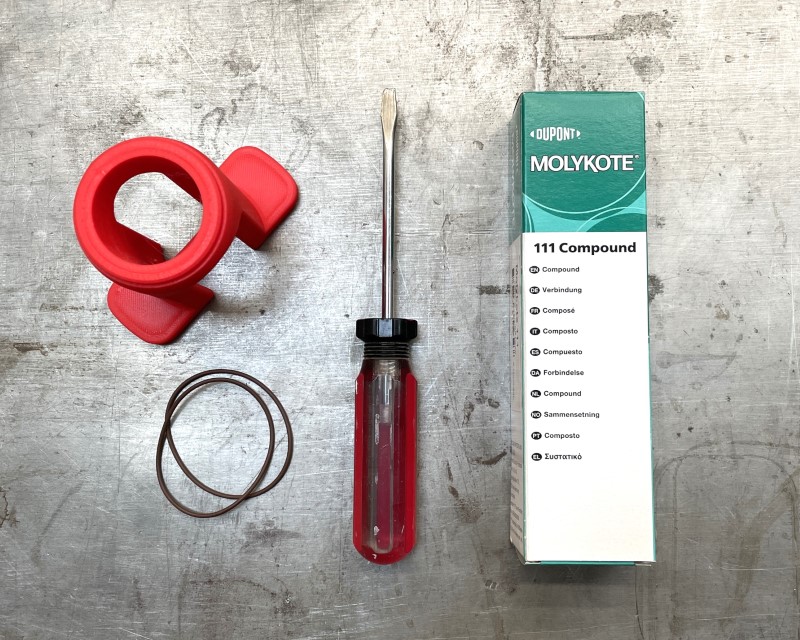
Tools and parts required:
- Flat blade screw driver
- Sleeve removal and installation tool
- (Dash 33 Viton o-rings if replacing)
- Dow 111 food-safe silicone grease
- Masking tape
Step 1
Remove the piston assembly and shower screen from the group following these instructions.
Step 2
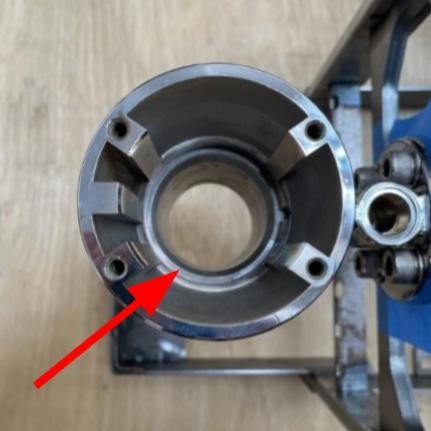
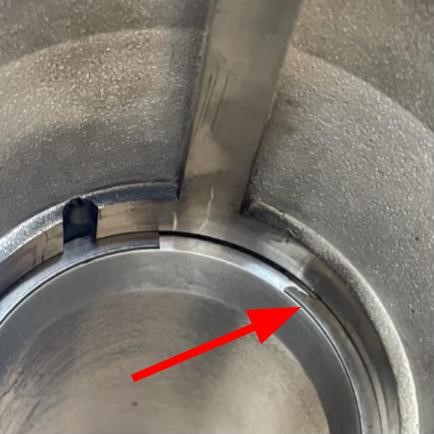
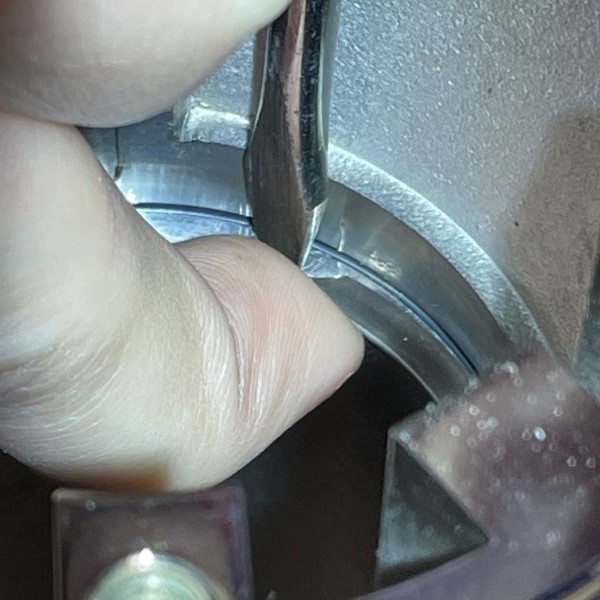
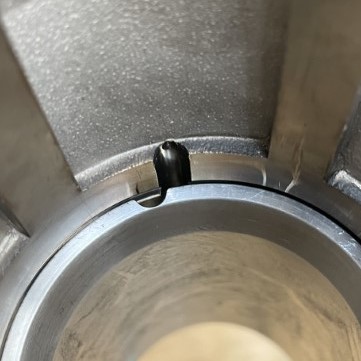
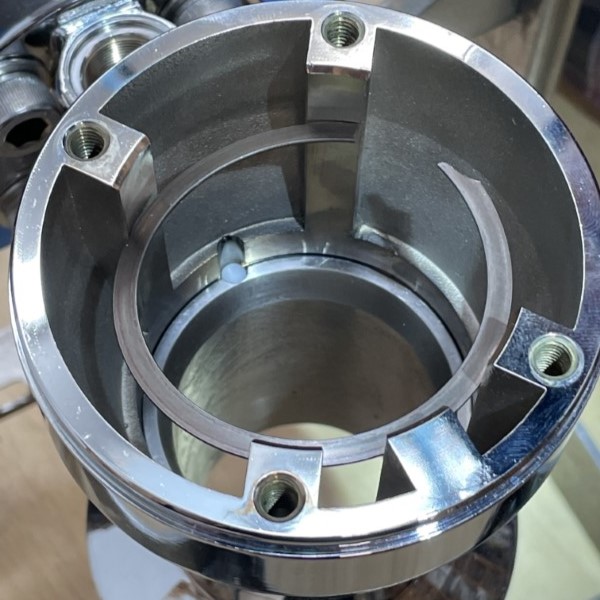
Locate the Retaining Ring that holds the sleeve in place.

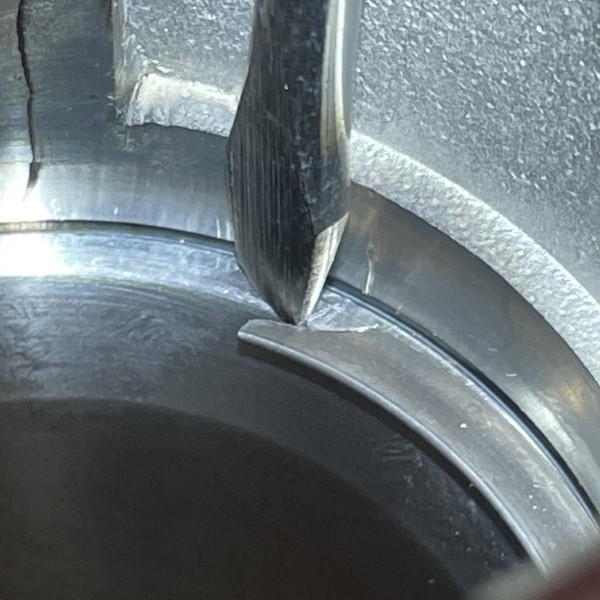
Insert a flat blade screwdriver into the notched end of the Retaining Ring and gently twist the screwdriver to free the end of the Ring.
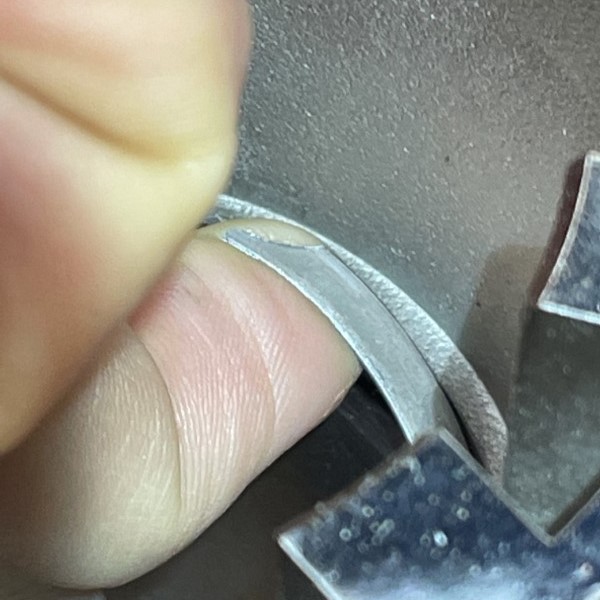
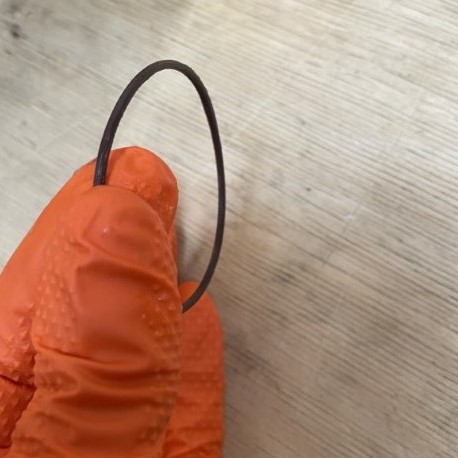
Lift up the end of the circlip with the tip of one finger and work the Retaining Ring out of the groove.
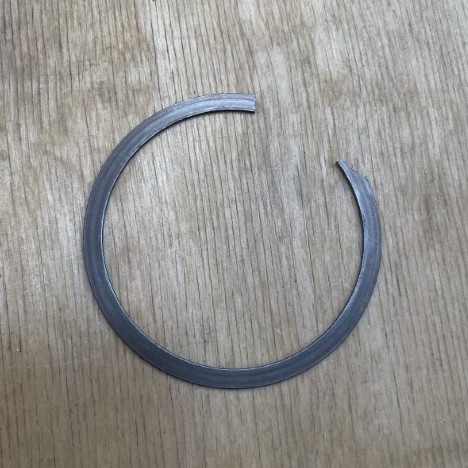
Freed Retaining Ring
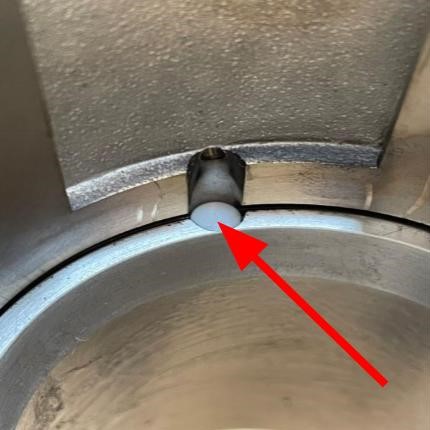
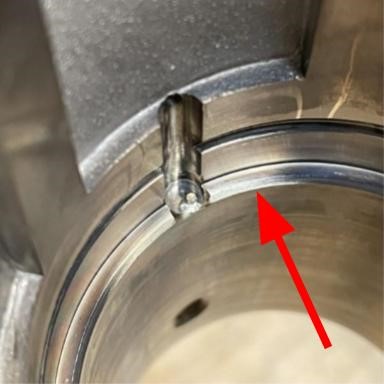
After removing the Retaining Ring, note the PTFE Alignment Pin.
Step 3
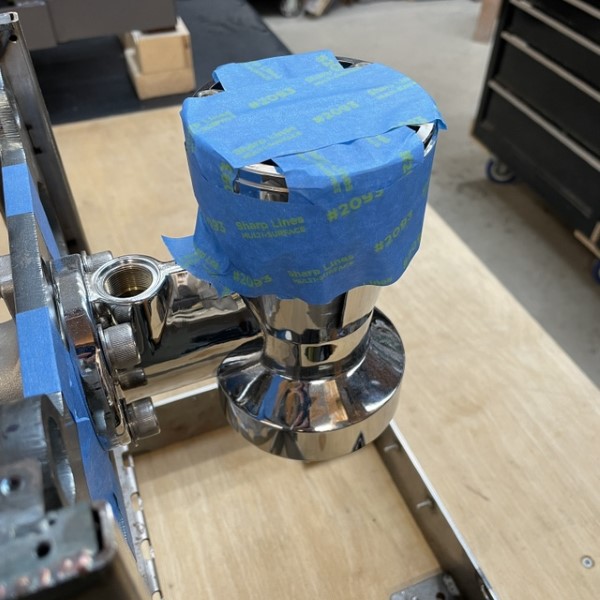
Carefully tape over the top of the group. The sleeve may fly out of the top of the group during extraction. Alternatively, have someone else hold their hand over the group.
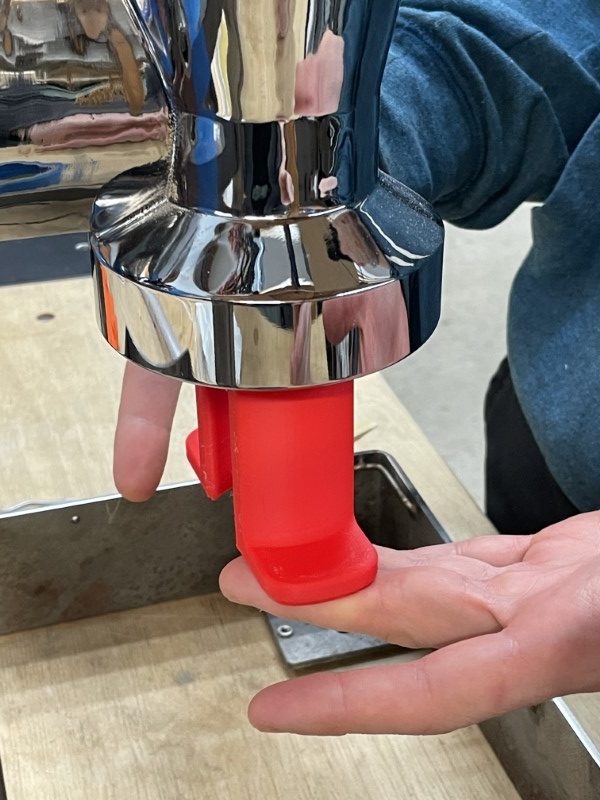
Insert the Sleeve Tool into the bottom of the group. The stepped edge of the tool will fit into the inside diameter of the Sleeve.
Use both hands to squeeze the Sleeve Tool upwards into the group and free the Sleeve.

Find the PTFE Alignment Pin – it may still be in place or it may have been dislodged when the Sleeve was removed.
Step 4
If installing new o-rings, apply a very light coating of silicone grease to them before installing them on the Sleeve.
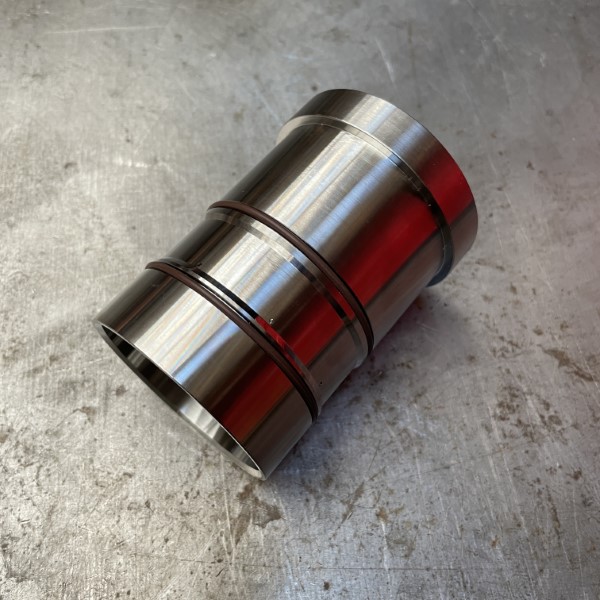
Group Sleeve with o-rings ready to install.
Put a small amount of grease onto the corner of the upper edge of the bore where the o-rings will first make contact during installation.
Step 5

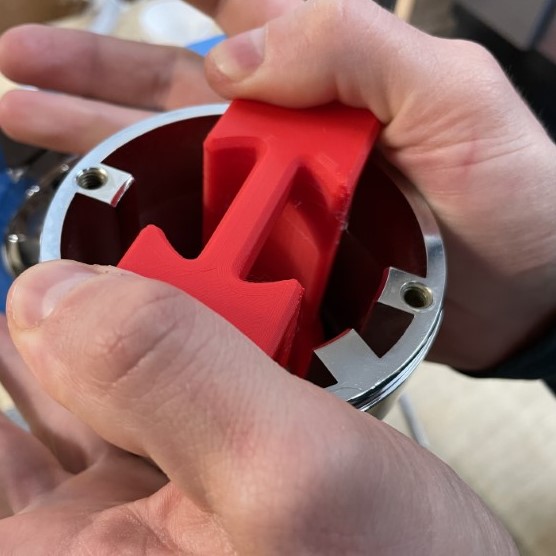
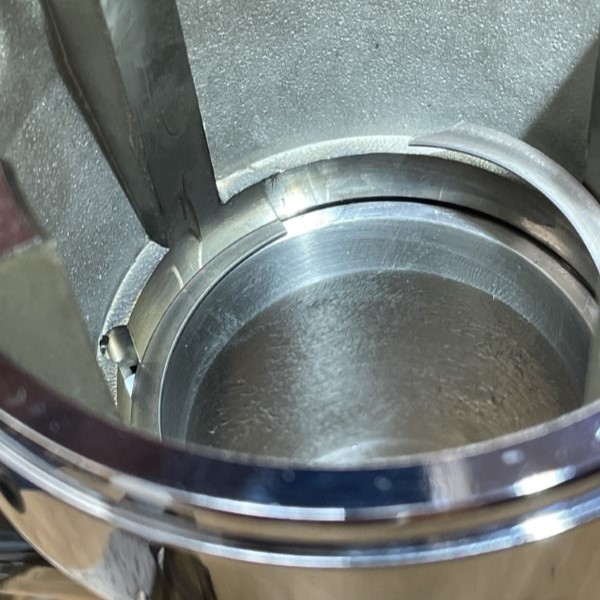
Place the Sleeve into the Group. Note the alignment of the notch in the Sleeve – facing the back of the Group.
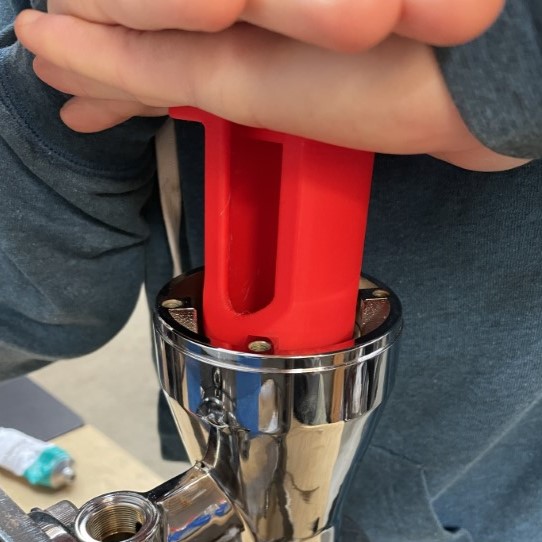
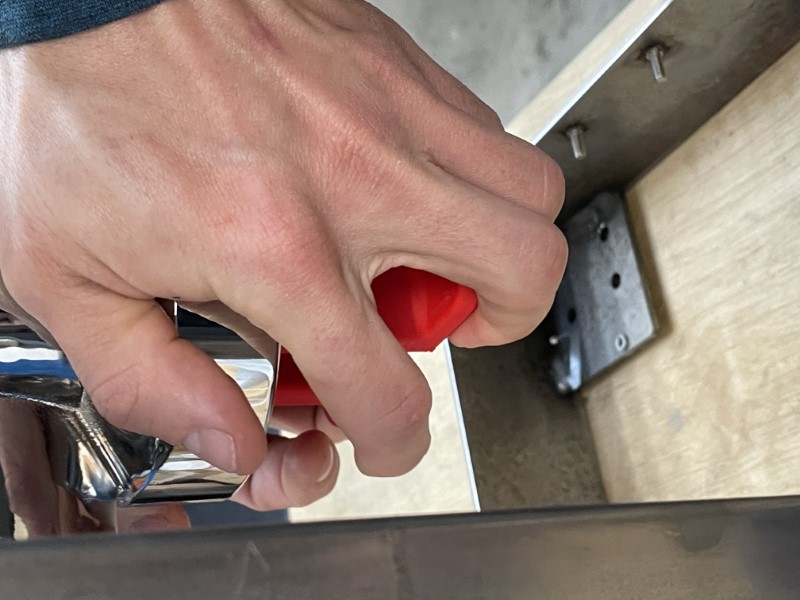
Insert the Sleeve Tool into the top of the Sleeve and use bodyweight to push downwards firmly with both hands. The Sleeve will move in two “steps” down into the Group as the o-rings pass the top edge of the bore of the Group. Keep your hands flat as shown in the image to avoid the risk of trapping a finger between the extraction tool and the top of the group during insertion.
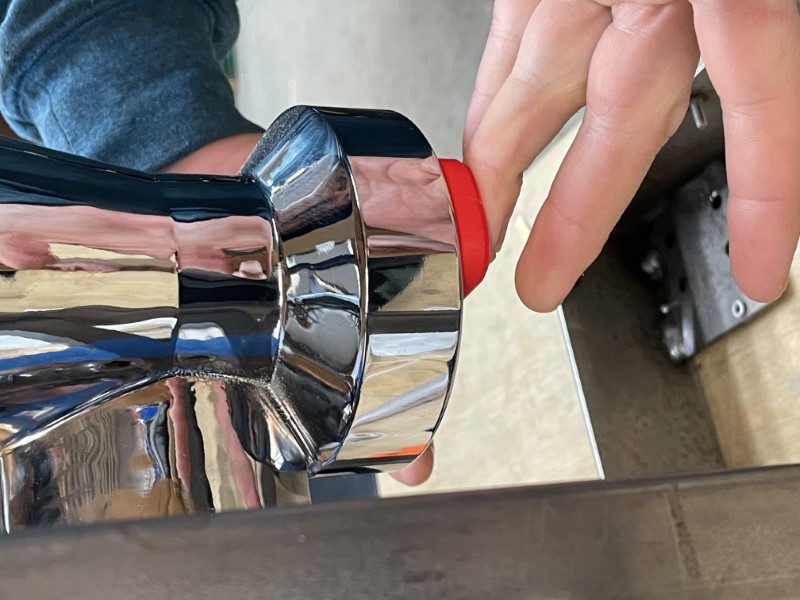
Sleeve fully inserted.
The notch in the Sleeve will probably not be aligned with the mating notch in the Group.
Use the Sleeve Tool to rotate the Sleeve into alignment by pushing downwards and simultaneously turning.
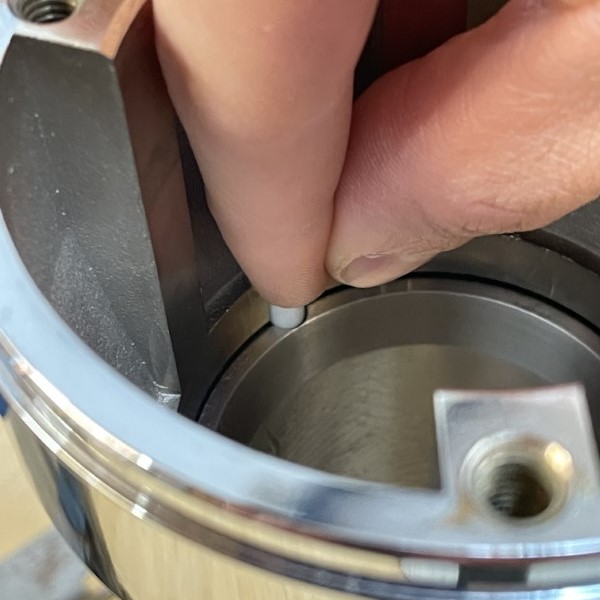
Re-insert the PTFE Alignment Pin.
Step 6
Replace the Retaining Ring and move it down towards its groove

Insert one end of the Retaining Ring into the groove, then, starting at the end that was inserted, then work around it pushing downwards until the entire Ring is in the groove.
Step 7
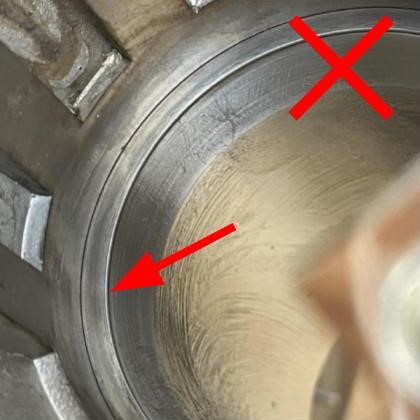
Make sure that the Ring is completely expanded and evenly aligned with the top edge of the Sleeve. Adjust it if necessary.

Once aligned, the edge of the Sleeve should just be visibly.
Step 8
Re-apply grease to the bore of the Sleeve if required and re-assemble the Group following the Piston Lubrication instructions.
Step 9
Make coffee.