
TSB – 12 Case Removal (All Editions)
Ver 1.0
2025 01 16
Introduction
Removal of cover for 1st, 2nd and 3rd Editions.
Tools and parts required:
- Set of metric wrenches 10-17mm
- 13, 14 or 17mm thin wrench (see below) (1st and 2nd Editions only)
- Small Phillips head screw driver
- Plastic or bamboo spudger
- 2x Support blocks (3″ [75mm])
- Optional: masking tape
- Optional: Blue Tack
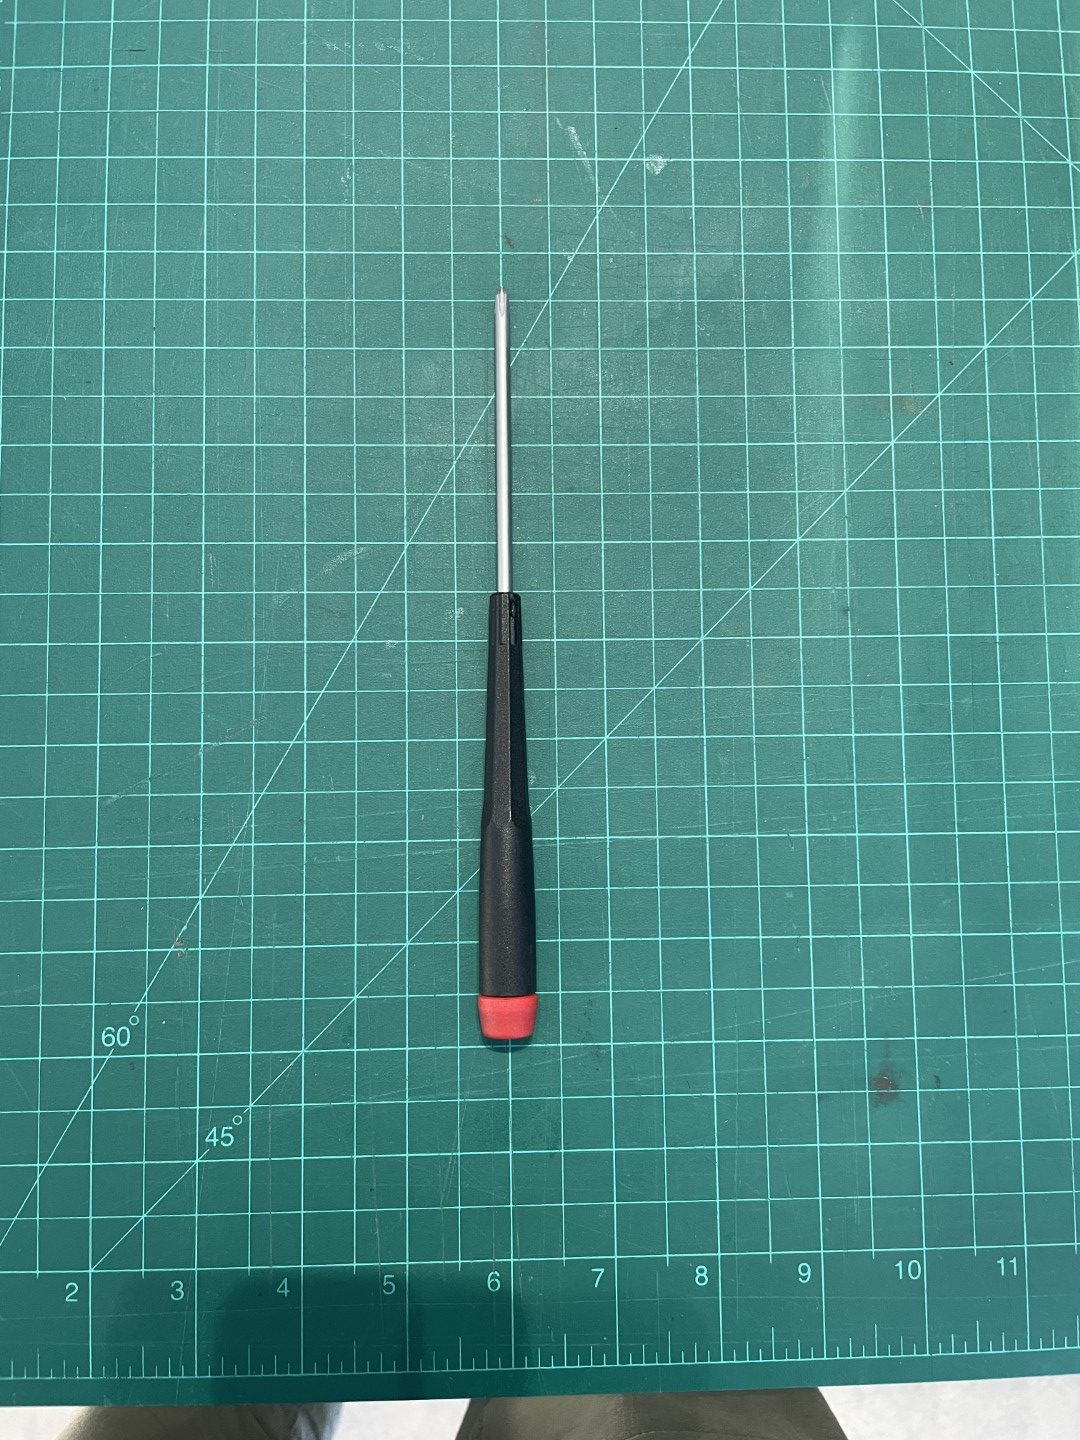
The Phillips screwdriver needs to be roughly this form factor and should ideally be high quality. We use Wiha 261 / PH1 x 80
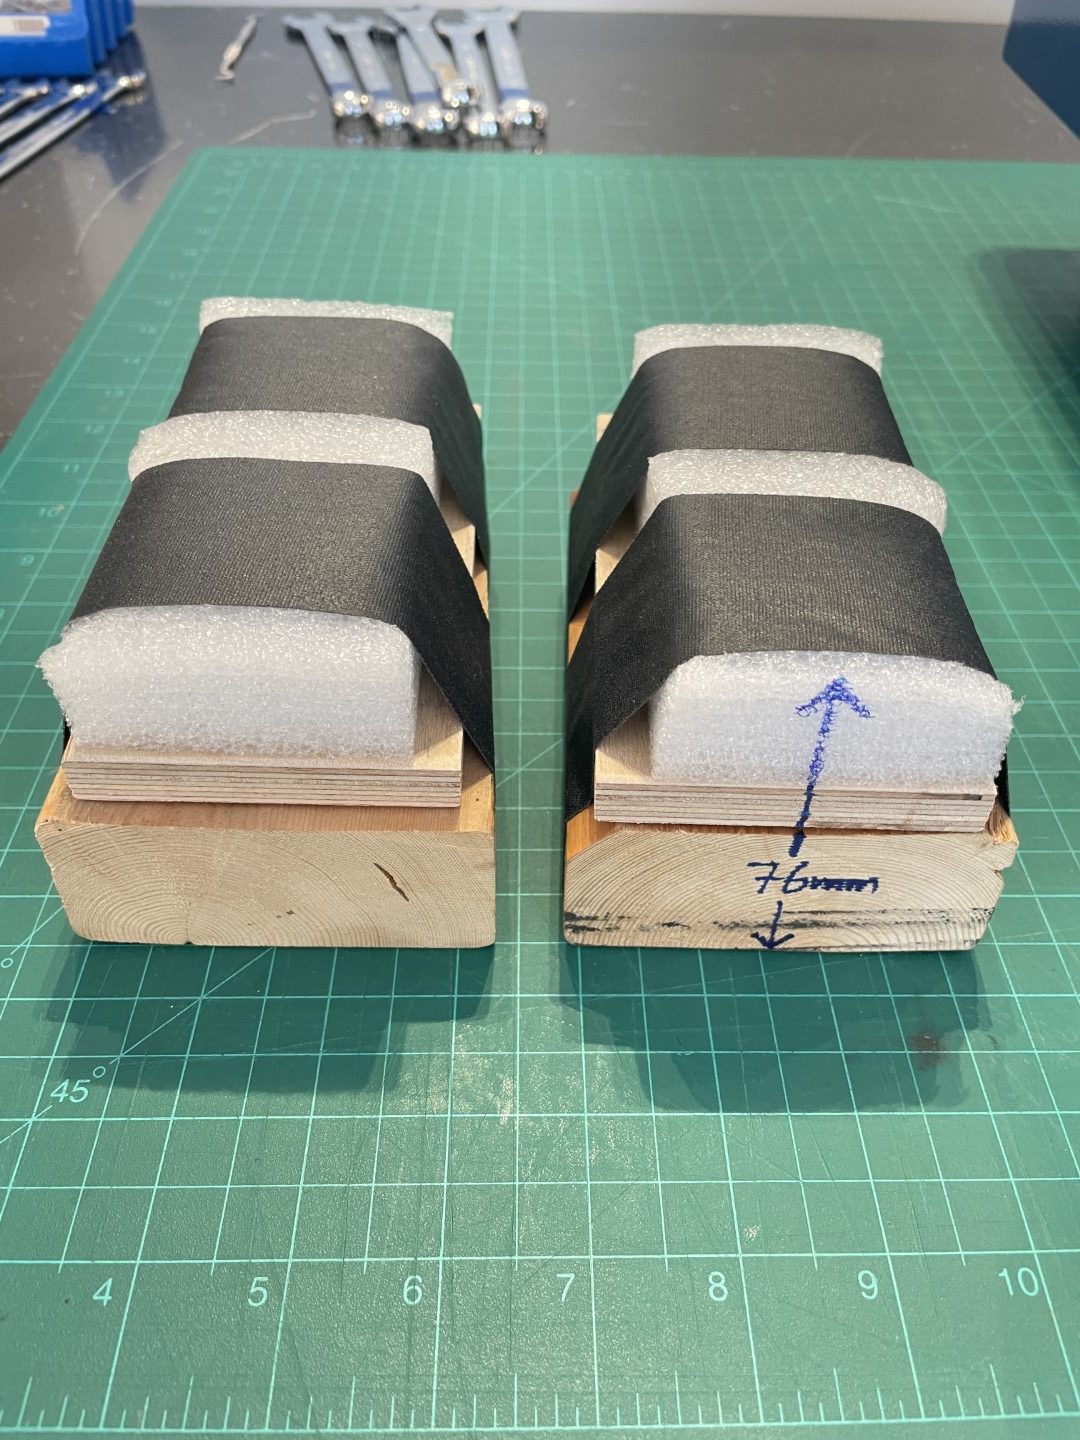
The blocks can be as simple as a stack of corrugated cardboard wrapped with masking tape. The height is the important part.
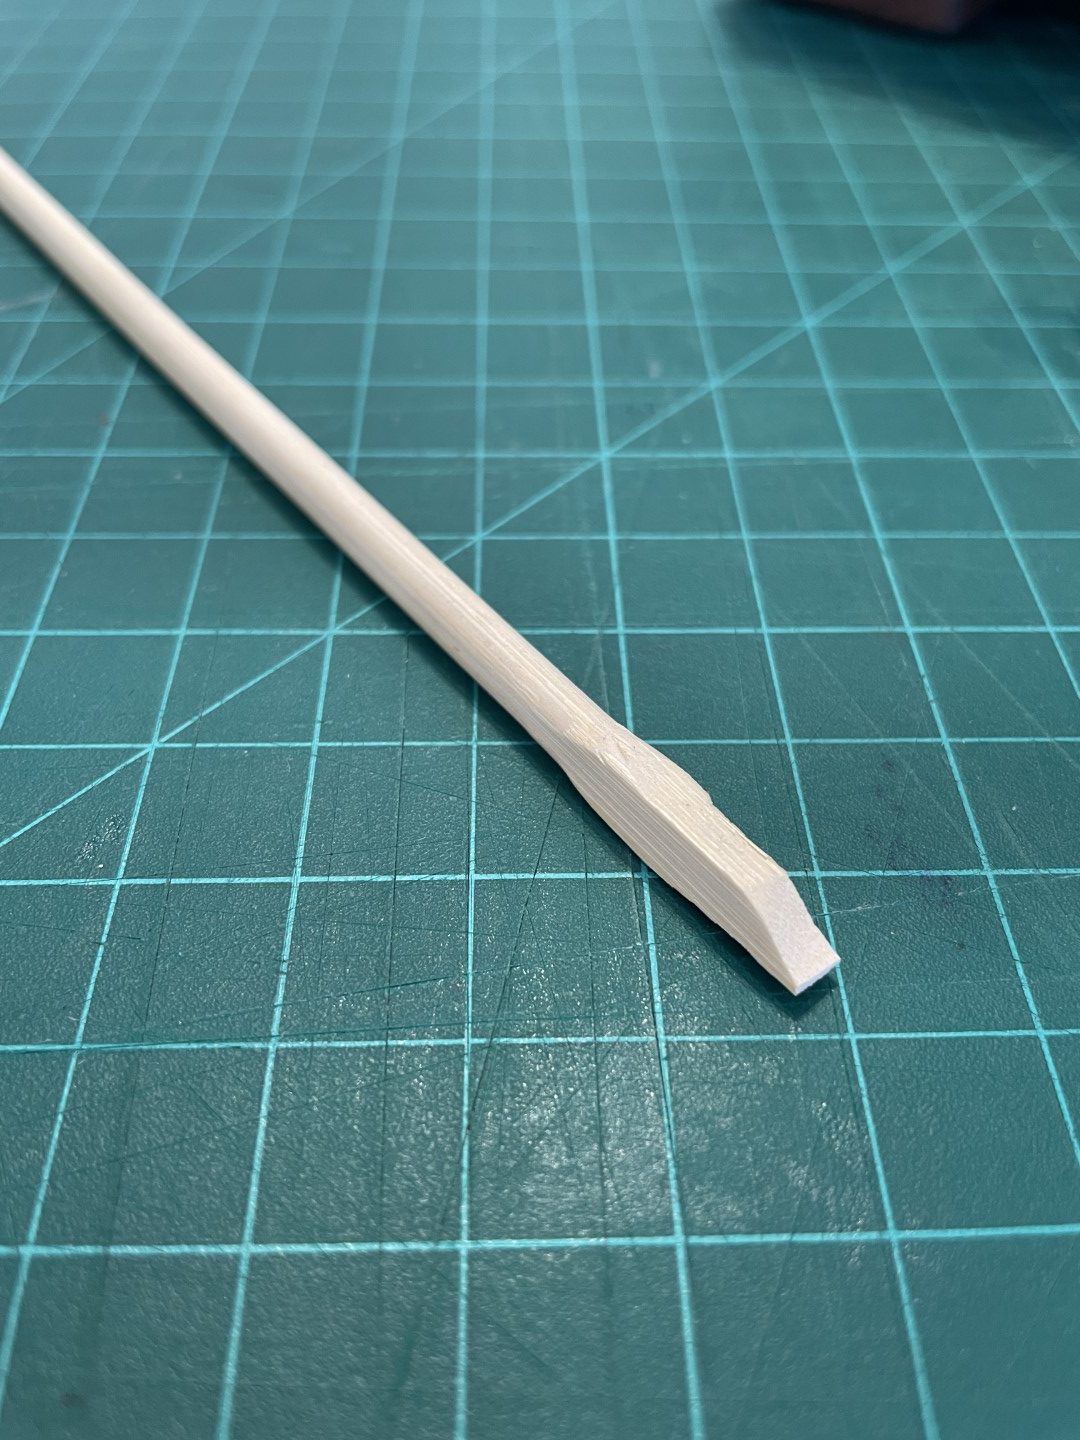
A bamboo spudger.
Step 1 – preparations
- Turn off the power to the machine and let it cool.
- Remove the cup warmer.
- Turn off the water and electrical supply to the machine.
- Disconnect the electrical cable and the drain and water lines at the machine.
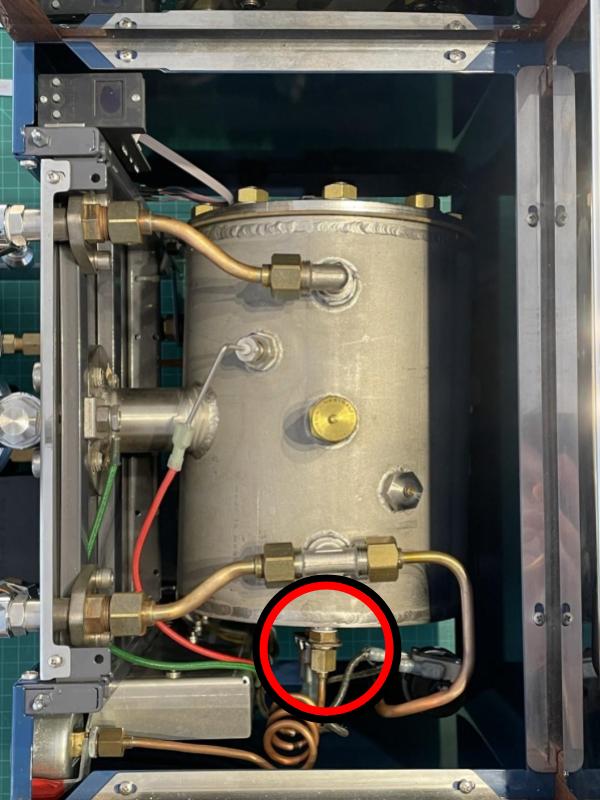
1st and 2nd Edition – Locate the connection of the copper manometer line to the boiler.

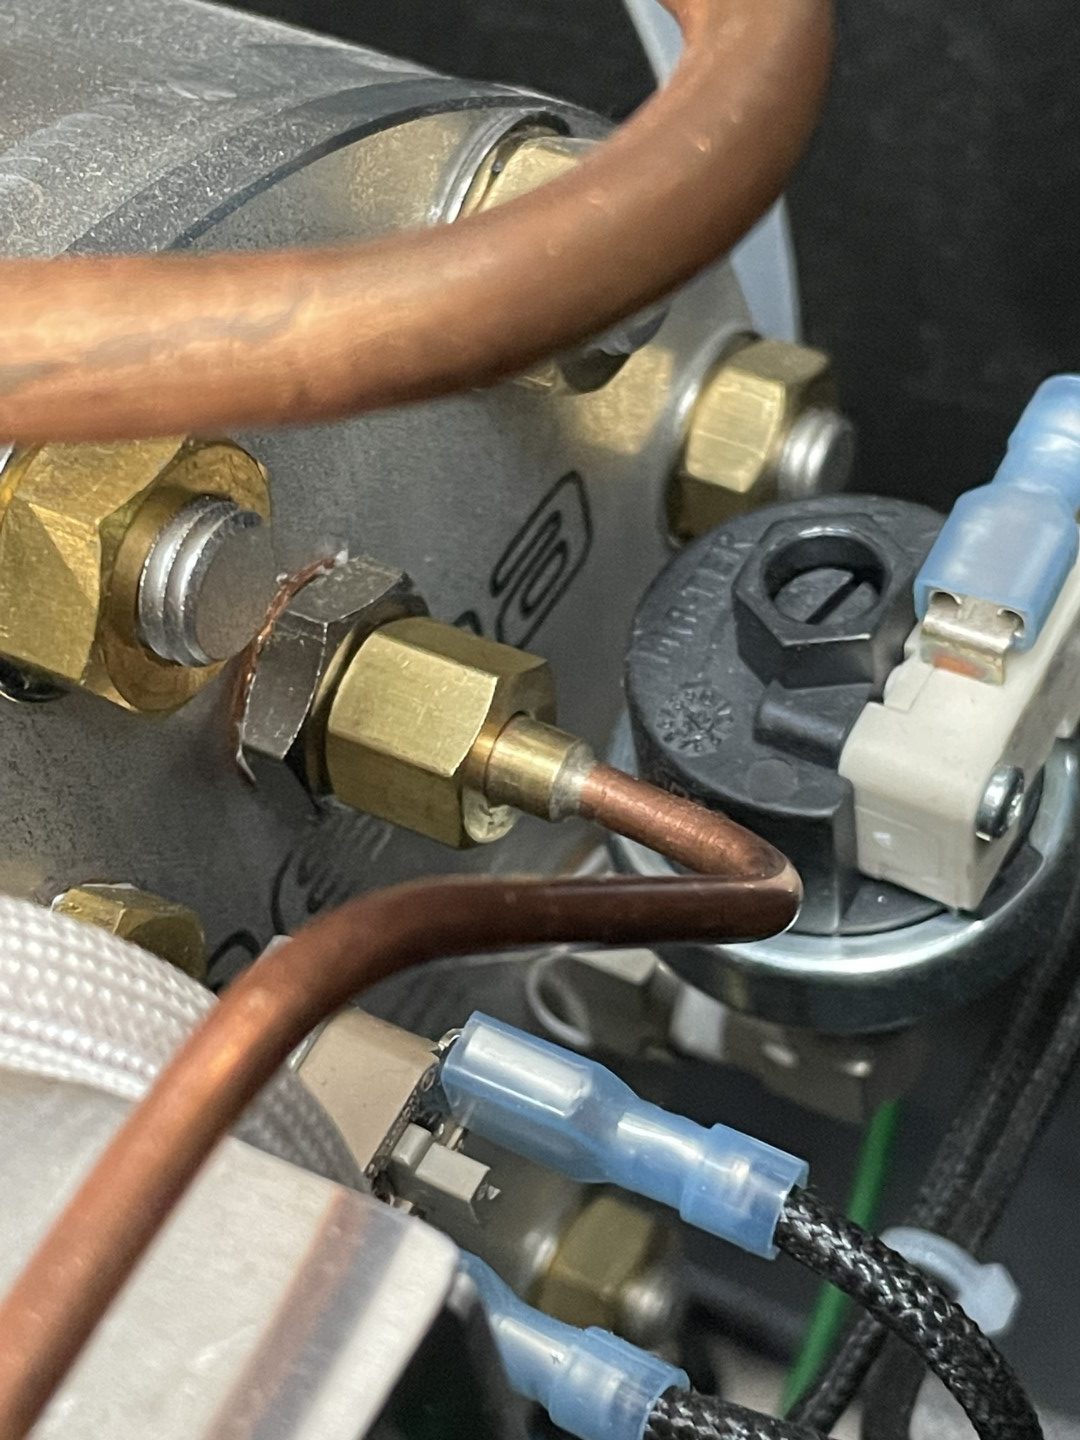
3rd Edition – Locate the compression fittings at the back of the manometer.
Step 2 – disconnect the line to the manometer
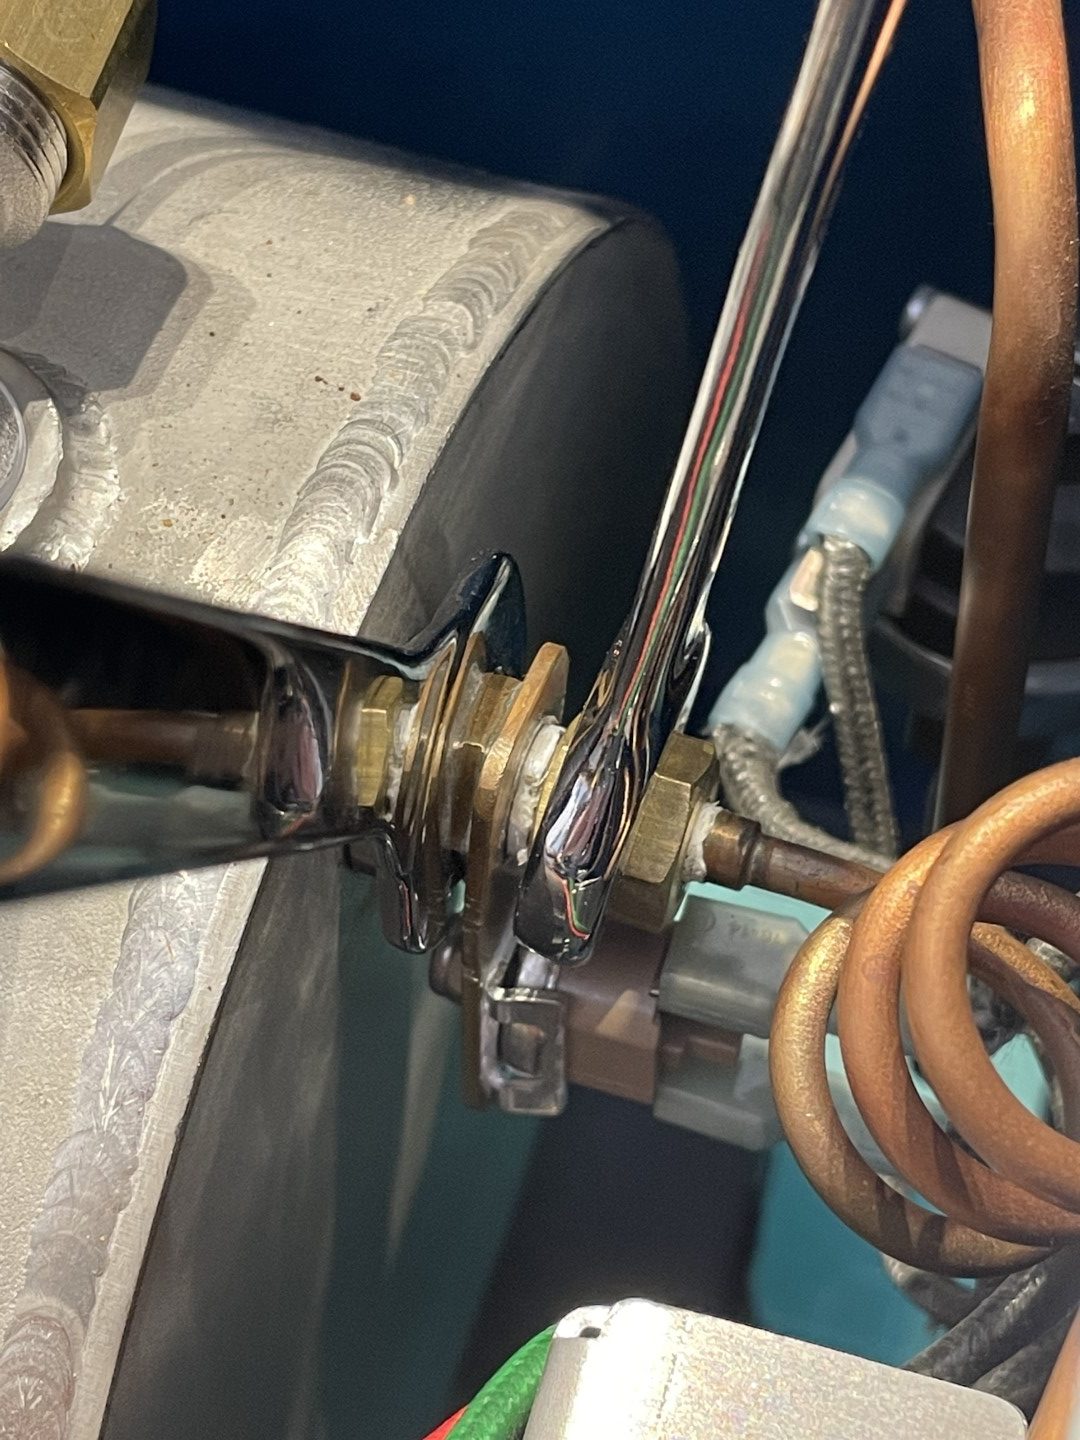
1st and 2nd Edition – Undo the compression nut while counter-tightening the inside fitting. Depending on the edition, there may be some variation in the assembly, but in all cases, loosen only the outer compression nut while maintaining the inside fitting in position. 1st Edition shown here.
2nd Edition requires a 17mm flat wrench to hold the inner fitting in place (it may be possible to do this with a regular instead of a flat 17mm wrench).
3rd Edition – undo the compression fitting with 10mm and 14mm wrenches.
Step 3 – disconnect the LED and power button cables
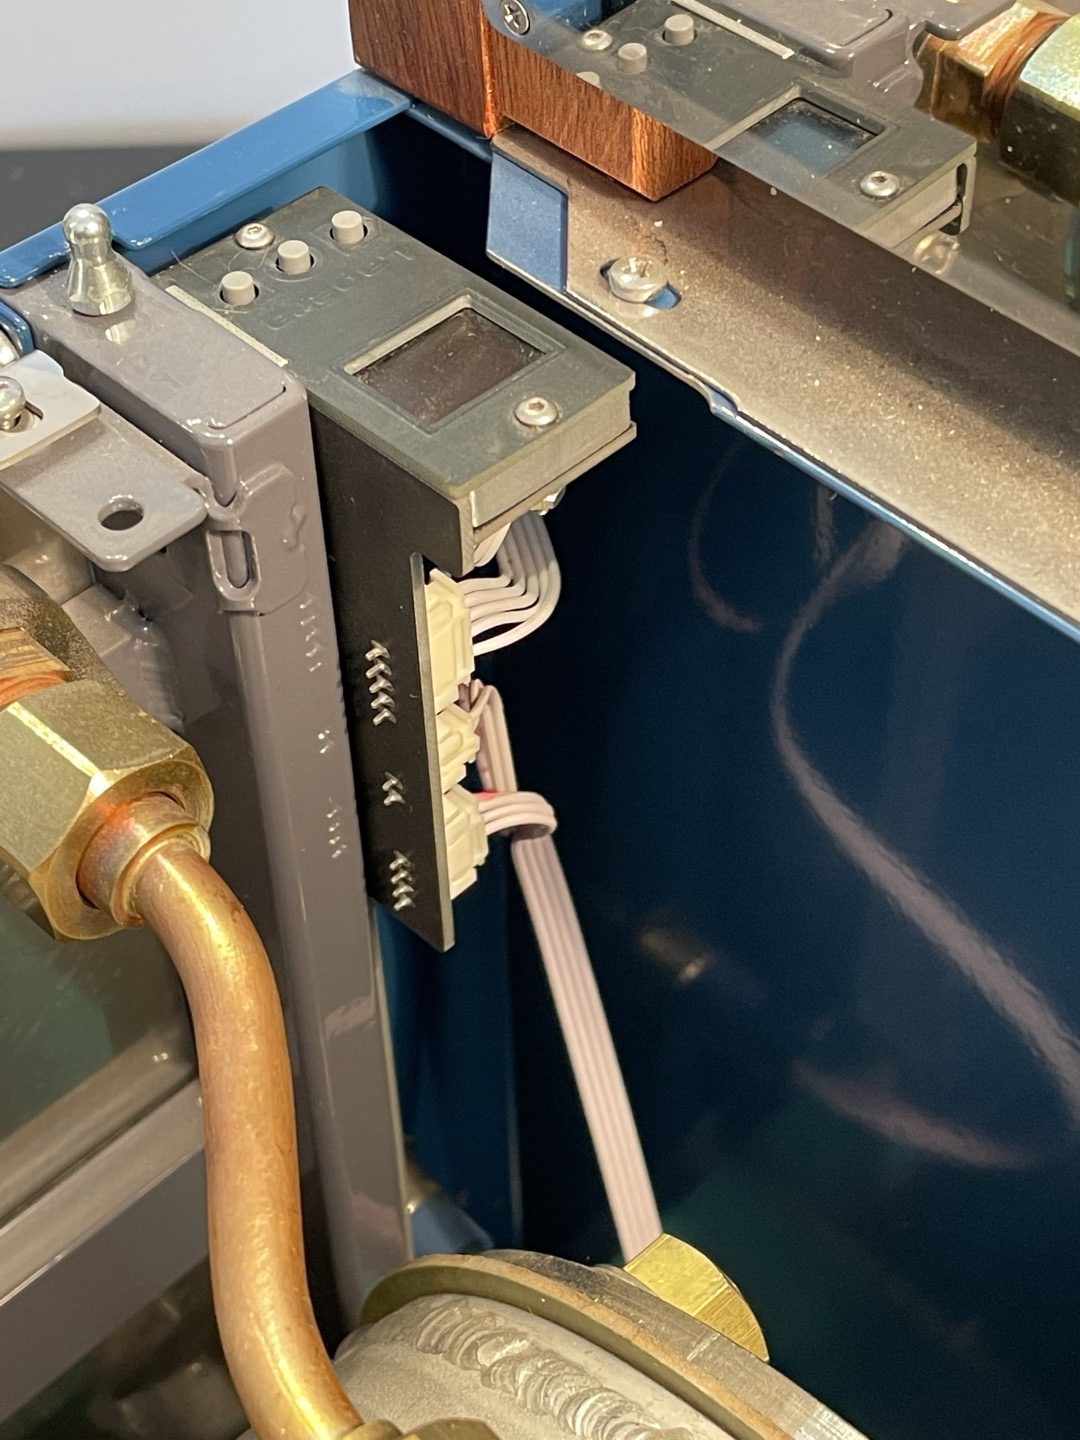
Locate the connections to the screen PCB. 1st Edition shown.
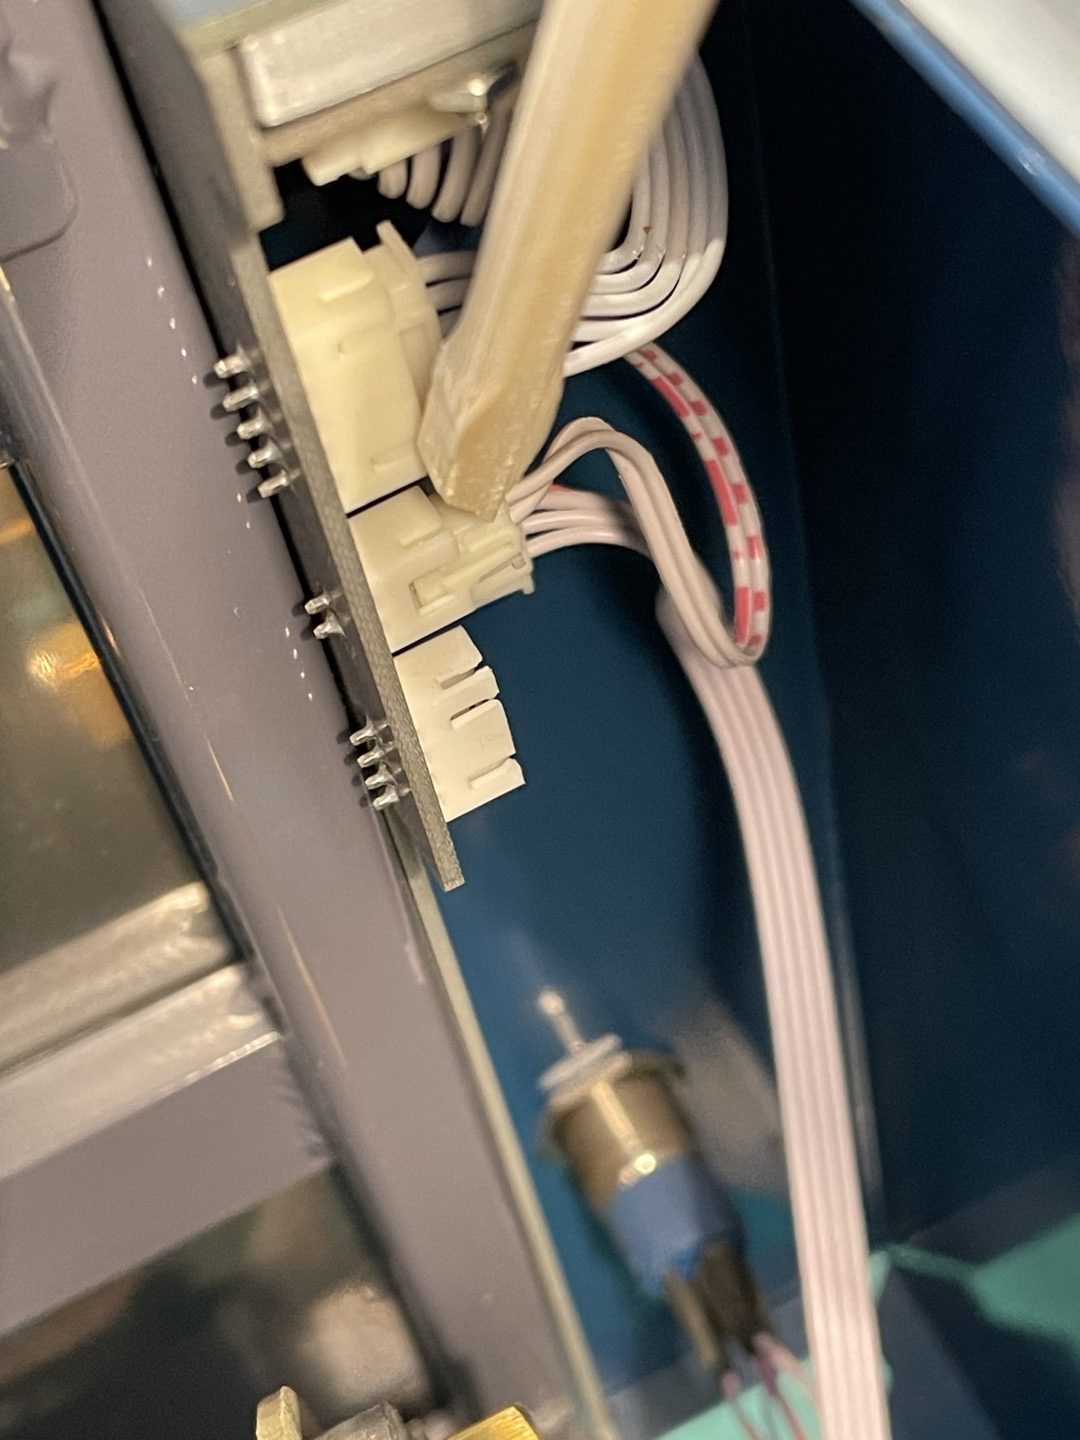
1st Edition – Disconnect only the lower two cables using a plastic or wooden spudger, leaving the upper five-conductor cable in place.
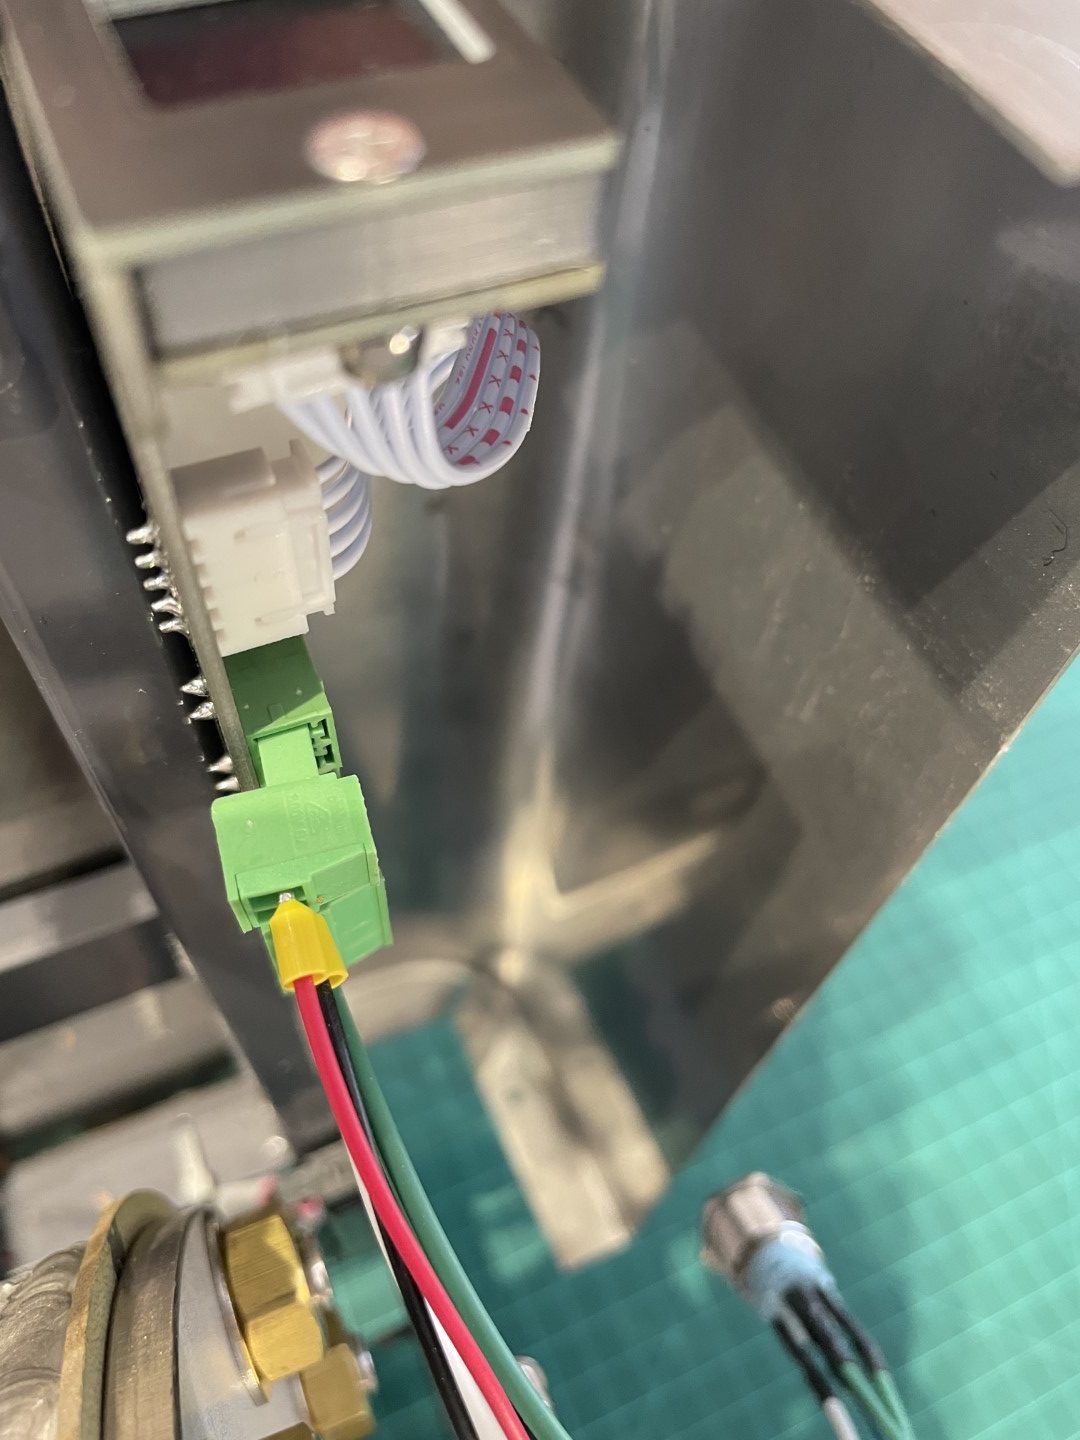
2nd and 3rd Editions – disconnect the two green terminal blocks.
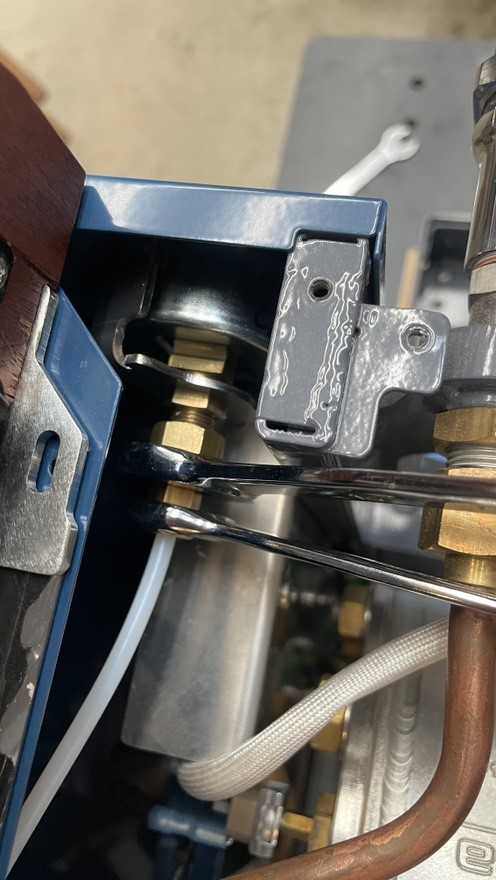
Step 4 – remove the LED – 1st and 2nd Editions only
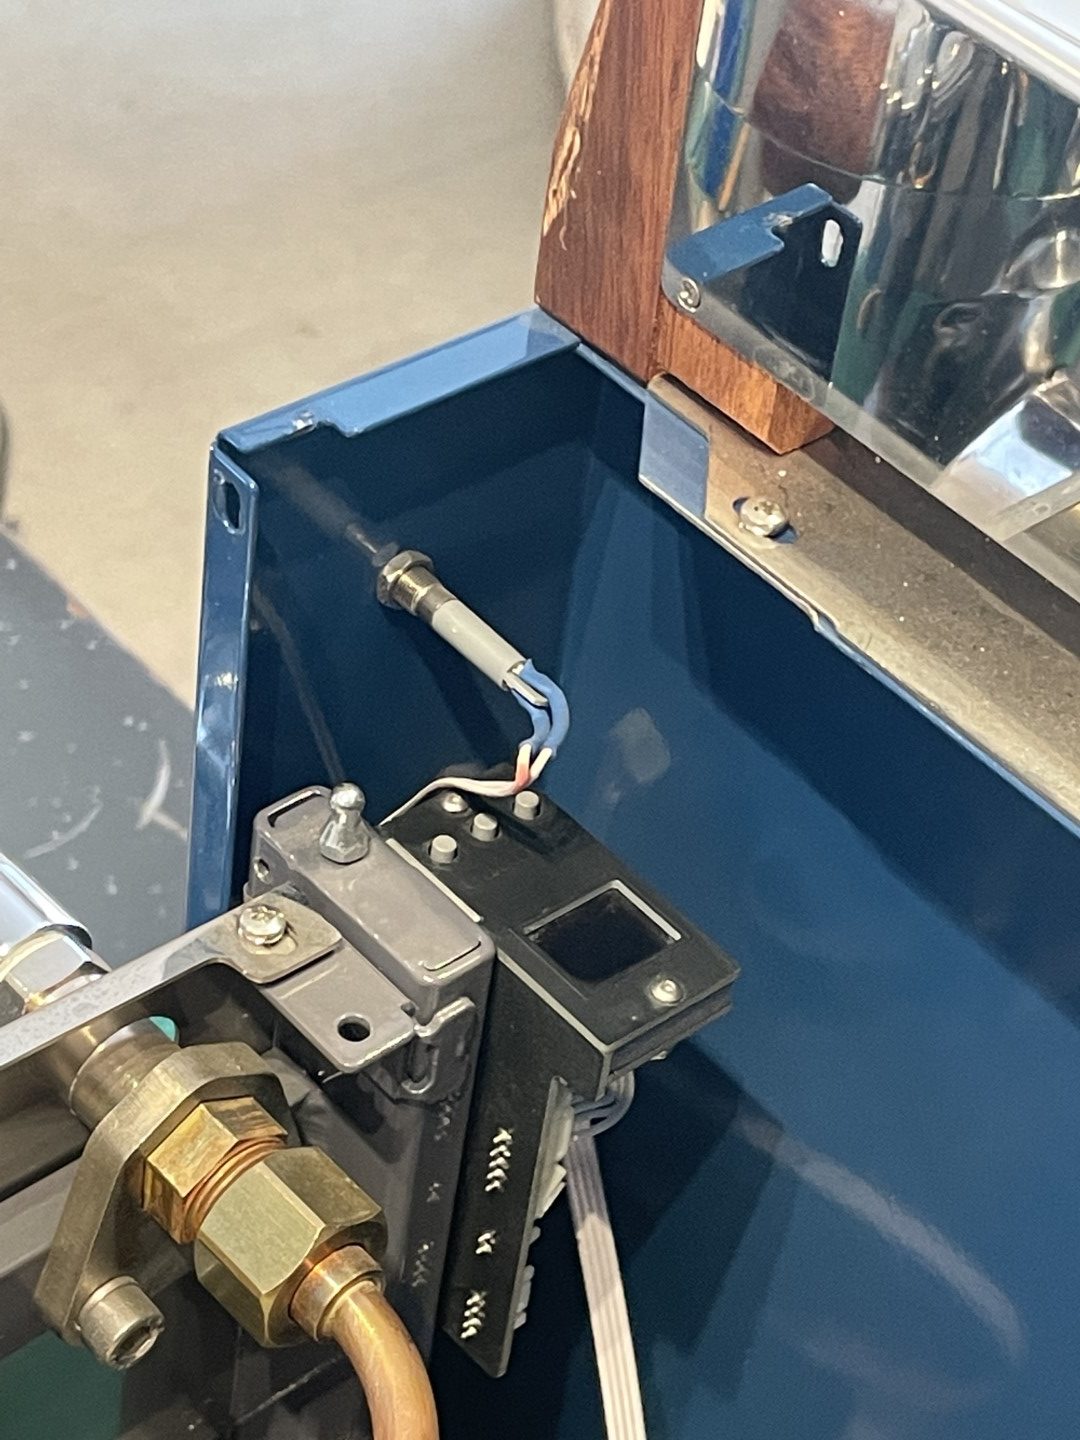
Locate the grey plastic section of the LED where it connects to the mounting hardware on the case.
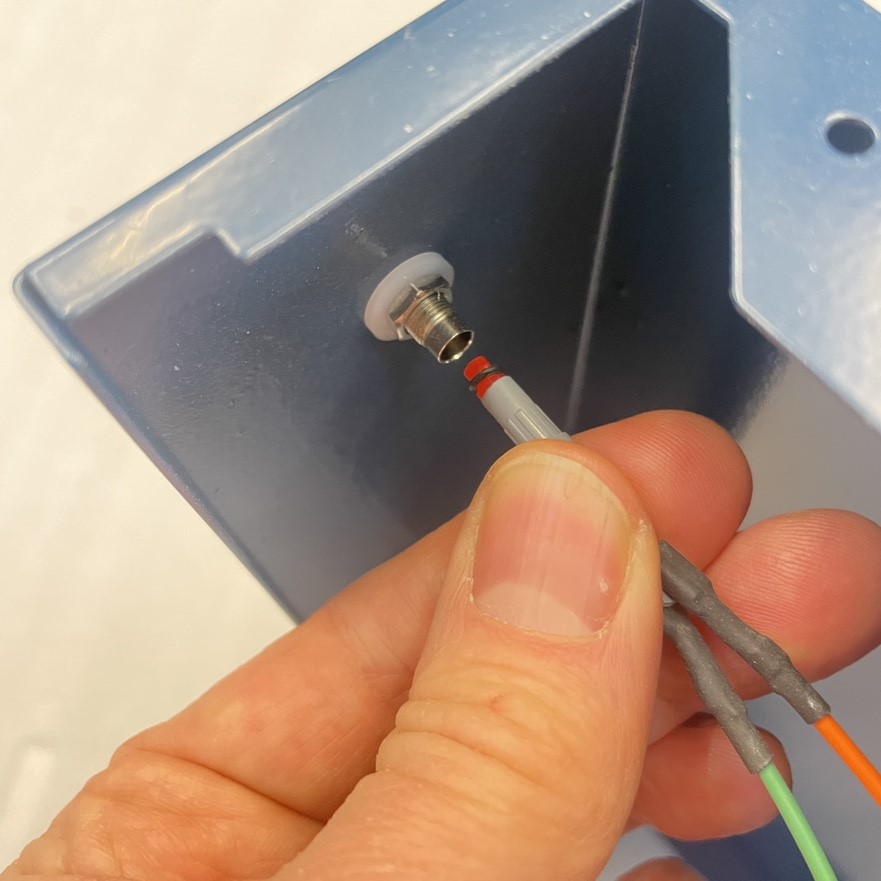
Pull the LED out of the housing. Note: be very careful not to lose or damage the o’ring. If it doesn’t come out attached the LED, make sure it doesn’t fall out afterwards.
Step 5 – prepare to remove the case
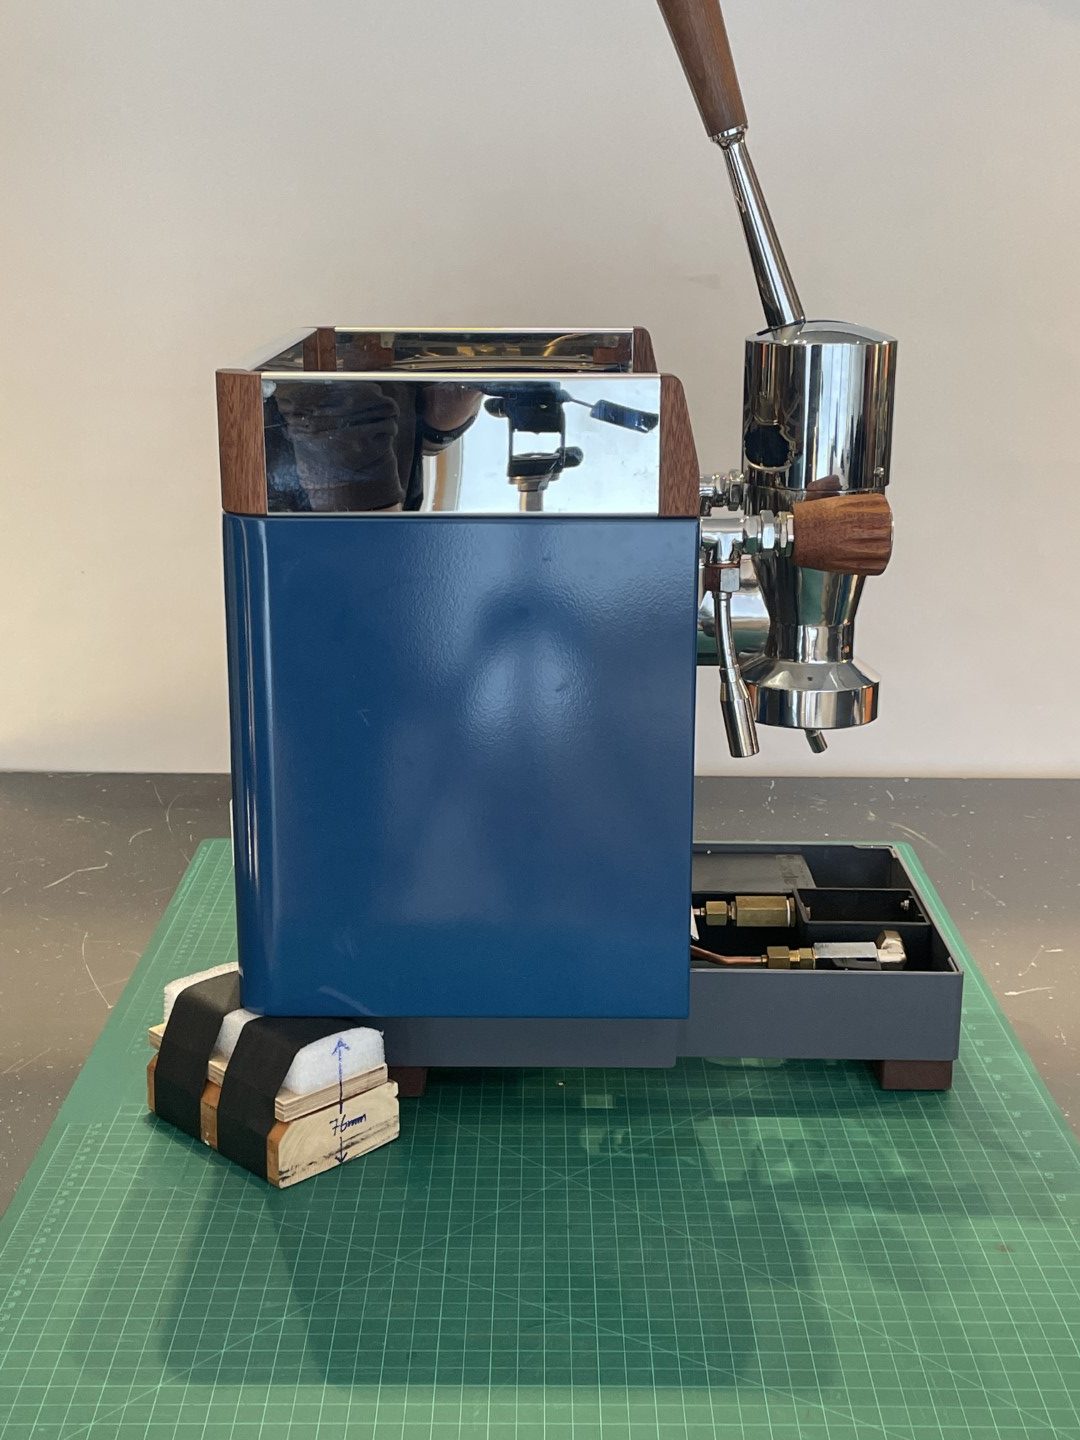
Place the two blocks under the back corners of the case.
Remove the four Phillips screws that hold the case in place. You may wish to put masking tape on the back-splash to protect it before removing the screws (like we didn’t do here (bad)).
Step 6 – case removal
The 3rd Edition case should lift straight up and off. The lower left flange of the case (from the point of view of the person lifting) may touch the wiring towards the top of the boiler, just go slow, tilt the case slightly and ease it past.
Removing the case off for the 1st and 2nd Edition requires manipulating it to clear a few obstacles. Read the next few steps carefully before attempting to remove the case.
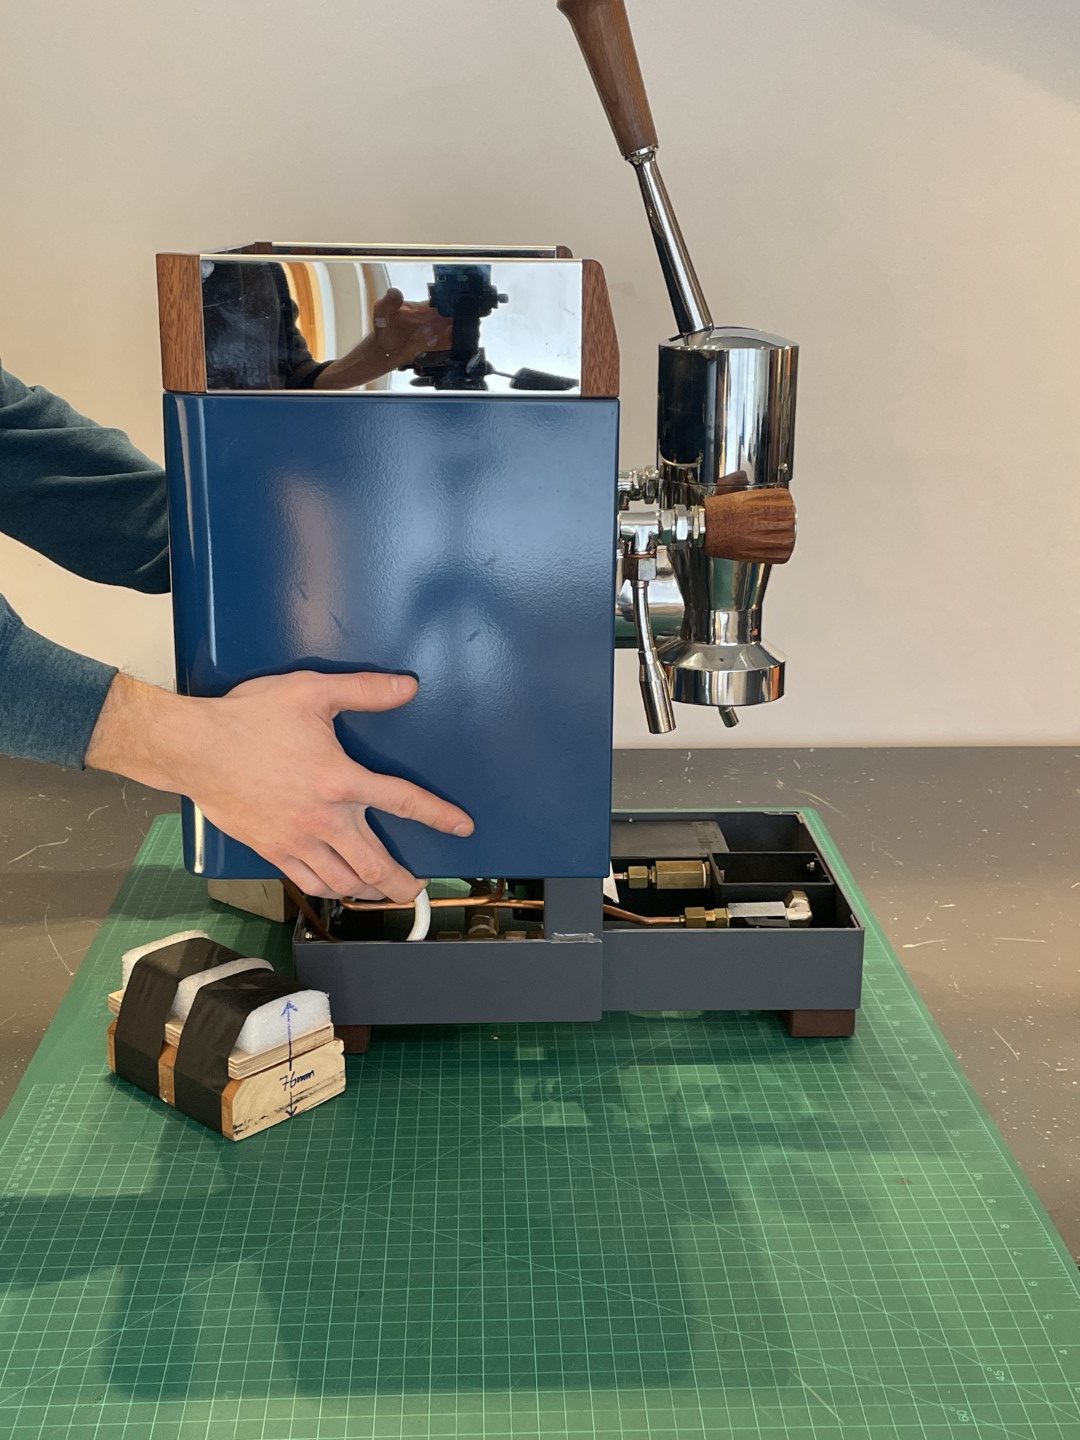
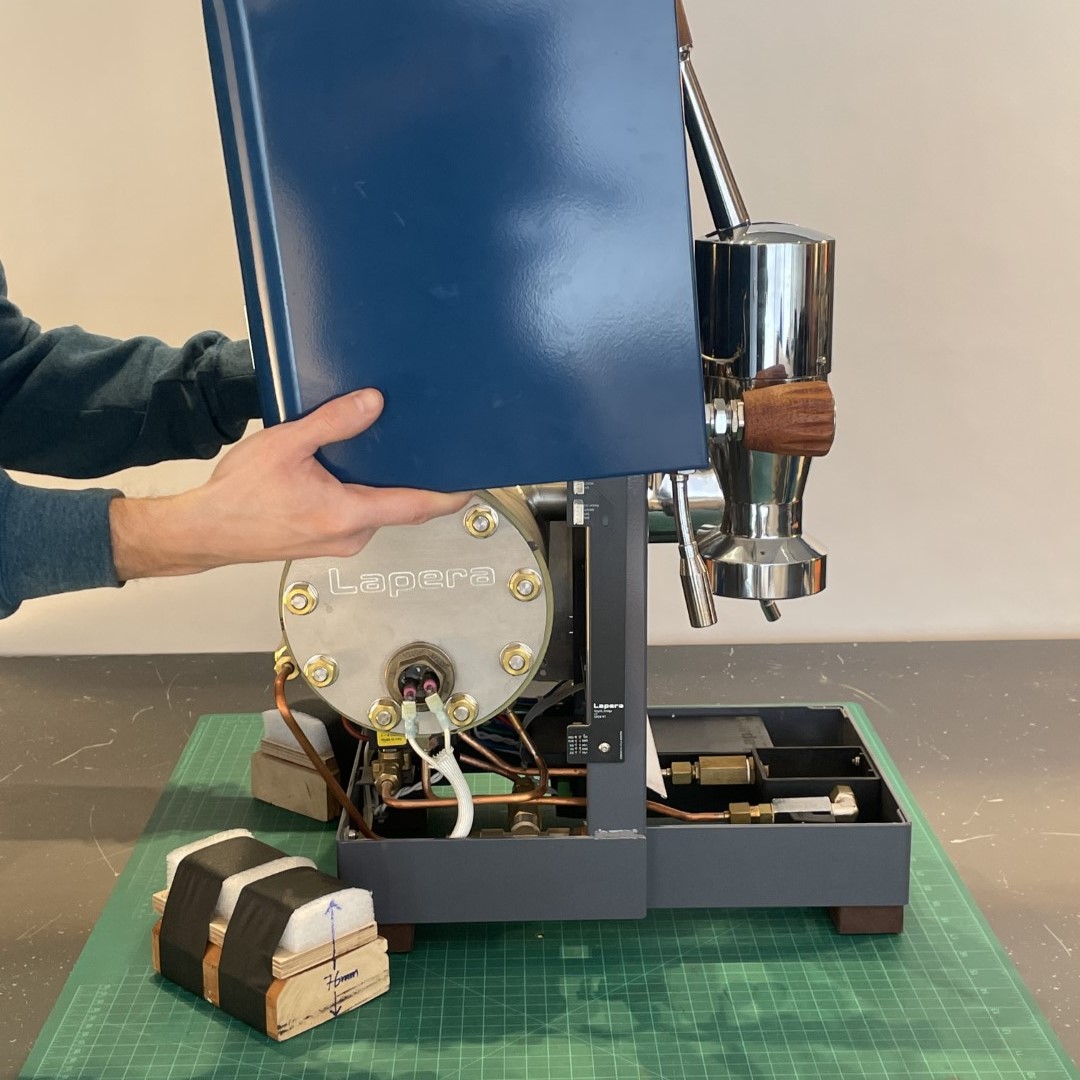
Start by sliding the case straight upwards a few inches [50mm].
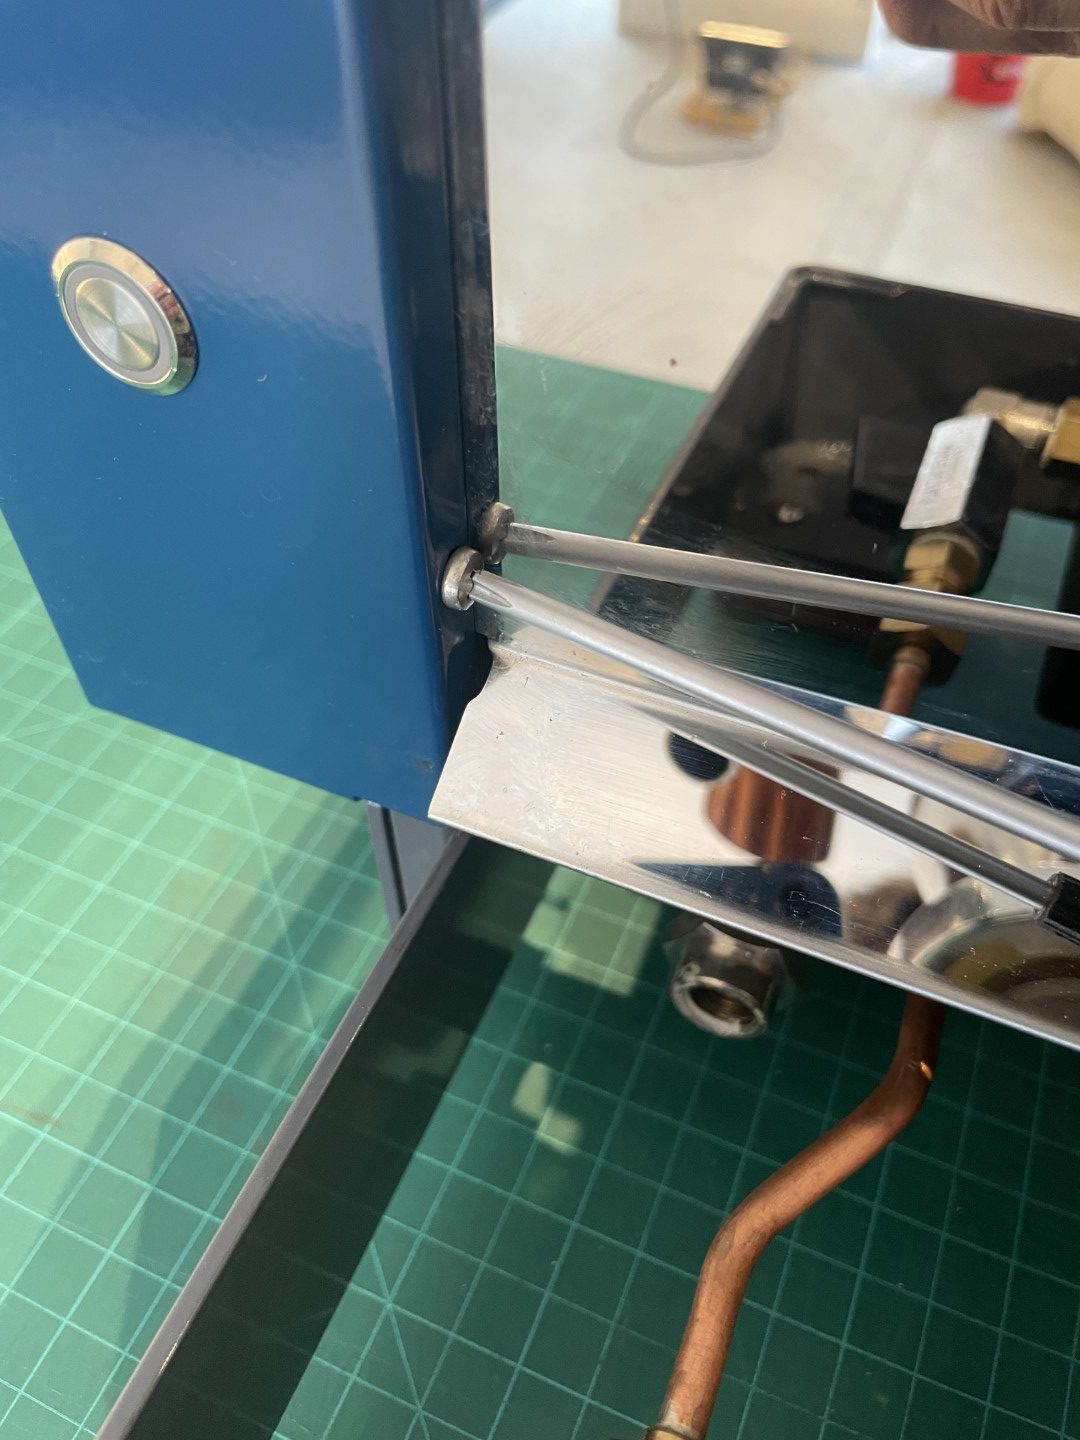
The bottom flange at the back of the case must clear the plumbing assembly on the back of the boiler. There is very little clearance here, so make sure the case is pulled all the way back on the frame.
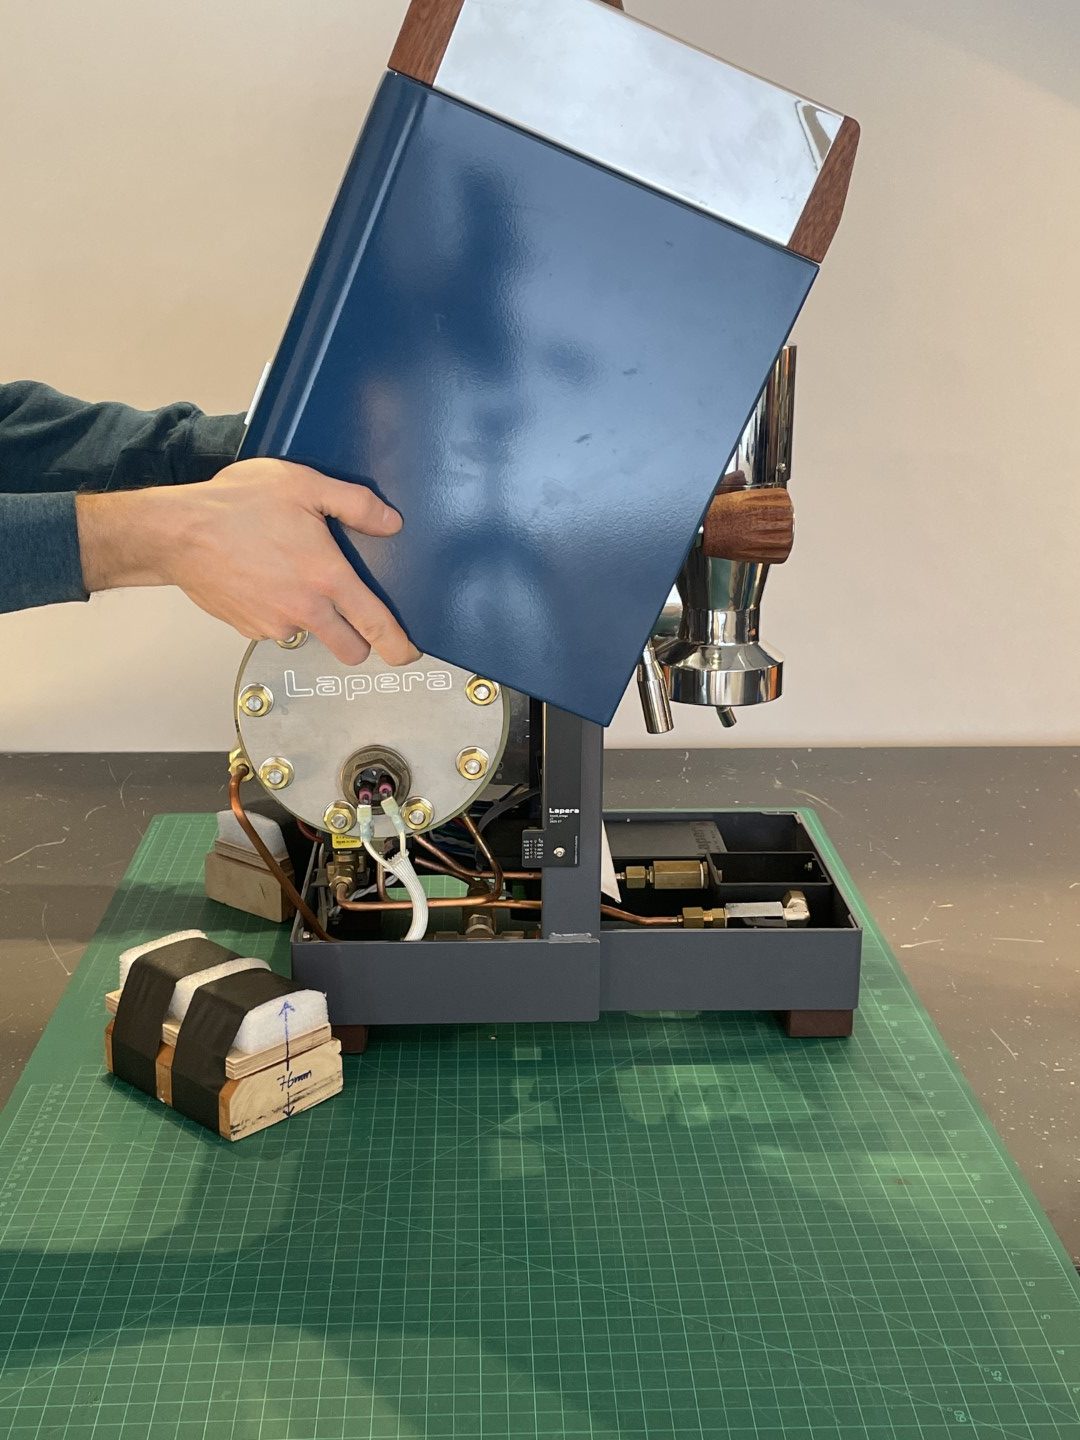
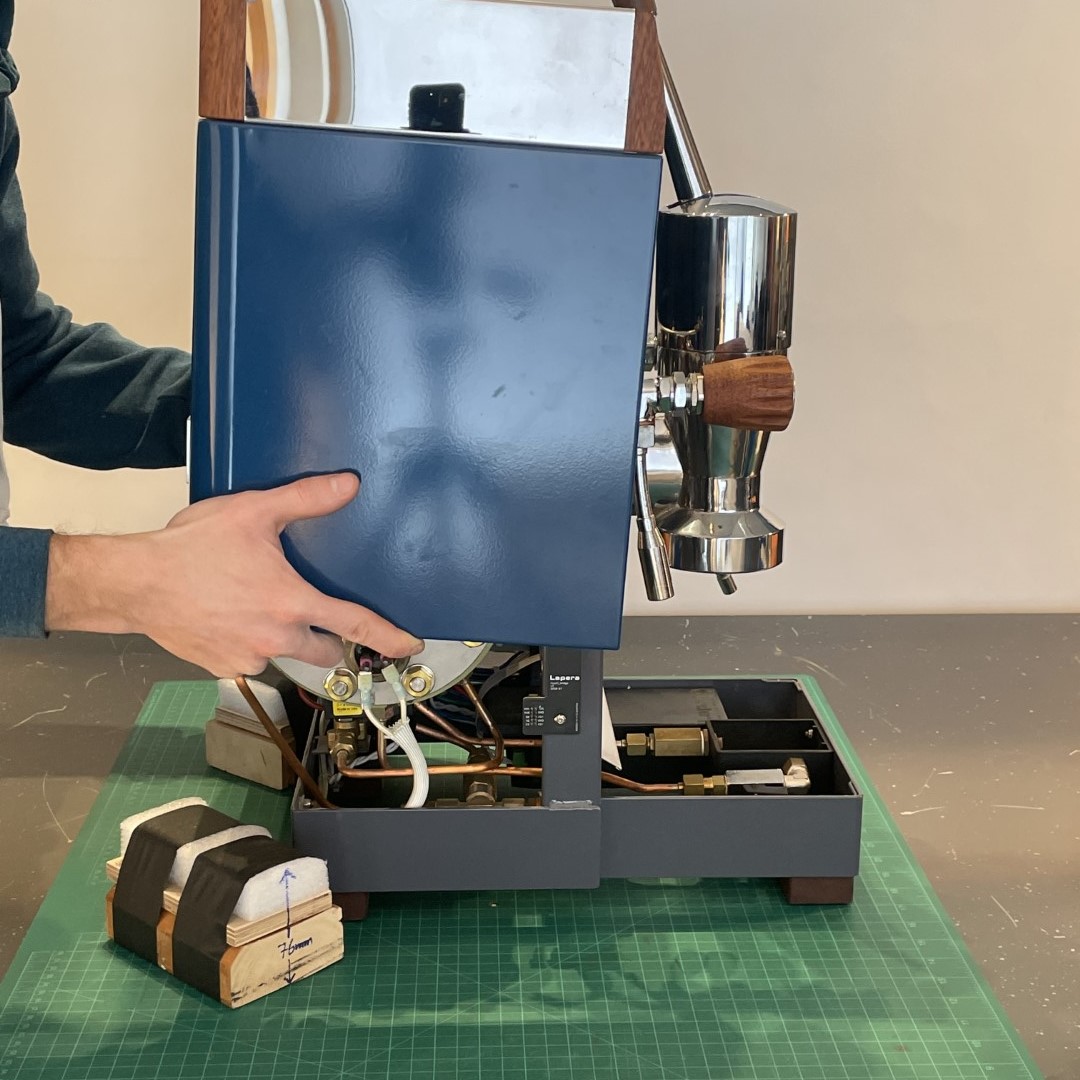
The last obstacle is the power button on the front of the case which must clear the screen. Tip the case forward and lift it until the button is past the screen.
Once the power button is above the screen and the bottom flange of the case is at the top boiler, move the case slightly forward and lift up and off the frame.
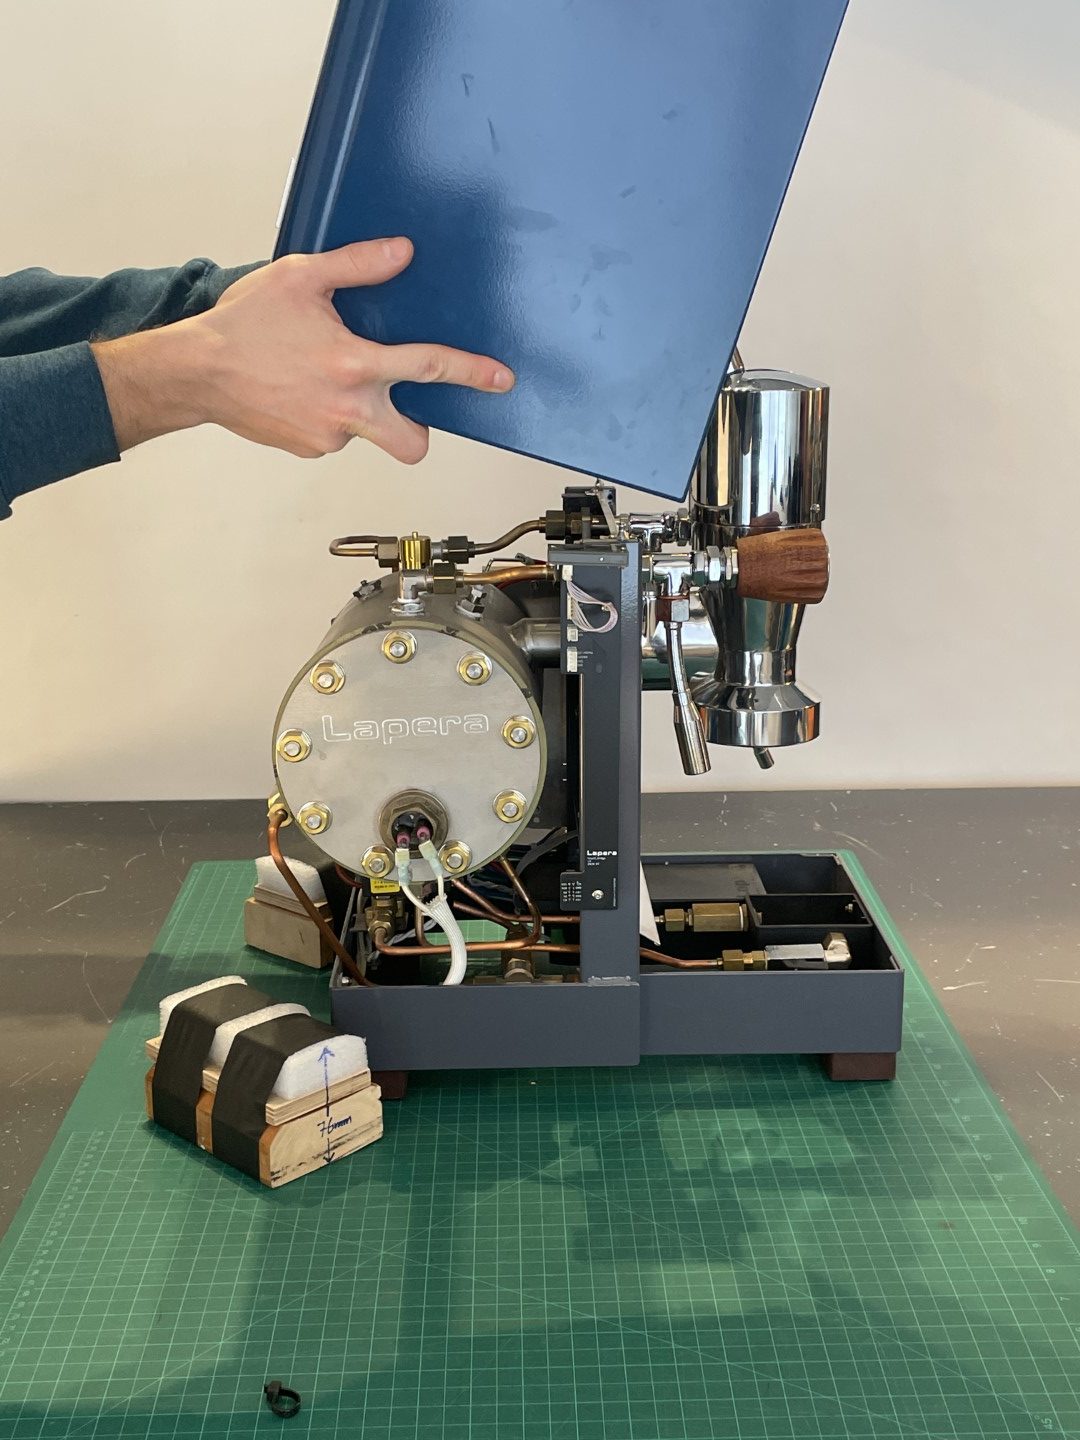
Clear!
Step 7 – reinstallation
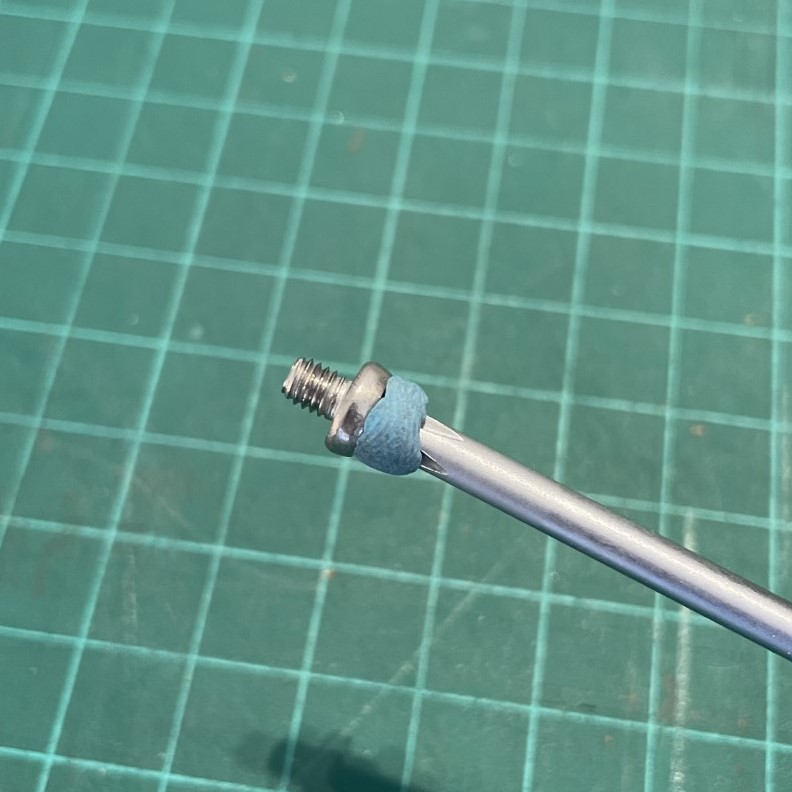
A small blob of Blue Tack on the tip of the Phillips screwdriver make reinstalling the case much easier.
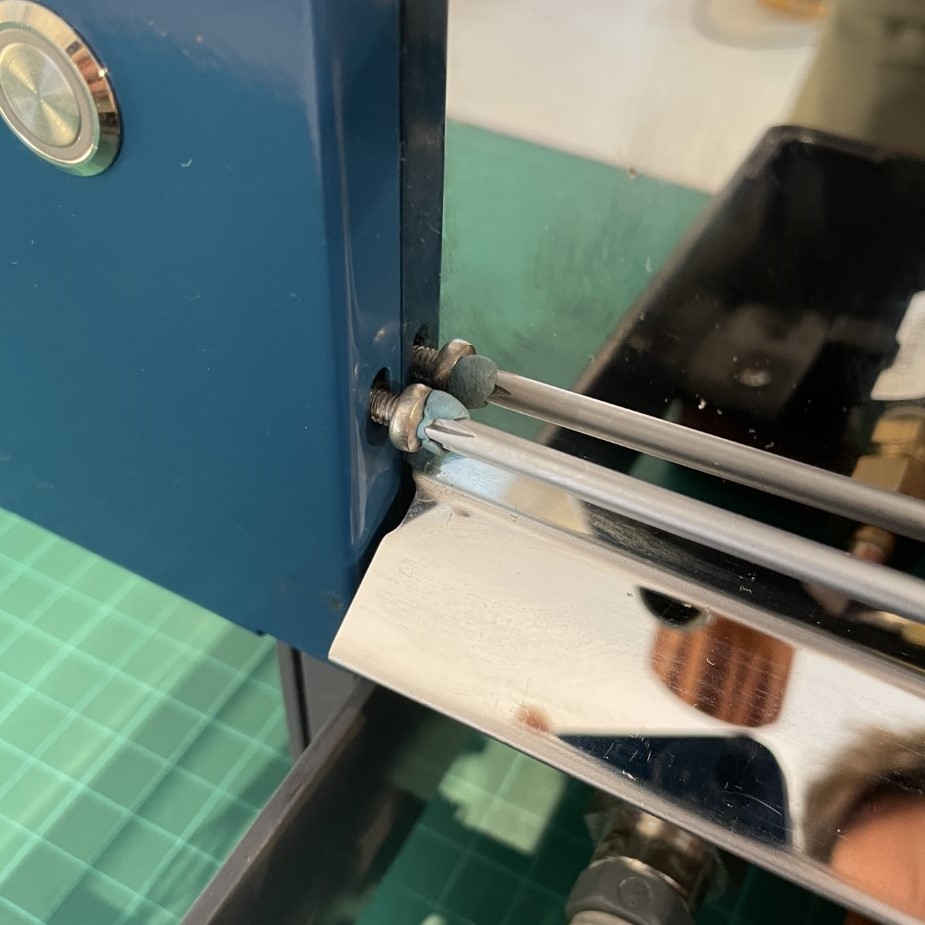
Make sure that the screw is correctly oriented in the hole before tightening it. Push the case gentle against the frame so that it doesn’t interfere with the screw. Do NOT force the screw into the threads – it should turn relatively easily until it engages with the case.
You may wish to thread the screws into their holes before you put the case back on the frame to give you an idea of how they should feel when they are correctly threaded.
Optional upgrades:
1st and 2nd Edition owners may wish to upgrade the manometer connection to the 3rd generation PTFE line with compression fittings. This is relatively inexpensive, easy to do and makes removing and reinstalling the case much simpler. You can also replace the controller and delete the frame-mounted screen; also easy, but not particularly cheap.