
TSB – 14 Anti-vacuum Valve Service / Replacement
Ver 1.0
2026 03 02
Introduction
This document covers servicing or replacing the anti-vacuum valve. Very early editions have a smaller, slightly simpler valve, but the concepts are the same (though different wrenches may be required).
Difficulty: Easy
Time: disassembly 5 minutes, cleaning 10-20 minutes, reassembly 5-10 minutes.
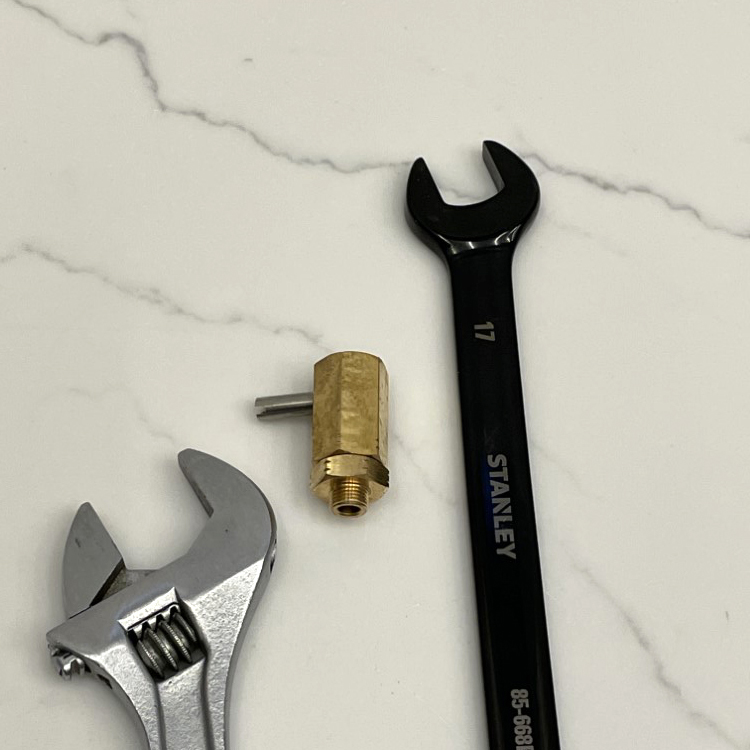
Tools and parts required:
Service in place
- Metric wrench 17mm
- Adjustable wrench (metric or inch ;)
- 10% citric acid solution (or cleaning (white) vinegar, or (strained) lemon juice)
- Maybe a toothbrush
- Lint-free cloth and/or cotton buds
Replacement
- Metric wrenches 14mm and 17mm
- Adjustable wrench
- Teflon tape
- Tweezers are helpful
For replacing or servicing the valve you will, as noted, need a 17mm wrench and an adjustable wrench. James May, however, has very strong opinions about adjustable wrenches (which we share) and it should be said that it is preferable to use two 17mm wrenches rather than just a single one with an adjustable – but who, other than James May (and us), has two sets of metric wrenches?
Step 1
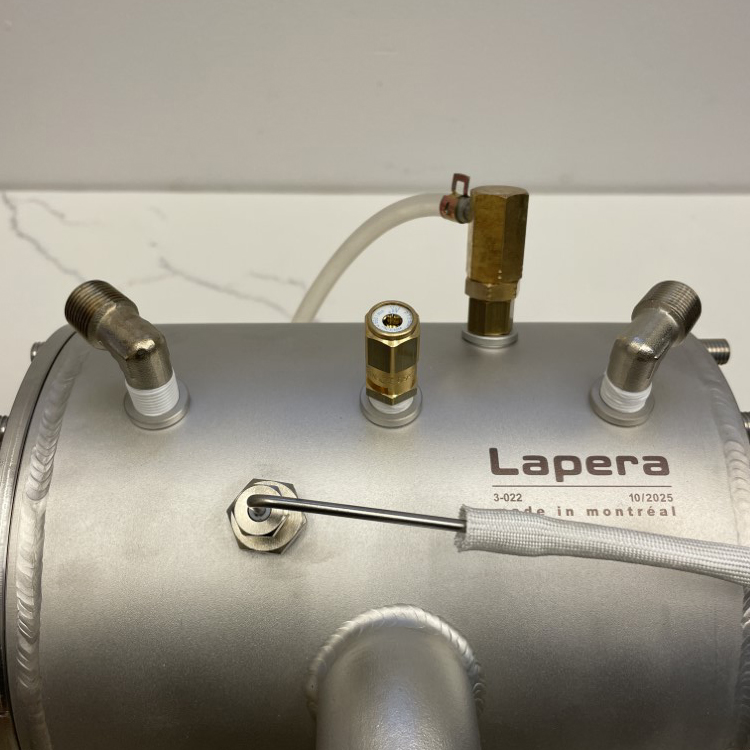
Top view of boiler (the case and some other parts have been removed for clarity) – the anti-vacuum valve is the one above the L in the Lapera logo.
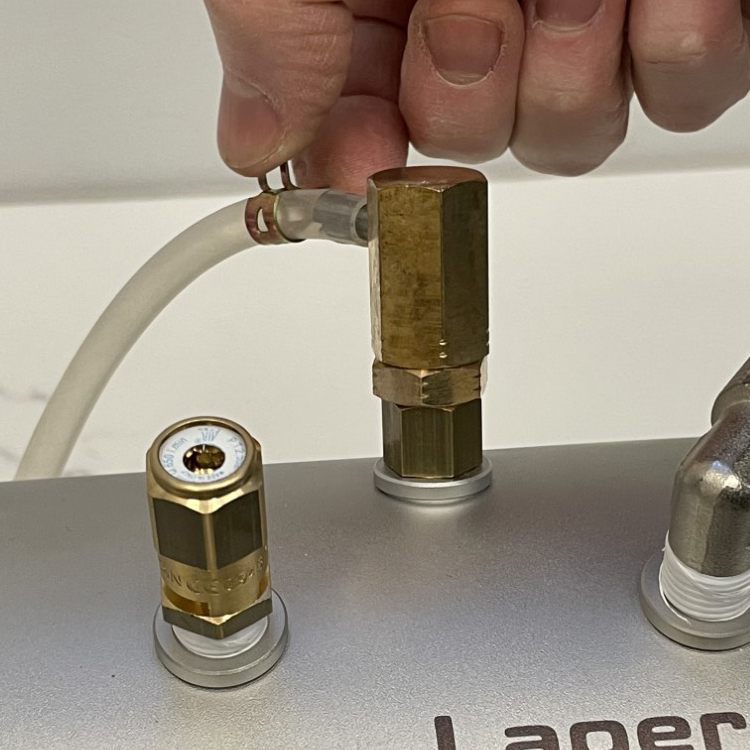
With the machine off and cold, pinch the hose clamp and slide it a little way up the silicone hose, then pull the hose off the port on the valve.
Step 2 (Service in place)
If you are replacing the valve – skip to Step 3.
Hold the lower half of the valve with the 17mm wrench and loosen the upper half (anti-clockwise) with the adjustable.
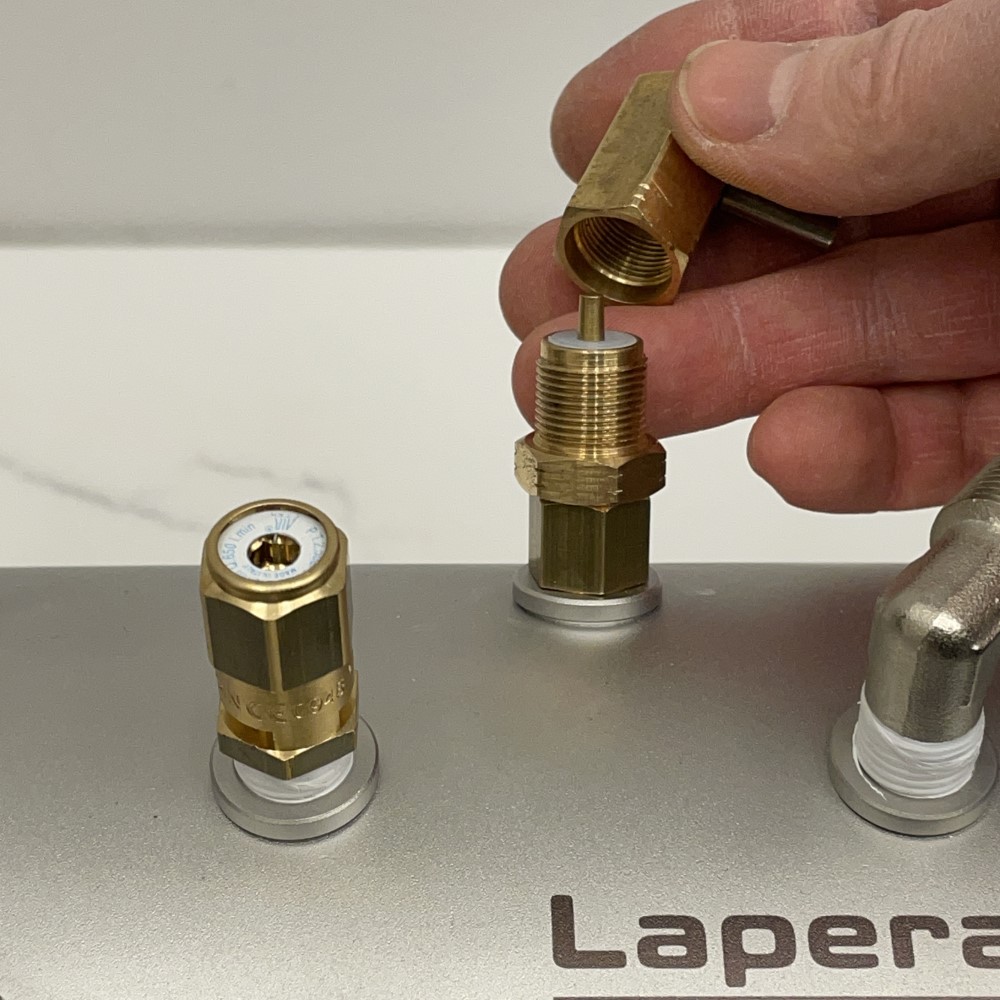
Unscrew and remove the valve body.
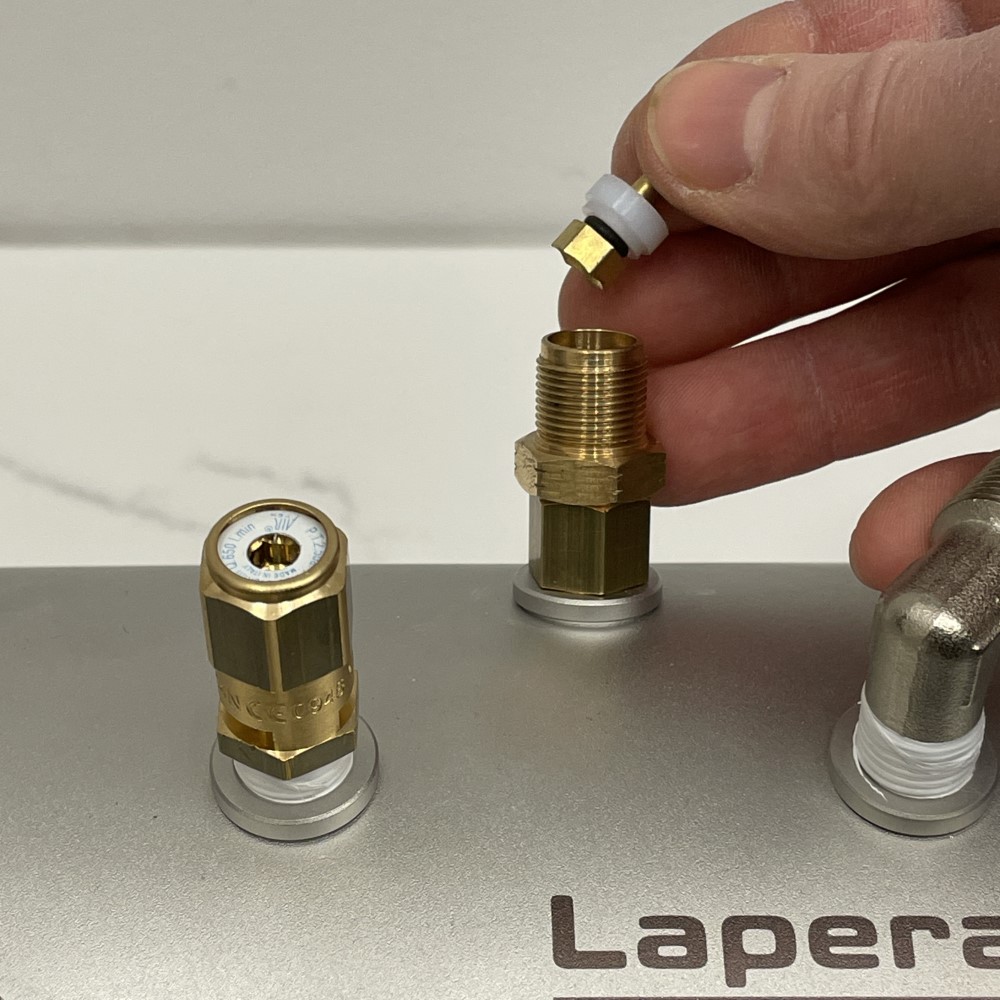
Pull the stem upwards to remove the plunger assembly.
Note the orientation of the small shoulder on the white Teflon part for reassembly.
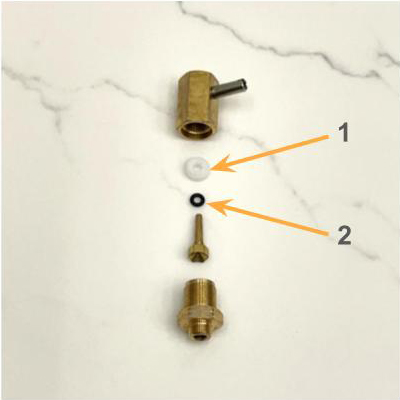
This is the a fully disassembled valve. Note that the lower section should still be on the machine. Soak all the parts in citric acid, give them a scrub with a toothbrush (just don’t tell whomever you borrowed it from) and rinse them in clean water. The o-ring (2) can be removed (carefully) with fingernails if necessary. Clean the lower half of the valve (the part still on the machine) with a lint free cloth or cotton bud and some citric acid to remove any calcium build up. Wipe off the acid with a damp cloth / cotton bud. If you do use cotton buds be very careful not to leave any cotton lint in the part.
That is it – follow these instructions in reverse order to reassemble the valve. Do not overtighten the two halves of the valve with the wrenches – they don’t need to be death-gripped together. Start the machine and check for steam leaks when it is warmed up by looking for condensation while holding a small mirror, or a stainless steel knife close to the joints.
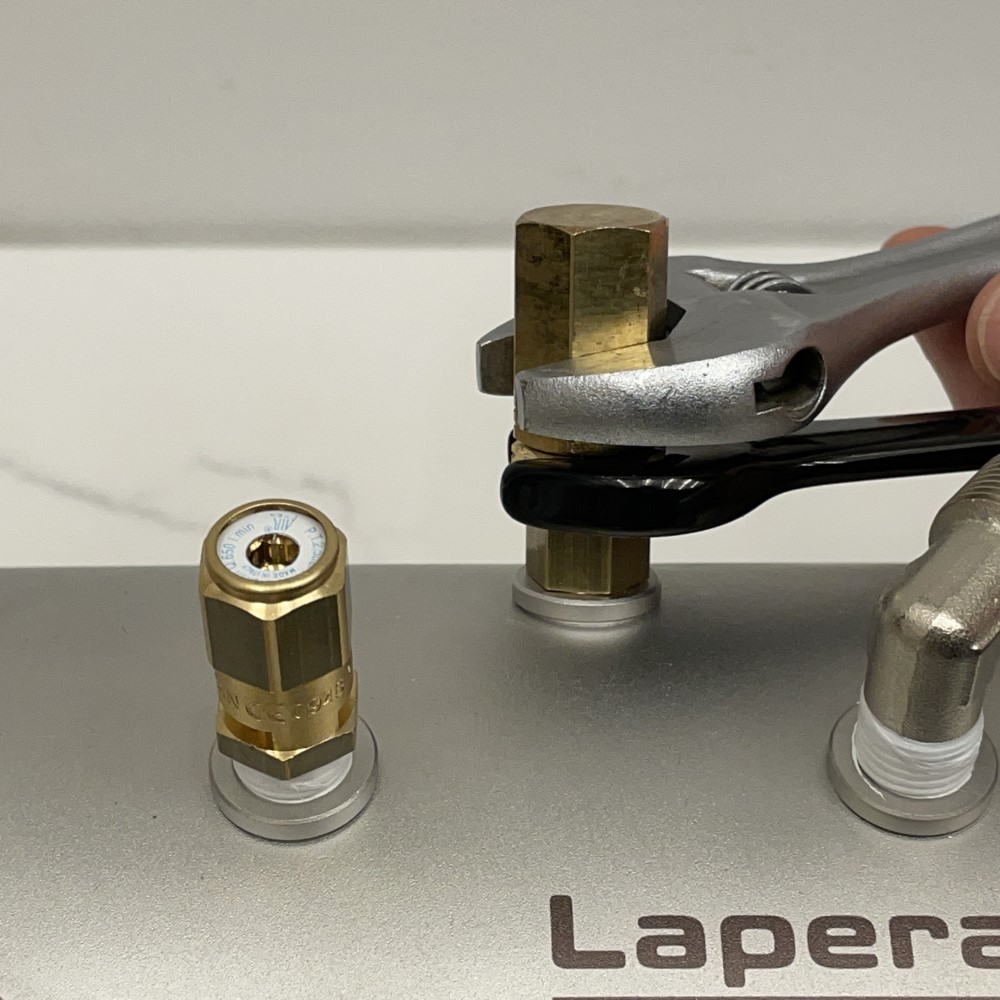
Step 3 (valve replacement)
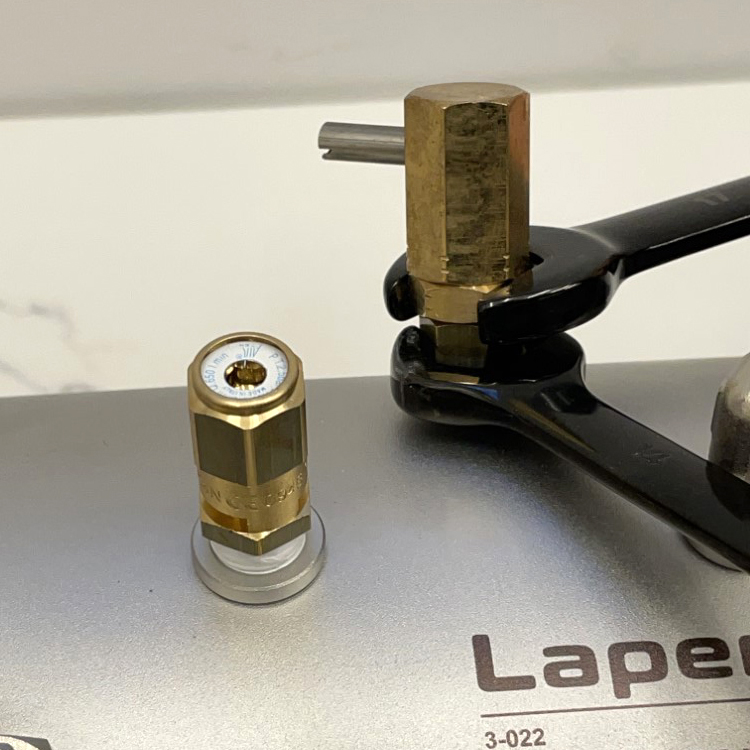
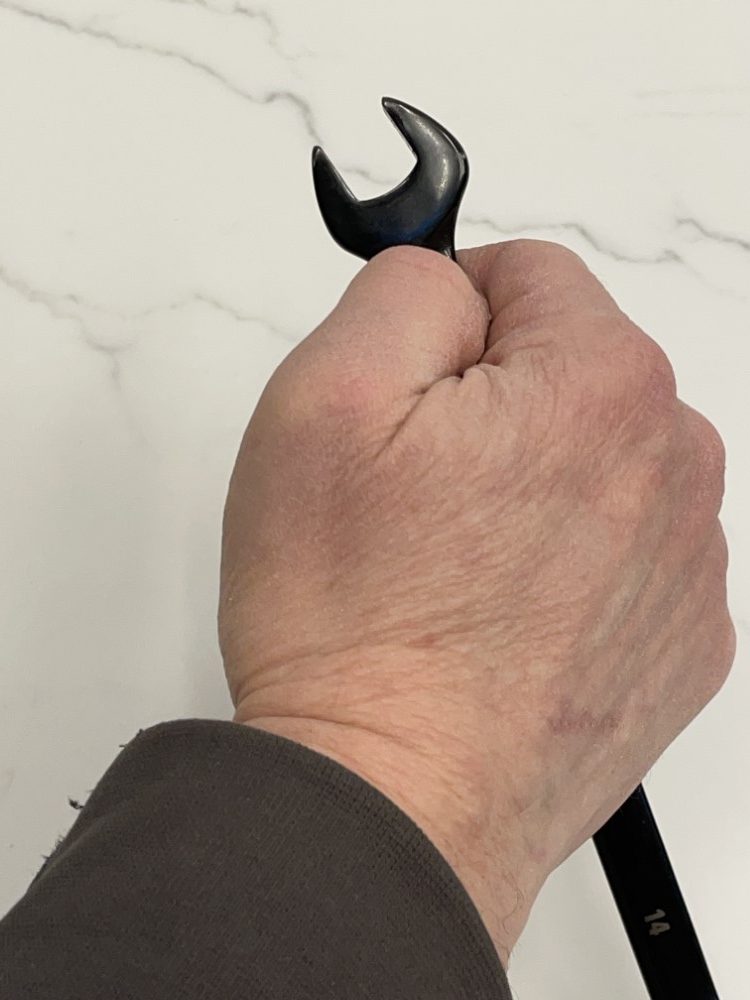
Break open the connection between the valve and the extension fitting on the boiler using a 14mm and 17mm wrench – hold the lower fitting in place with the 14mm and loosen the lower hex of the valve (anti-clockwise) with the 17mm.

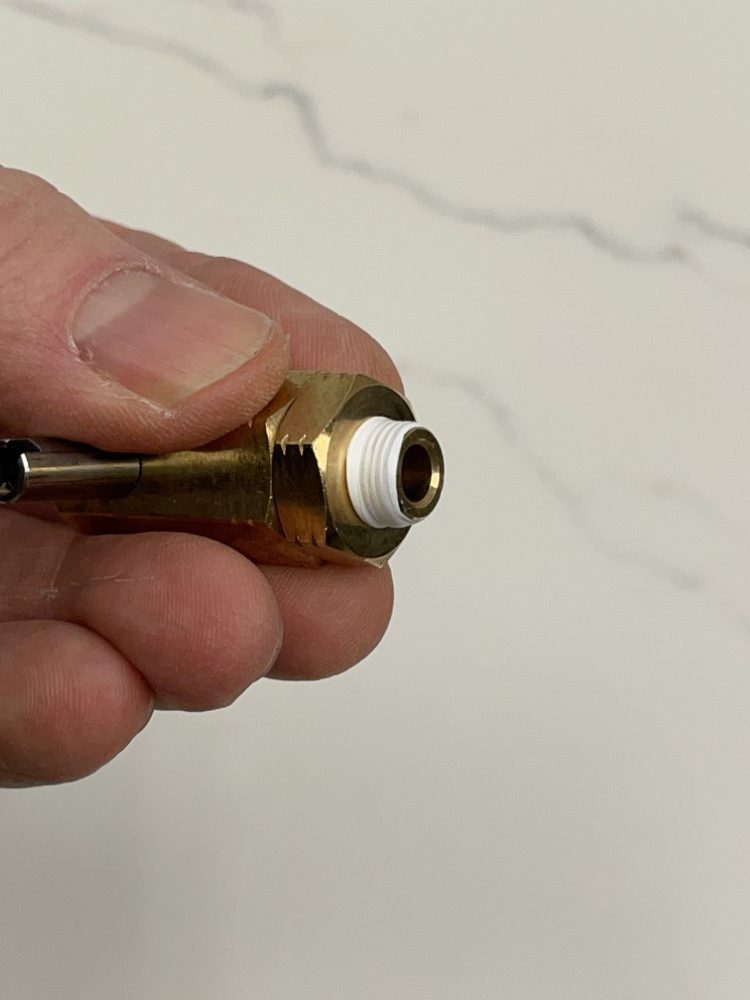
Unscrew the valve from the fitting on the boiler trying not to drop any sealant crumbs into the boiler as you do so (the picture shows a clean, new part without tape so we are cheating). Clean the tape remnants off the male and threads as best as possible. Tweezers are helpful.
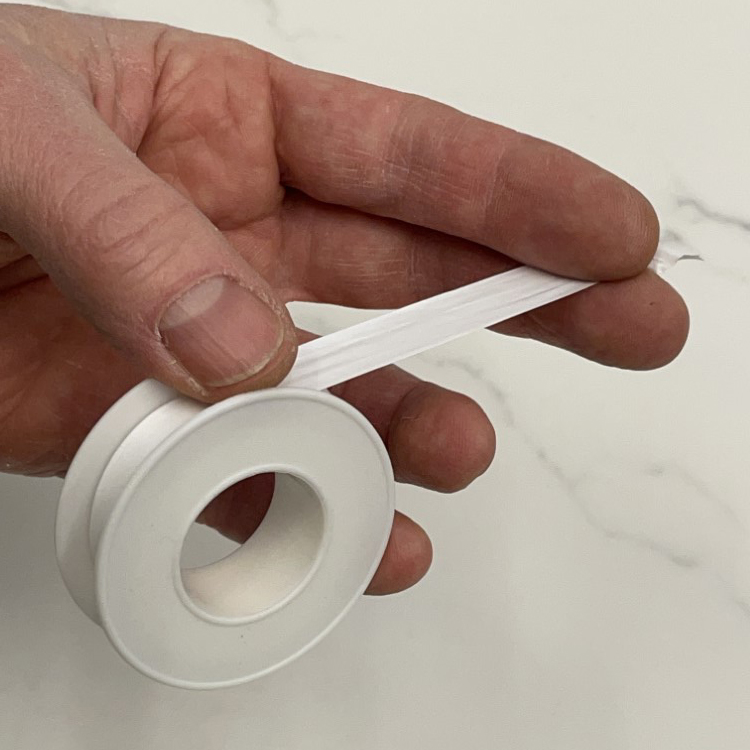
Time for the Teflon tape. We use the readily available 3/8″ size tape.
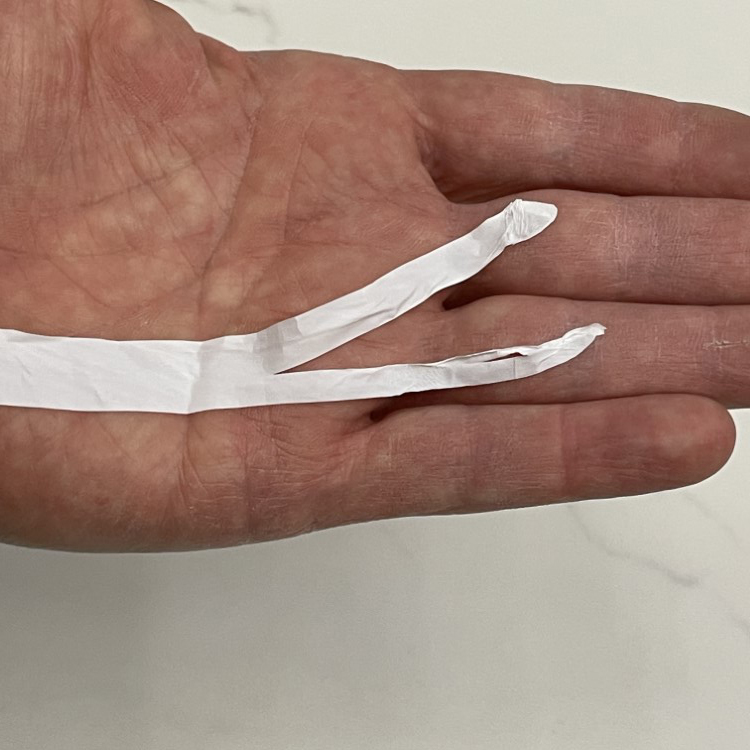
Either you can tear the tape length ways, or…
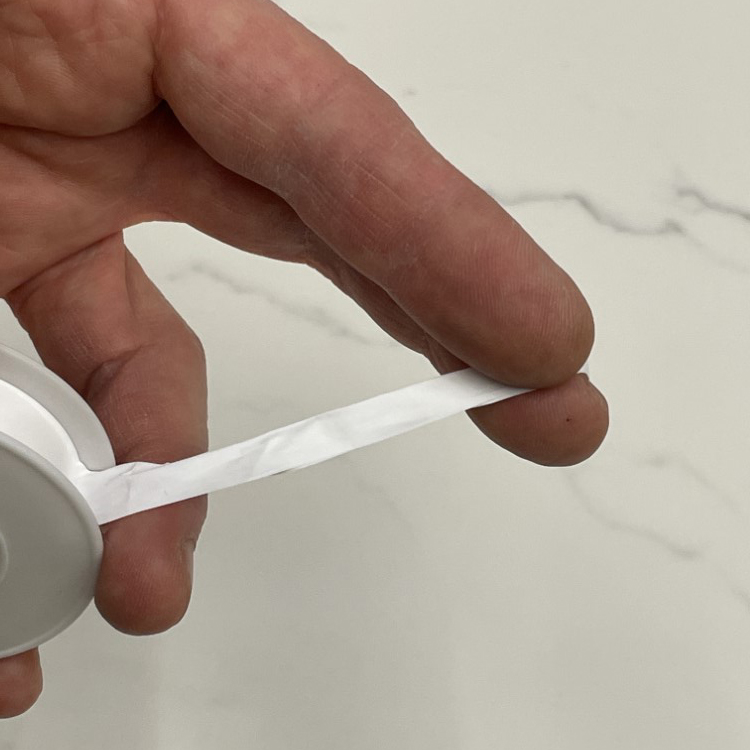
…you can fold it in half lengthways to make it a better fit on the threads of the new valve.
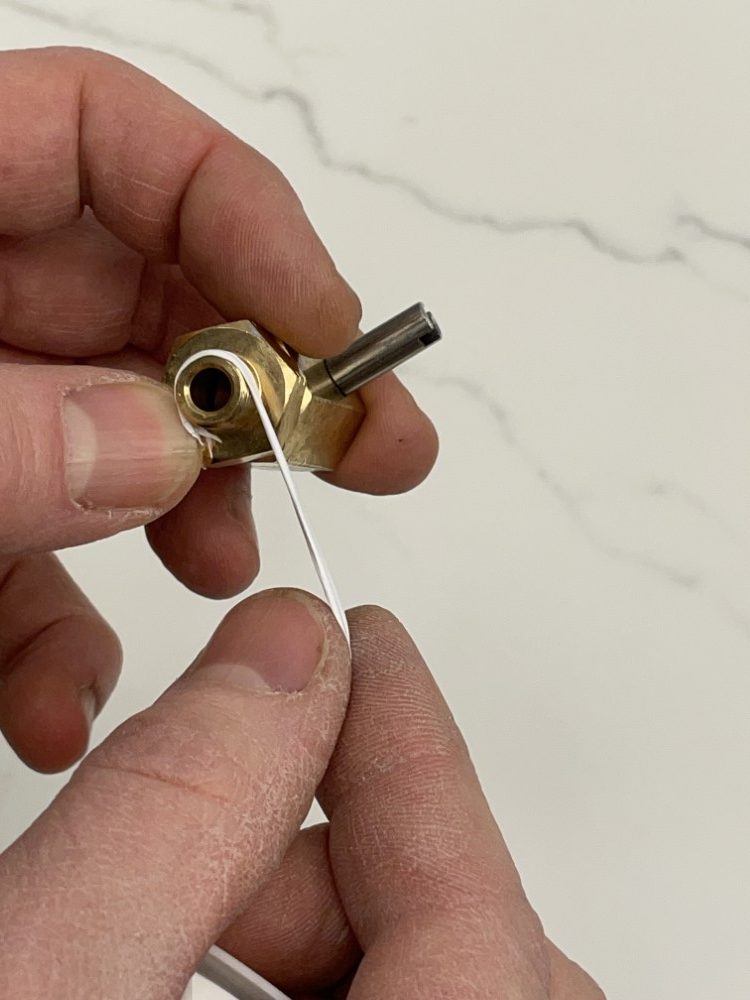
Wrap the tape clockwise (as you look at the bottom of the part) around the threads.
You are aiming for about four (single layer) turns or so. Some extra tape at the top is fine, but make sure that the tape stays in the threads and that none of it gets over the opening.
Install the new valve on the machine with a 17mm wrench.
IMPORTANT – do not overtighten the valve! You can easily develop enough torque with a regular wrench to shear the small threaded fitting. Hold the wrench close to the part you are tightening to decrease the force you can apply.
Restart the machine and check for steam leaks by looking for condensation on a small mirror, or a stainless steel knife, held close to the connection. If it leaks steam, you may want to take it back off, redo the Teflon and try again.
Time for a coffee.