Today’s post is all about freedom. And the Queen.
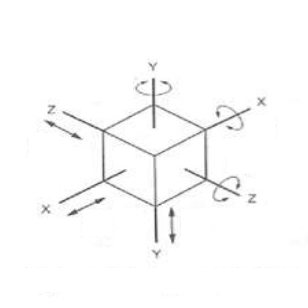
It seems to me that the design of mechanical systems might be described most simply as the selection of a set of idealized rules that, taken together, define how objects are allowed to move with respect to themselves and one another. For example: in addition to turning, the front tires on your car can rotate to the left and right (the steering) and move up and down (the suspension), but bad things have happened or will likely happen if they move either along or perpendicular to the direction of travel of the car. These rules or constraints are most often defined in three-dimensional Euclidean space in which there are three imaginary axes, each representing a single dimension, that pass through the centre of an object and (with engineering’s typical disregard for unintended double entendre) 12 degrees of freedom, or ways in which that object might move with respect to the axes: it can be translated, moved like a chess piece, in six directions, left-right, front-back and (unlike normal chess pieces) up-down and rotated backwards or forwards around the same three axes.
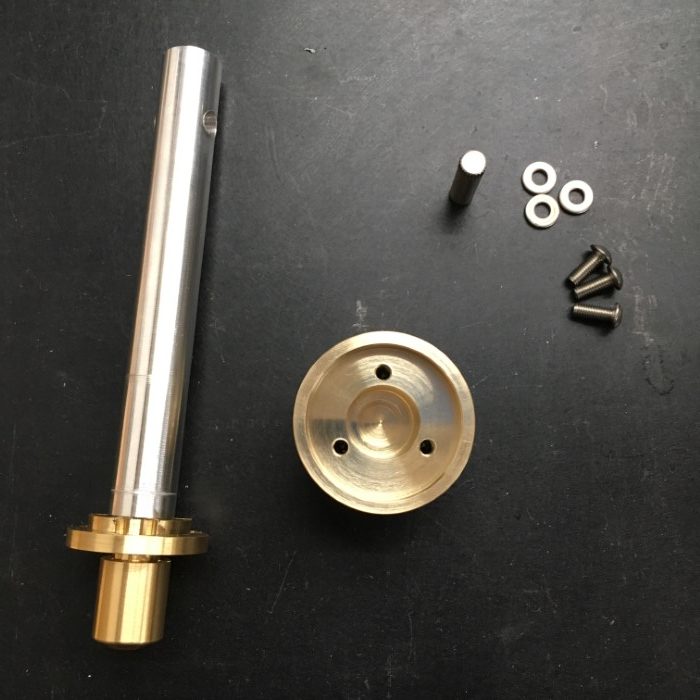
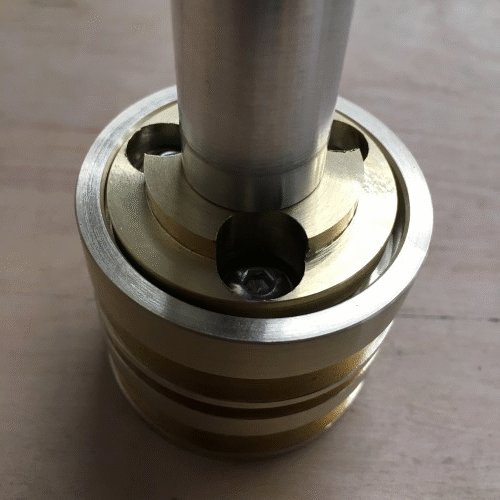
So before I get to the first production run of the pieces of the Lapera lever group, I thought it was worth revisiting the prototype piston assembly that I made some time ago. Rather than the fixed piston head and piston rod design typically used on most contemporary lever groups, I opted for a slightly more complicated articulated or floating-head design. The downside of complexity of course is that it always comes at a cost: more parts to make, more parts to assemble. The upside, which I think considerably offsets the disadvantages, is that the articulated piston is self-aligning: it automatically compensates for angular misalignment and eccentricity between the axes of the cylinder bore and the piston rod. This results in loads and consequent wear patterns on the piston seals that are more symmetrical. Even wear on the seals promotes seal longevity – which is a good thing!
The piston mechanism is perhaps best explained by an analogy to a part of the human anatomy: the wrist. Your hand is free to wave from side to side (like the Queen),

forwards and backwards (like Mikey)

and also to rotate (although this is not actually a design requirement for the piston assembly but I couldn’t resist the plastic, solar-powered Queen).

These rotations, or degrees of freedom, have limits of course; otherwise it gets really weird and creepy (think The Exorcist). In addition to rotating, the wrist permits the piston to translate laterally – similar (though not actually via the same mechanism) to another body part: the head.

So the piston assembly is sort of like a wrist, or a head, or maybe a neck. I don’t know anymore. I guess body part analogies only get you so far when trying to describe mechanisms. But I, at least, enjoyed the animated gifs. The upshot of all of this is that the chosen set of constraints embodied in the design of the wrist allow and restrict the 12 different types of motion and permit the force from the seals as they press against the cylinder wall to rotate and translate the piston into perfect alignment with the bore. Or perhaps you got it months ago and I could have saved myself a lot of writing by just posting another gif:
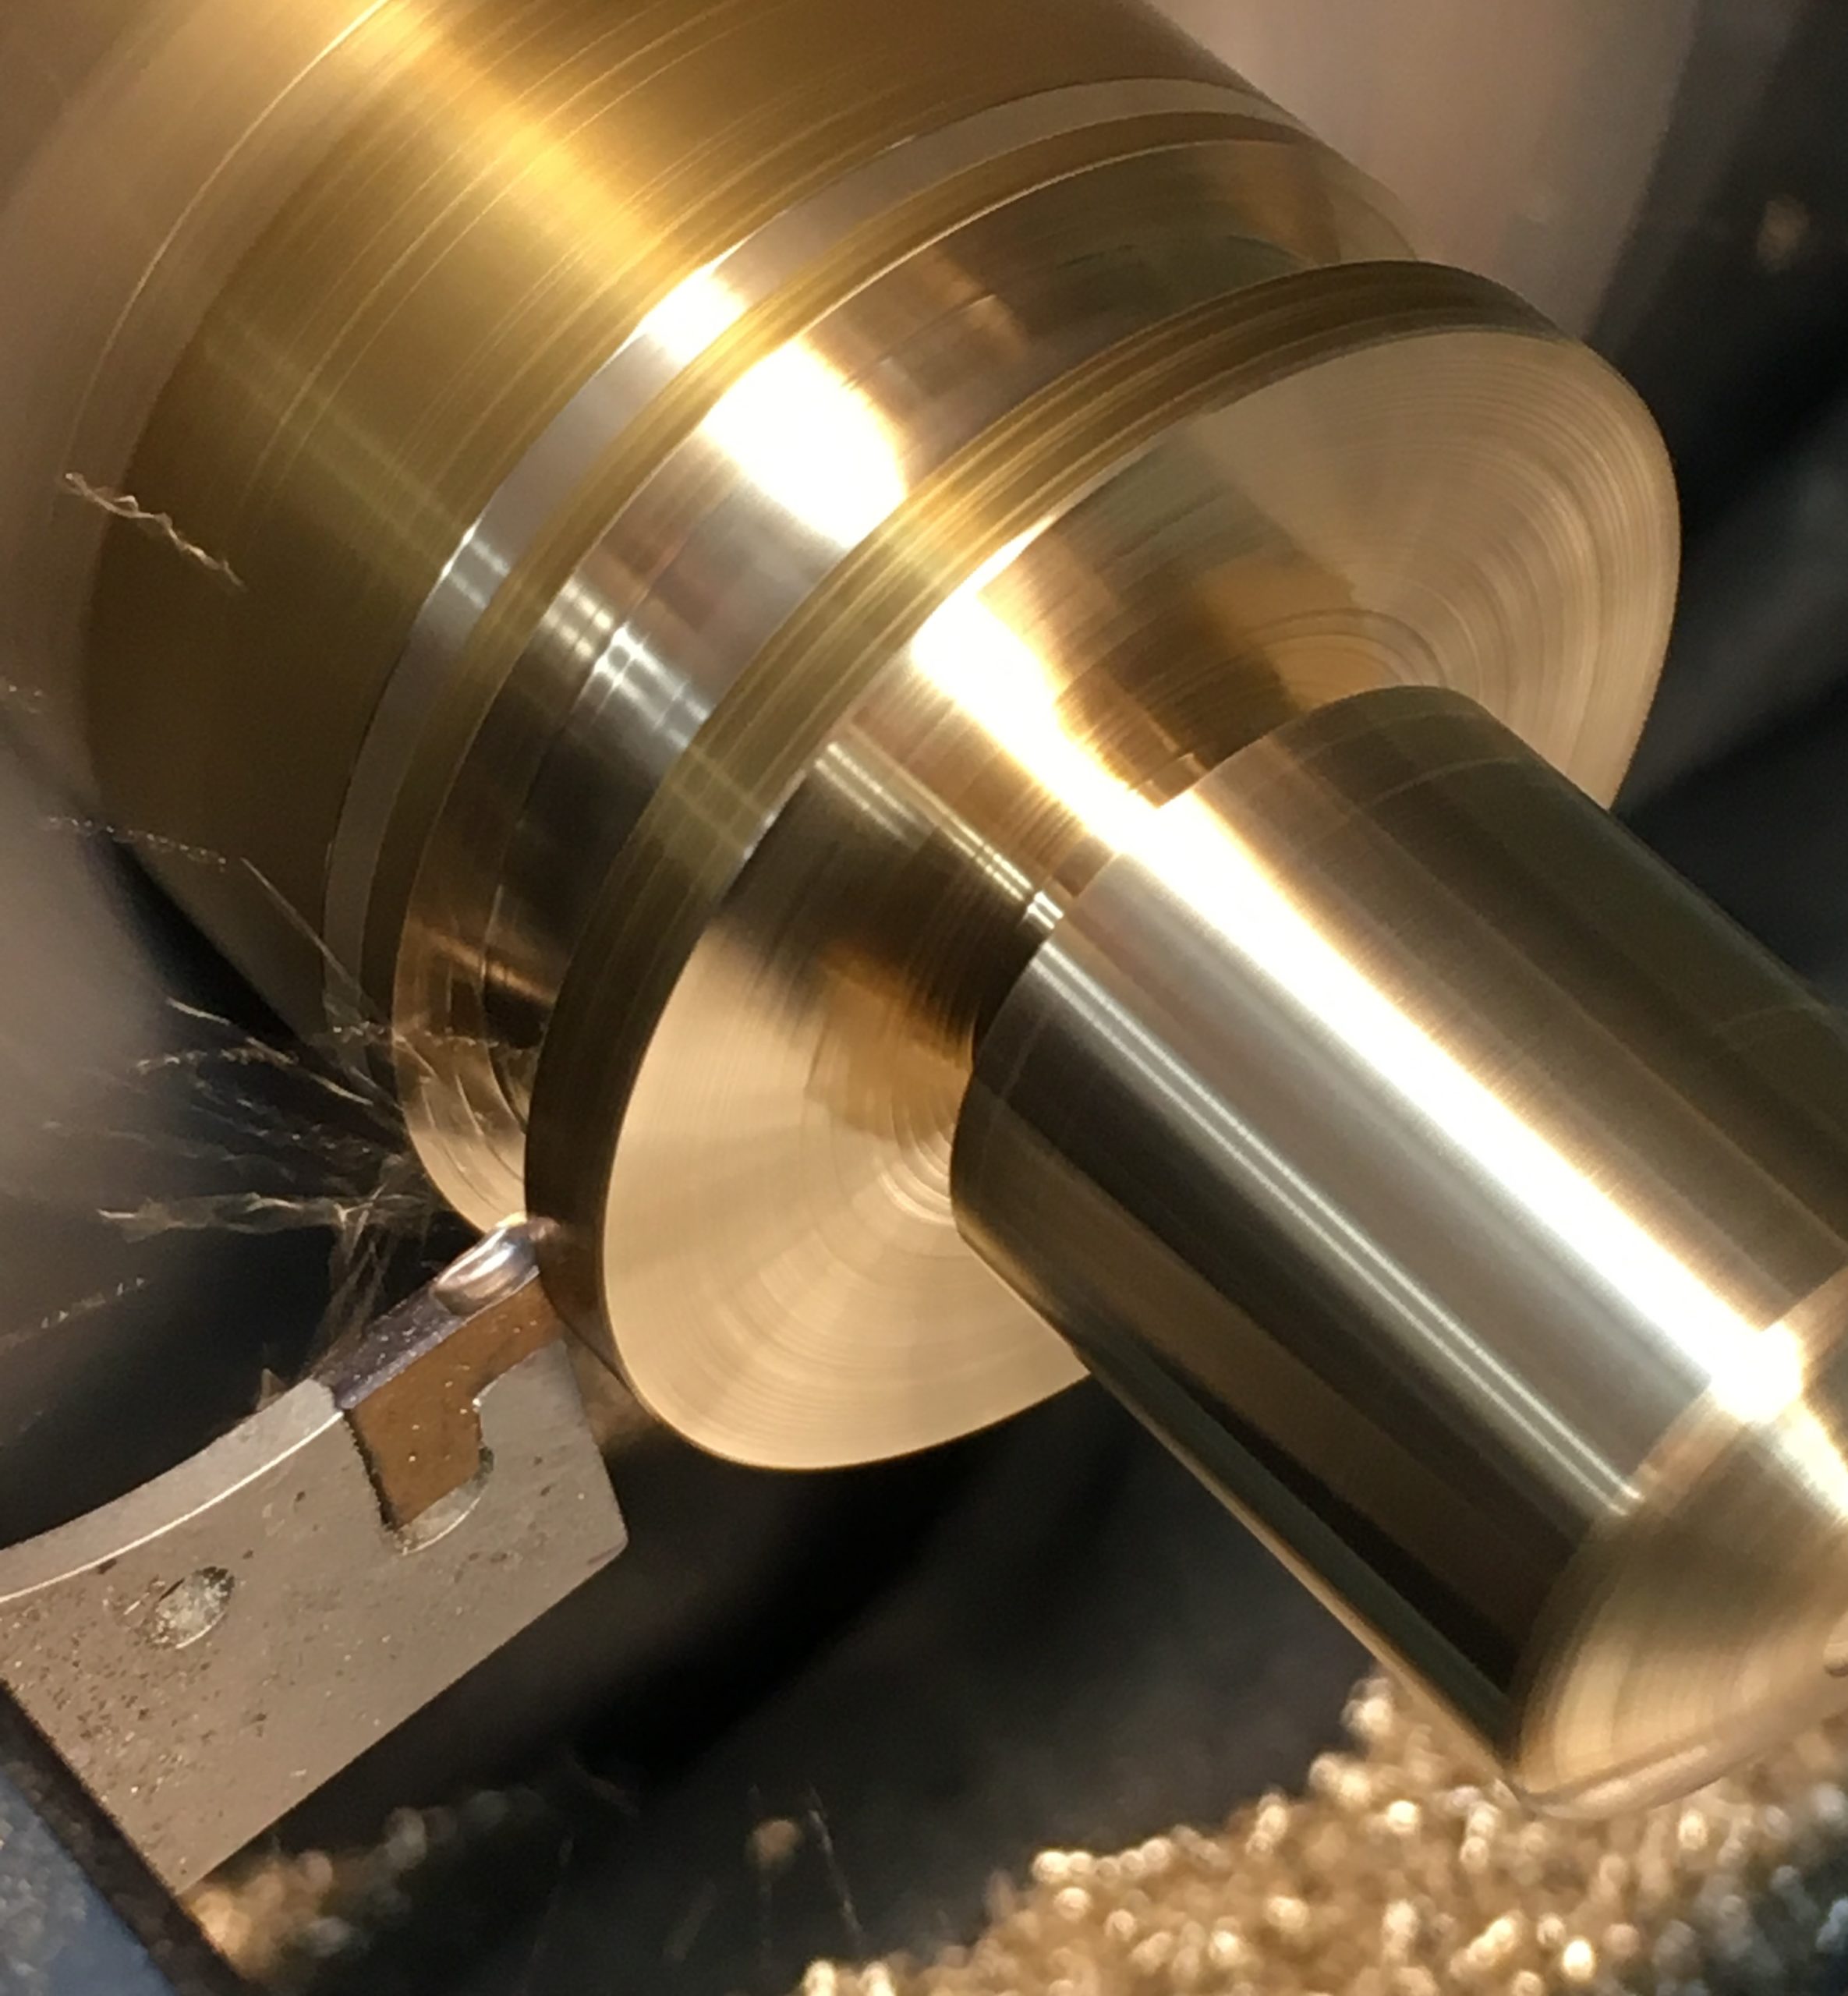
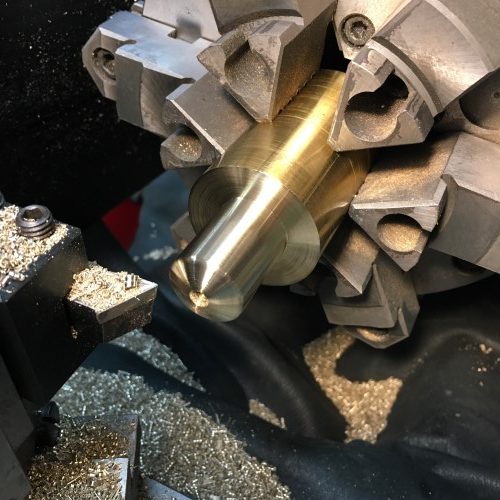
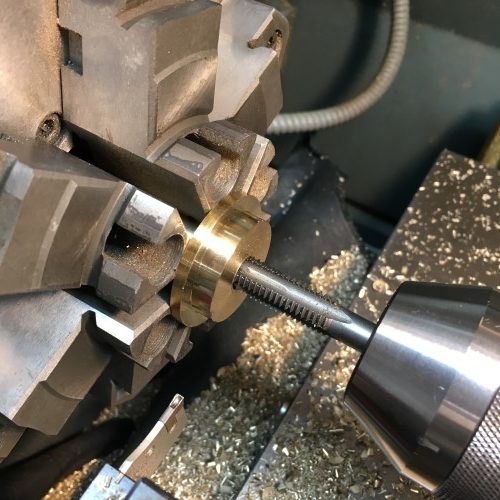
Here is a reprise of the fabrication process for the prototype of what I am still insisting on calling the wrist. Starting from a piece of 2″ C360 brass round bar stock:
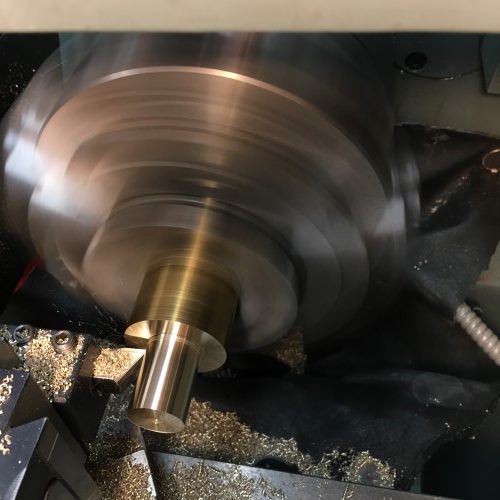
Two slight angle cuts on the tip approximate a radius – this is quicker to setup than cutting an actual arc and makes little difference to functionality.
Then, using a cut-off/grooving tool, we add an undercut below what will be the flange. Spoiler: this is the clever bit of the design.
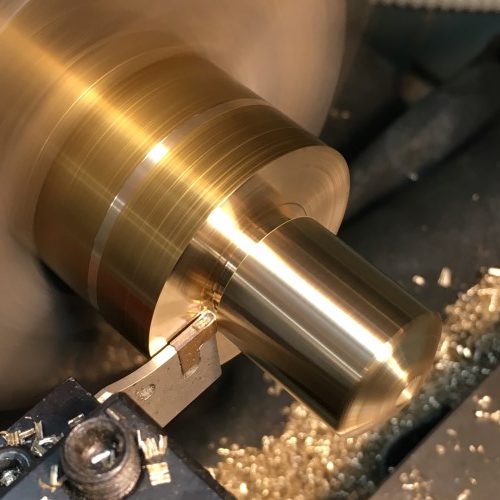
Another wider groove is cut above the flange to create the boss that will align the spring.

Then the part is cut off the stock…
…and flipped around to be drilled…
…and tapped with an M10 thread.
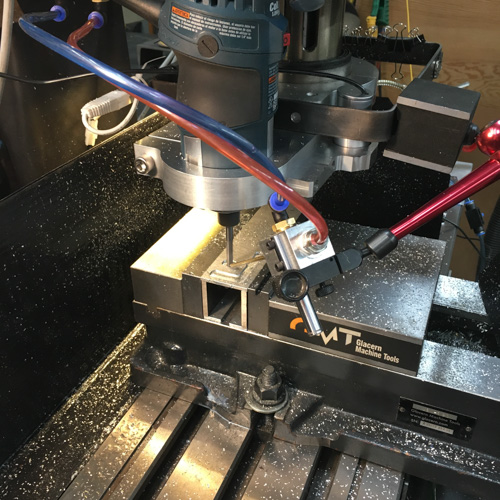
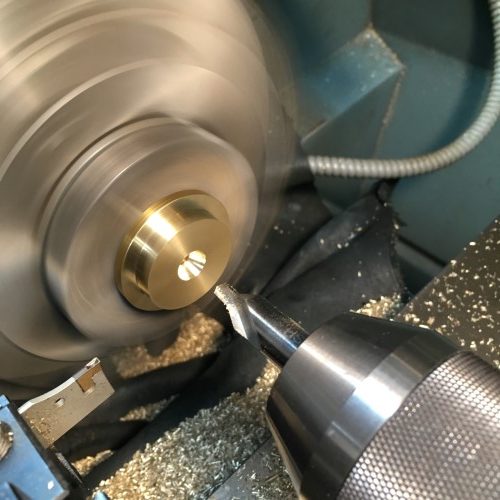
Then the part is moved over to the milling machine to complete the remaining features. This process starts with finding the centre with a touch-probe.
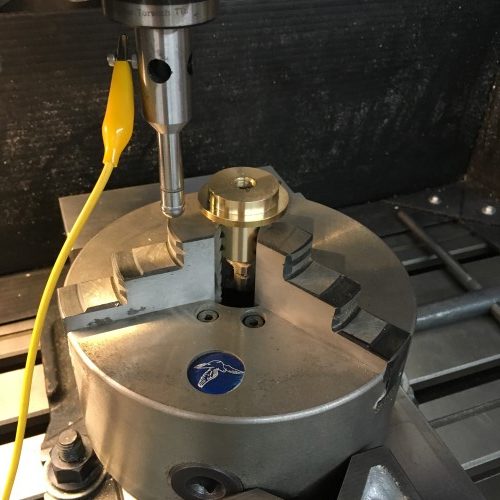
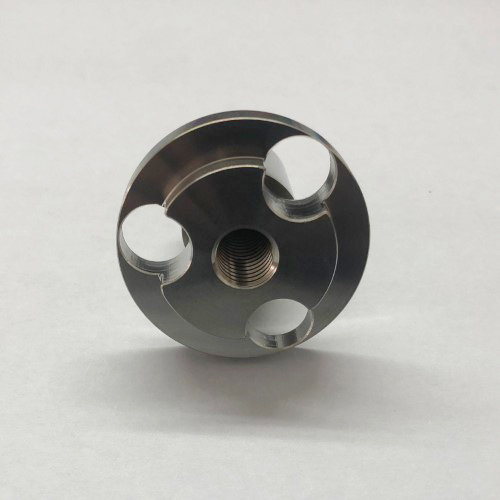
Then three clearing holes are drilled in the flange and boss.
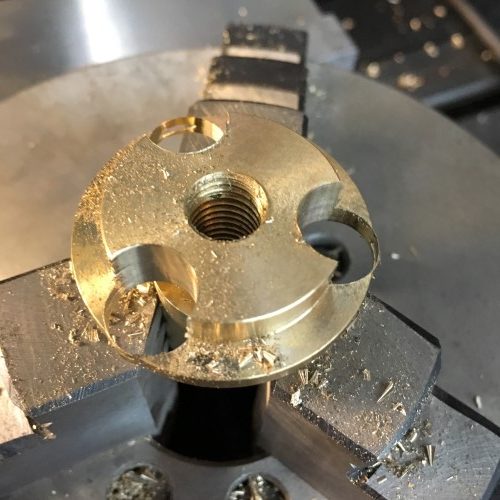
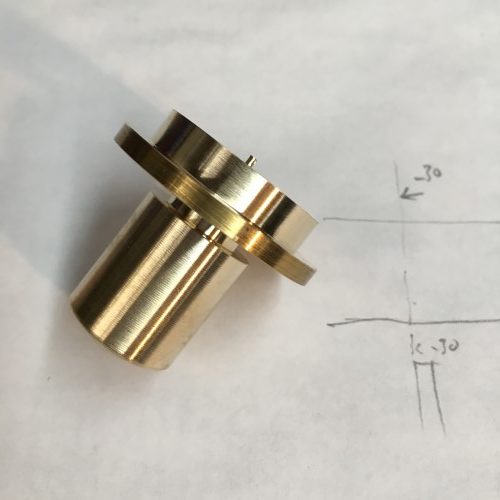
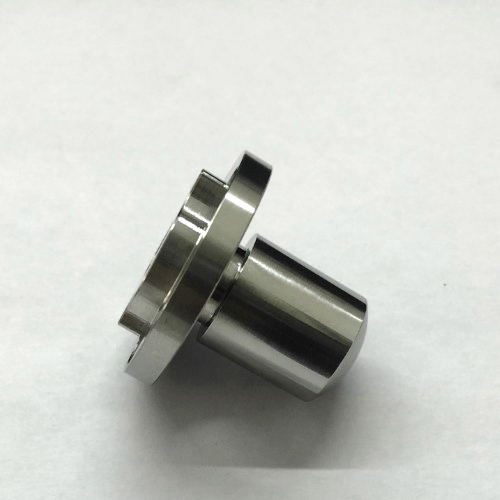
After a little cleanup – a finished wrist prototype.
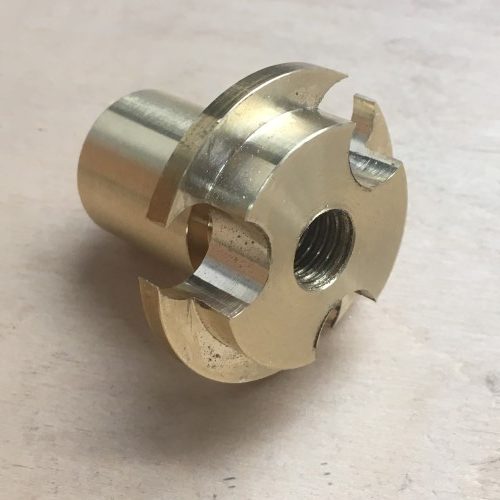
And here, with some very slight dimensional tweaks to adjust the permissible amounts of rotation and translation, is the production wrist part in the final material – AISI 304 stainless steel.
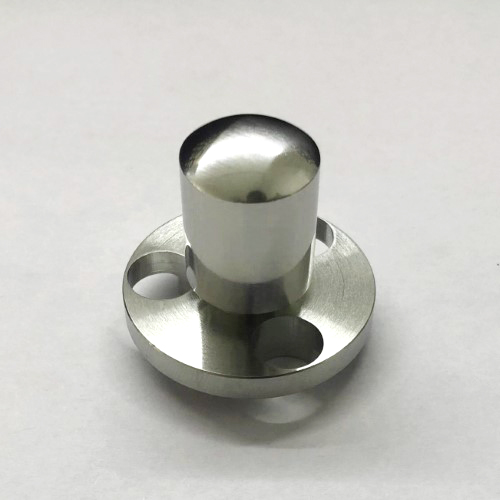
Mmmmmm – shiny :)
Next post will be on the piston. Can’t bear the suspense myself.