Ouroboros – It always comes back around – part I
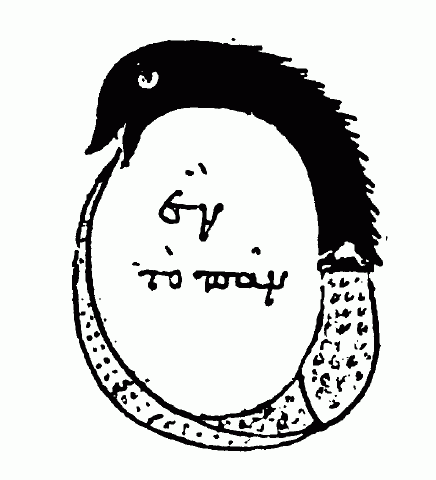
Ouroboros: the snake eating its tail signifying infinity and the eternal renewal. Across cultures and throughout recorded history, the circle has always been associated with perfection and the divine. Euclidean geometry, the intersection of Platonist thought (the theory that ideas have an independent, “perfect” existence outside of the physical world) with logic (a process of systematized reasoning where each thought is linked to the next in a chain of validity) could be considered to be the headwater of the river of technological progress. From Euclid’s circle comes the wheel, the foundation of machinery, from the wheel comes the gear and from gear it is just a short leap of imagination to the steam train and its aesthetic and cultural off-shoot (and, many would maintain, the logical endpoint of progress): the espresso machine. Today’s post is all about round things (not run-on sentences, just read it again, it makes sense)…
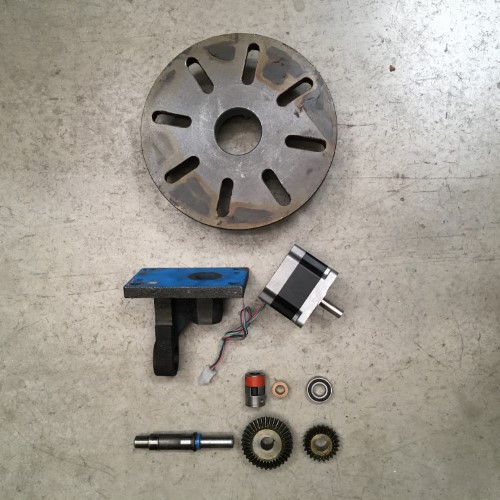
… specifically, turning this lot of rotational miscellany into a welding turn table. The large wheel is a faceplate that has been languishing in a cabinet under my lathe since I bought it ten years ago. It still has the original grease/ear wax stuff from the factory on it so obviously the previous owner also found it useful. The blue cast iron bracket thingy used to serve as the lower bearing mount and hand crank for raising and lowering the head of the mill before it was converted to CNC. The shaft and the crown gears were also parts from the hand crank.
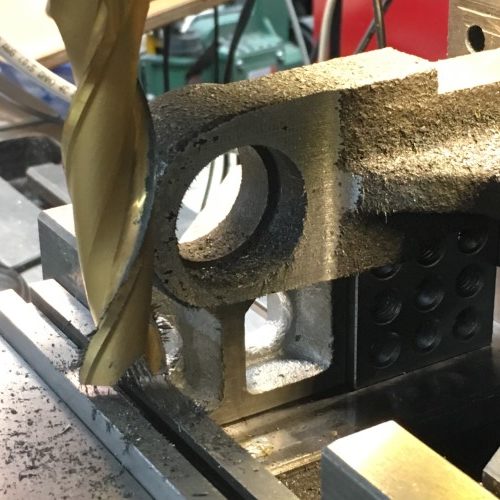
The casting from the mill is not particularly high quality and needs to be cleaned up and properly squared before it can be used. The surface above the bearing mount pocket wasn’t a precision surface in the original design and therefore wasn’t machined – which is fair enough. The little bits cast iron and grit that aren’t actually attached to the casting because it wasn’t even sand-blasted, a bit less so…
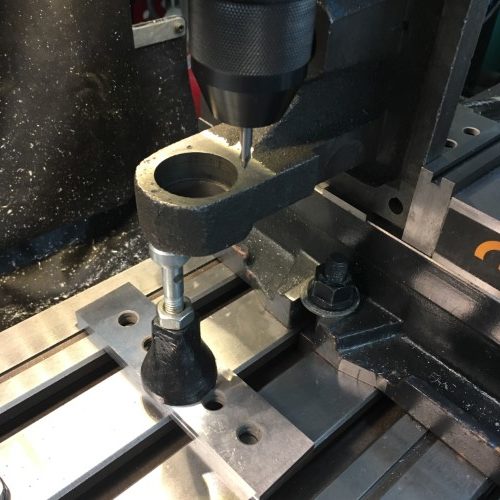
After the cleanup, I add a trio of tapped holes to attach a retaining ring to keep the bearing in place. This could also be done more simply with an internal cir-clip, but I don’t have any on hand, nor do I have convenient tooling to cut the internal groove.
I’m making the retaining ring itself from a piece a (presumably cold-rolled) steel from the scrap bin. This came from a completely weird and baffling machine that I bought surplus just for the nice black anodized aluminum base plate that became my primary work surface (you may recognize it as a backdrop in quite a few photos). I have absolutely no idea what it was for (miniature seismic simulations??) but it came with all sorts of esoteric bearings, pulleys, springs and custom fittings. This piece is part of a matched pair of beautiful adjustable counterweights. Apologies to the designer and fabricator of this beautifully made mystery device, but I’m cutting it up.
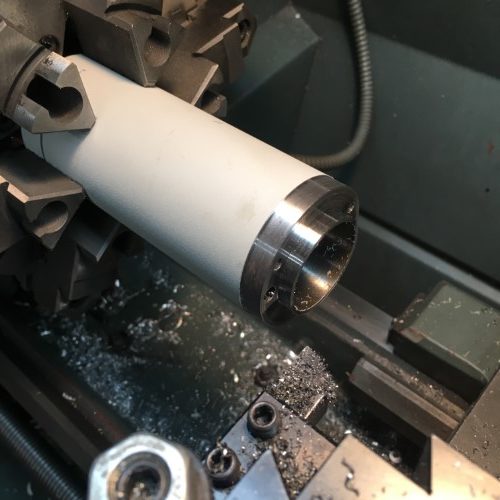
Sizing the internal bore and the external diameters to their required dimensions on the lathe.
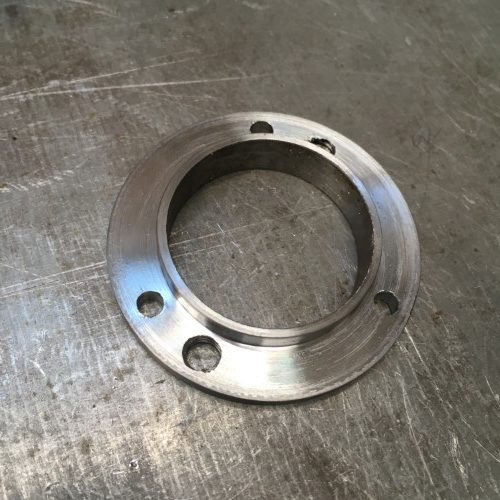
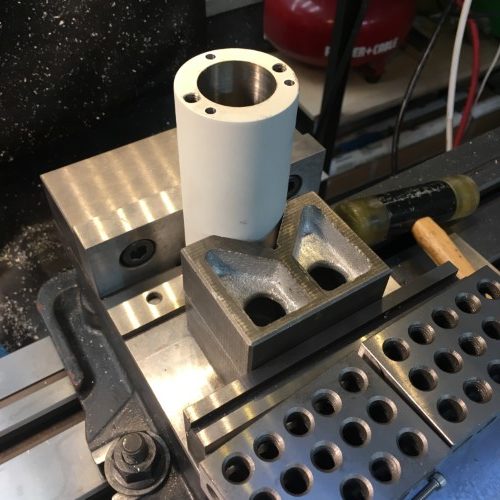
The finished retaining ring – the pair of slightly larger holes were from the original part. Presumably they are threaded to receive the divining rod attachments.
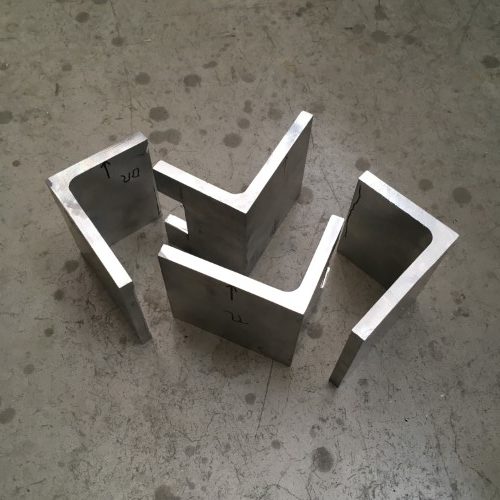
Now we need some structure to attach everything to. I don’t have anything nearly big enough for this on hand and it really should be made from steel, but the size requirements and the stock available means that these heavy aluminum angles are going to have to do.
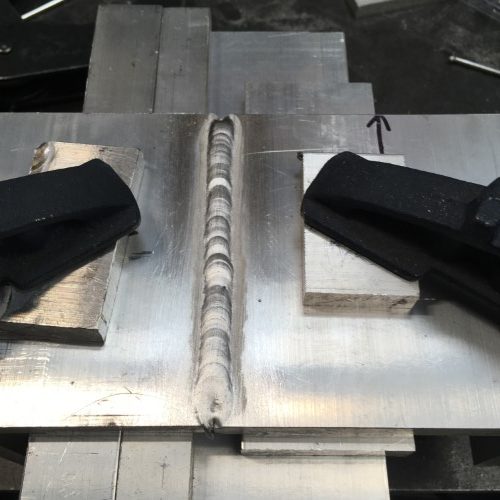
The new welder makes welding aluminum really, really easy by comparison with the old machine. I haven’t investigated the science behind the ‘why’, but the AC balance setting allows the arc to “clean” the metal, removing the surface aluminum oxide in front of the weld. Magic. Suffice it to say that if I can put that bead down, anyone can weld aluminum.
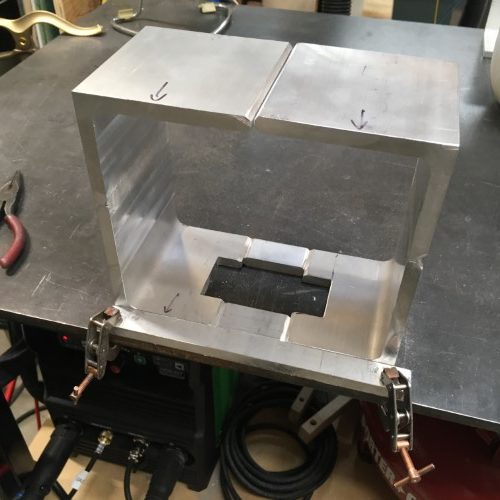
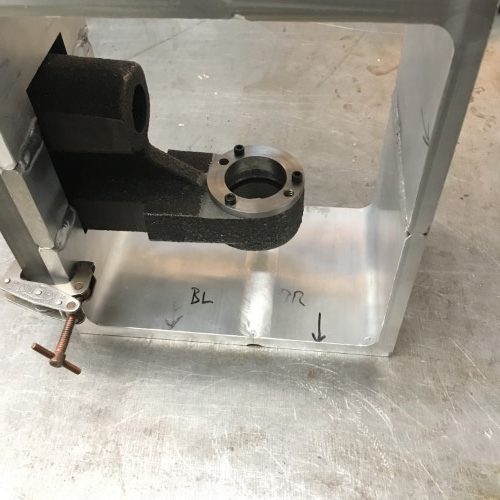
The two sides are notched and spacers are added to make room for the bearing mount.
More to come….
.
1 – By Unknown – Chrysopoea of Cleopatra (Codex Marcianus graecus 299 fol. 188v), Public Domain, https://commons.wikimedia.org/w/index.php?curid=36915535