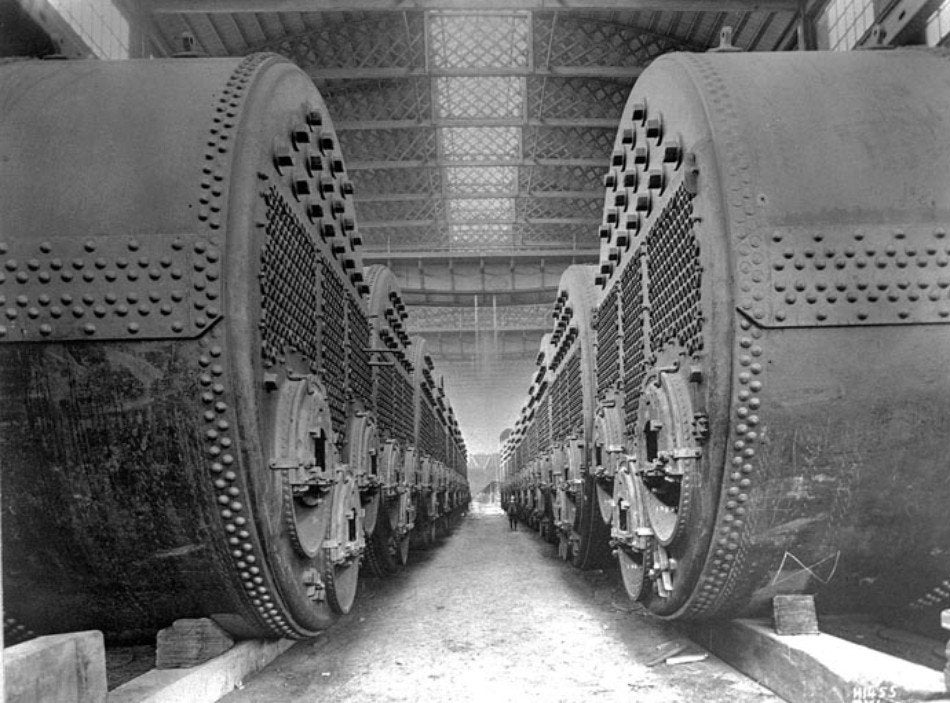
HMS Titanic boilers1
The Titanic, according to my admittedly mildly-unprofessional research, had 24 of these gargantuan boilers, made by Harland & Wolff Shipyard in Belfast (I doff my hat to you and struggle to maintain control of my lower mandible), that collectively consumed 600 tons of coal a day (shoveled by 200 workers!) in order to maintain the ship at cruising speed. 600 tons. I’m gonna say that again: 600 tons. 15 Jumbo Jets. A day. Mind boggling. So to describe the Lapera boiler upgrade as Titanic is a bit of stretch. OTOH, the Titanic’s boilers were only in service for 4 days and 3 hours (if you include the brief period post-iceberg) so we are already well ahead in that regard.
So why a blog post about this? Well, the boiler has undergone a major design revision for the second edition and, as it is by far the most complicated part of the machine and is completely unseen hidden away inside, it deserves a little more narrative-intensive attention and continuity than the Gram can provide. This will require backing up a little so if you have been following the stream there will be a little repetition to allow the narration to catch up with the intervening flow of time (time only going the one way and all that (another corollary of that pesky Second Law of Thermodynamics)).
The biggest and invisibilest upgrade to the boiler is the change from 304 stainless to 316. 316 is generally and significantly superior to 304 in terms of corrosion resistance mostly because it contains a much higher proportion of nickel. The high nickel content makes it quite a bit more expensive than its baby brother. Which may, or may not, be a factor explaining its non-universality in coffee machine boilers. No judgements here. Just saying.
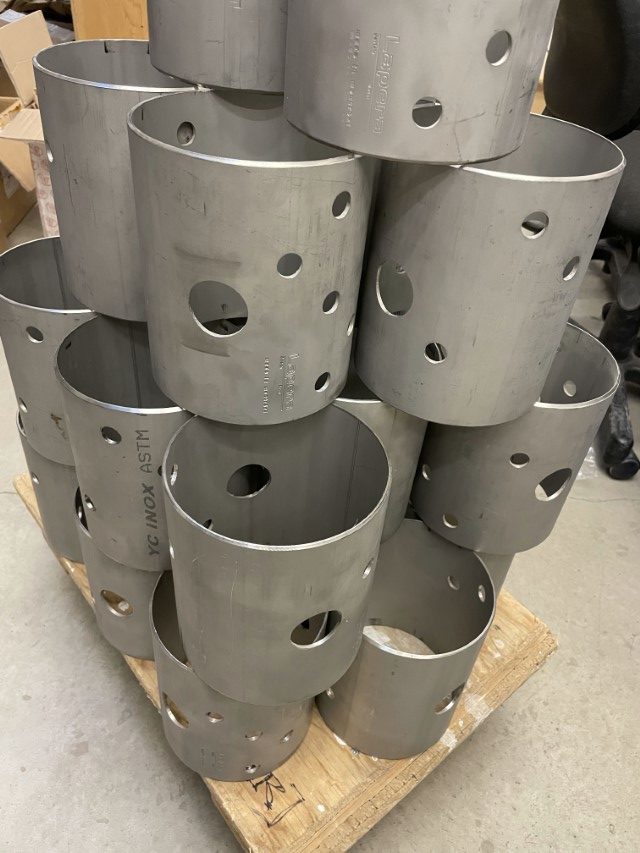
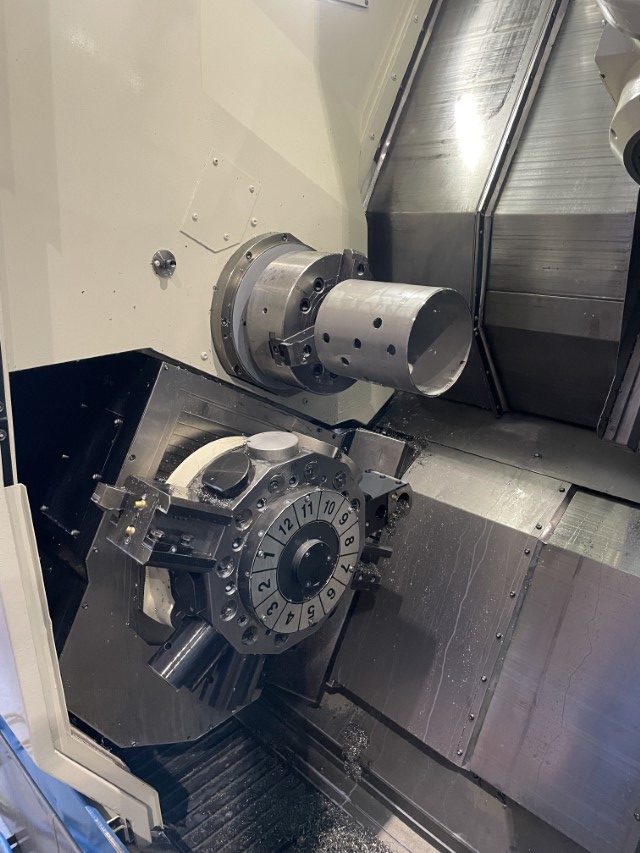
So on to some of the bits and pieces, of which there are a quite a few, that make up the beating heart of the Lapera machine. First up: the main boiler tubes. Cutting these tubes, or rather finding someone to cut them without screwing them up, has been, until recently, the second-greatest problem / source of irritation since the start of this project in 2016; second only in hassle-quotient to the foundry work. Here they are, cut on an completely over-kill bus-sized lathe this time around because I cannot, to save my life, find anyone with a laser tube cutter who will do this correctly. Done also, despite the 500% increase in the price of nickel in March and subsequent collapse/suspension of the London Metals Exchange where all the world’s nickel is traded. (The causes and ramifications of this is a fascinating story btw. At least to me.)
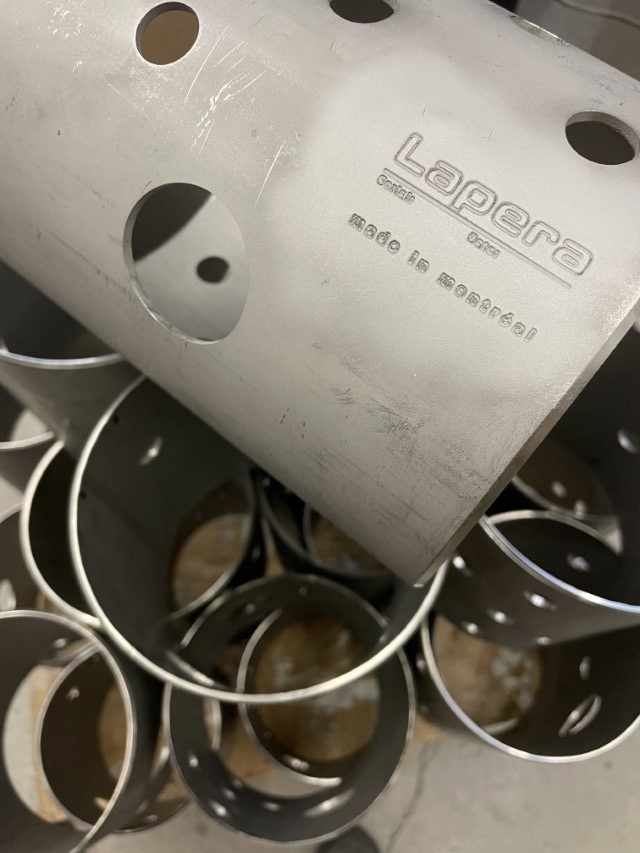
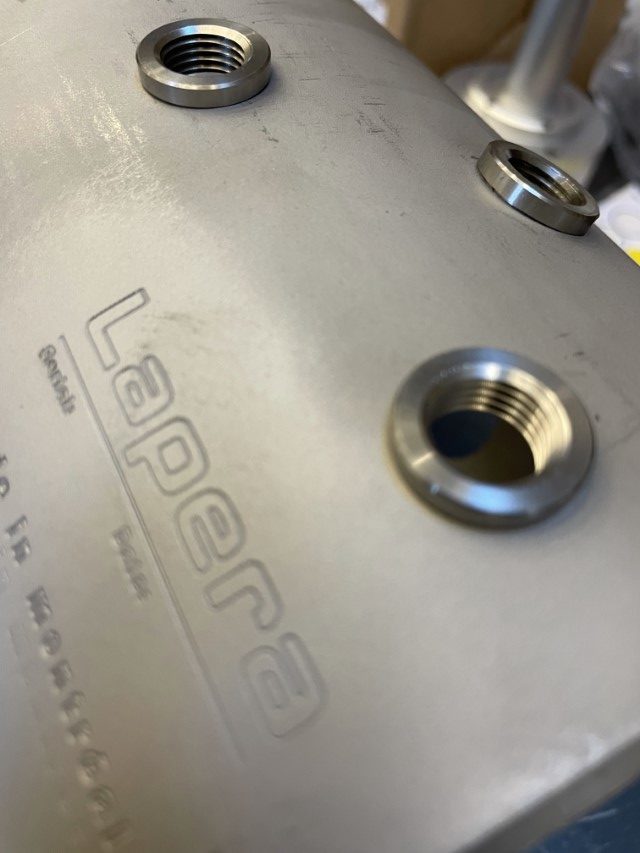
Close-up of the engraved logo. These are a whole other source of complexity as the final appearance of engraving is very dependent on maintaining a consistent depth of cut -which is extremely difficult to do on a solid that deviates at all from its Platonic ideal. This was trivial when the tubes were laser-cut. Don’t get me started.
Next but not least are the threaded inserts that are welded into each opening in the boiler wall to provide ports for all the comings and goings of two flavors of water phases. This package contains an infinite number of said inserts, which is surprising because it (ie. the package) fits comfortably on the table.
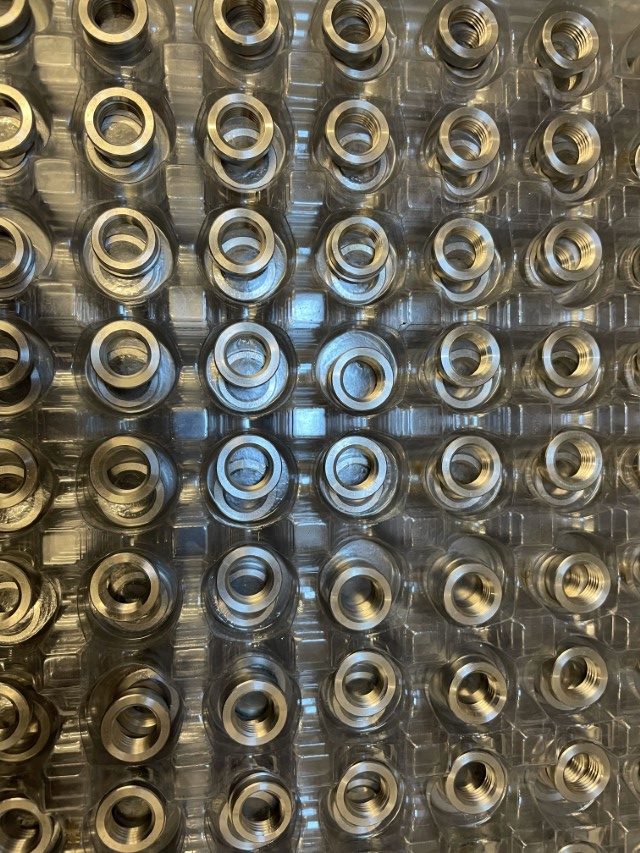
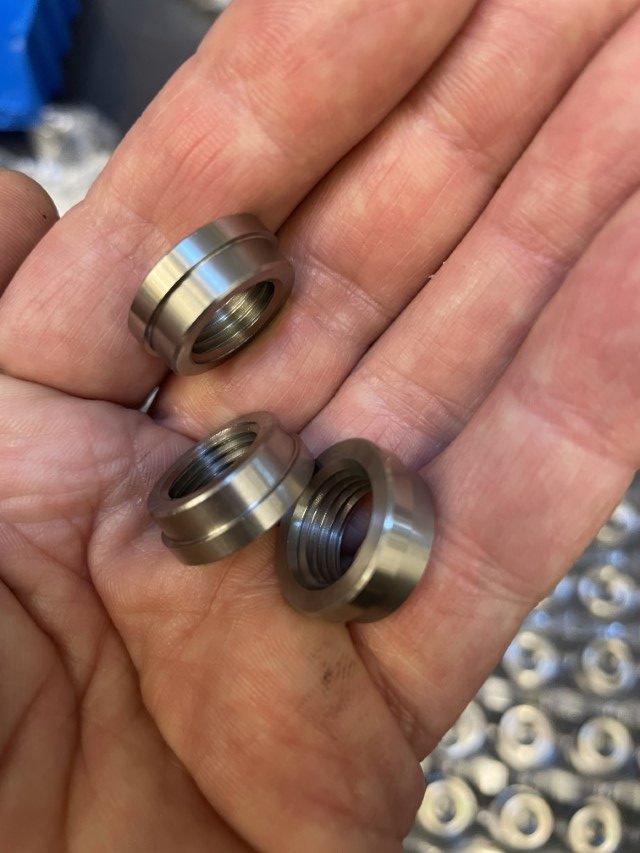
They seem to fit ;) Who knew?
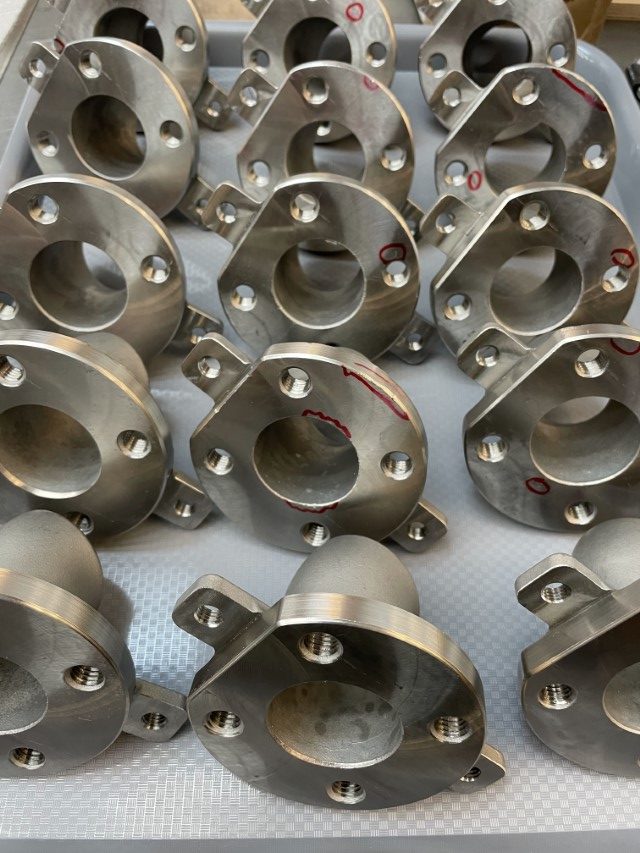
Ok, now that we are more or less caught up. Here is something new (and quite exciting if you are into that kind of thing) to end today’s post: a cast 316 stainless group flange. This casting replaces the original flange that was a built up from individual pieces of sheet metal, all of had to be cut, machined and then welded together. The neck angle is also integrated into the casting which promotes precision of the boiler weldment by a considerable degree. Oh boy, this is soooo much simpler and simpler is soooo much better.
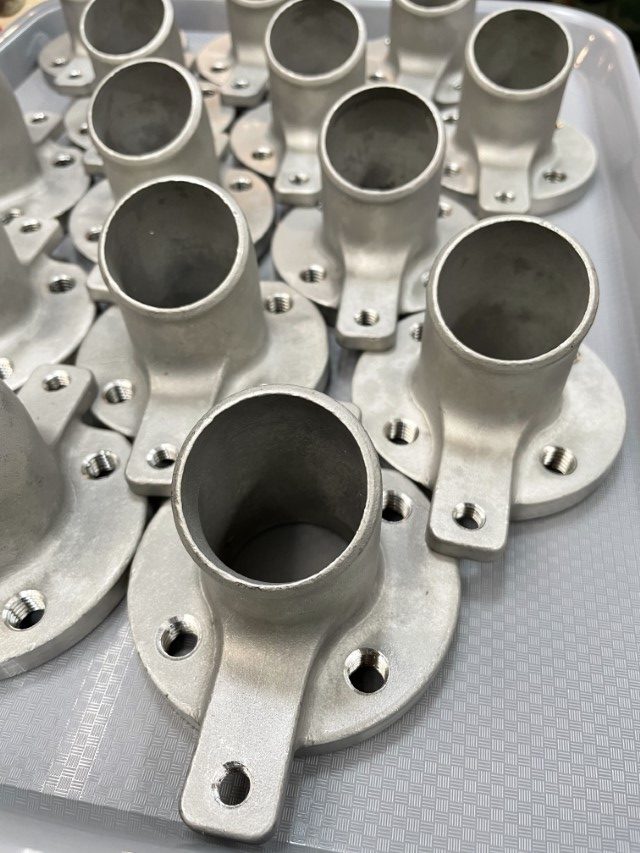
A little QC and a few corrective measures on the all-important flange faces.
The next post will be about jigs and purging I think.
1 – advanceair.net
