I have an indelible childhood memory of watching reruns of serialized television from the 50s in black and white. At the end of each episode the heroes always seem to be in an entirely intractable position: hurtling towards certain death as the car / rocket ship plunges to the ground or tied up as the bad guys abandon them to their fate as the building burns / volcano erupts. How do they escape? “Find out next week” on …
During the interlude since the last episode (during which I can assure you that the heroes have been frantically filing away at their shackles) I took stock. Here is the state of the production:
Frame – complete & painted. 100%
Cable harness – all modules of the cable harness are complete. A few remain to install with the bodywork. 100%
Controller – four out of five boards designed, tested and in production. One board under design revision. Machining and labeling of enclosure, assembly and installation remain. 75%
Firmware – functional with a few small problems to resolve before it is “good enough” as firmware is never “finished”. 90%
Hydraulics – the most complicated part of the plumbing including all tubing runs connected to the four lower boiler ports, the HX, solenoid, manifold and drain are complete. Six upper ports remain. Of these six, three require fabrication of tubing runs. 70%
Boiler – complete & installed. 100%
Group – The main casting is complete (no small milestone), machined and honed. All the fixed components are complete and on the shelf. The spring is out for quotes as are the parts for the piston assembly. One part remains to fabricate in house and then, once all the parts are in, the group can be assembled. 70%.
Bodywork – Two pieces remains to fabricate and one may have to be revisited. 70%
Millwork – LRFs are complete and installed. All of the cup rail parts are fabircated and finished and are waiting for installation. Tap handles are machined but need to be assembled and finished. Stock has been prepared for making the lever and portafilter handles. 85%
After final assembly is complete there remains testing and packing… in short, there are still a few episodes of this particular series left. How many? Find out next week on ….
Have you noticed that the vast majority of how-to videos about metal work, welding, car repair etc all have heavy metal soundtracks? Not around here. In fact, most of the shops that I go to have a top 40 station on – you know the kind – where it is always time to ‘check on the traffic’. Not that I have anything against heavy metal mind you – it just seems like it sits firmly on the opposite side of the spectrum from what Tom Waits would describe as “easy listening music”. I find that unless the work I’m doing involves deliberately breaking things, heavy metal (unless you have the volume really, really low, and what would be the point of that) is just too deleterious to the concentration.
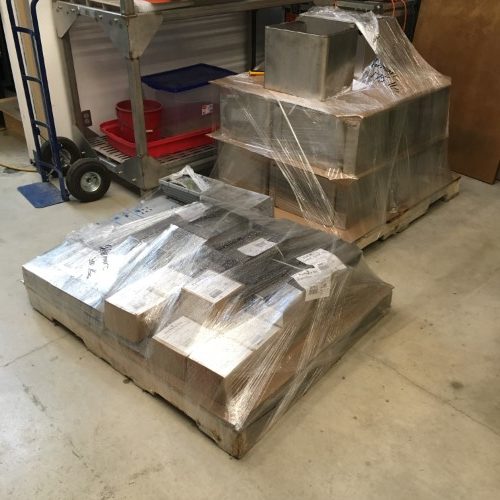
Meanwhile, the new sheet metal supplier shipped the bulk of the parts for the frame and the bodywork. I started cutting the pallet wrap before I remembered to take a photo. Patience is overrated.
Many good things in this shipment, but the most exciting part (to me, at any rate) is the third generation frame design. Yes, only here can you have a third generation without the first two having being made available for sale :). The new frame base parts are made from 0.120″ HRPO steel (Hot Rolled Pickled and Oiled – do you want fries with that?). Why this material? Well, stainless is three times the price and at least three times more difficult to work and would therefore be prohibitively and needlessly expensive. Galvanneal is theoretically better, but would still have plain old steel exposed at all the cut edges. Most importantly, welding Galvanneal without a full face mask, forced clean-air supply and complete ventilation of off gases leads to an early and unpleasant death. So that is kind of out. I thought about it mind you.
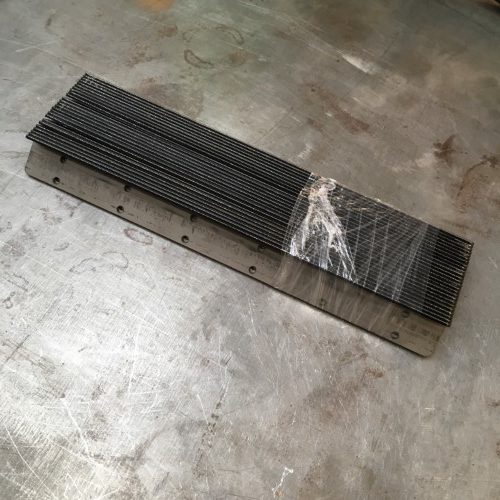
Unlike the previous versions (which in fairness were prototypes) that were cut from flat stock and formed using a somewhat simpler hand-bender, these are CNC laser-cut from sheet stock and CNC folded. The precision is, if you will pardon the pun, mind bending. The width across the two bends, which is a compound error (one bending error added to the next) is getting fairly close to the measurement error of my metrology equipment. Which, if you care about such things, is at least one whole order of magnitude higher than the design specification. This is a nice problem to have.
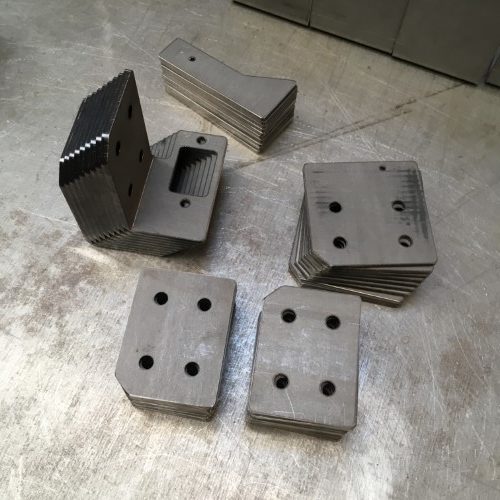
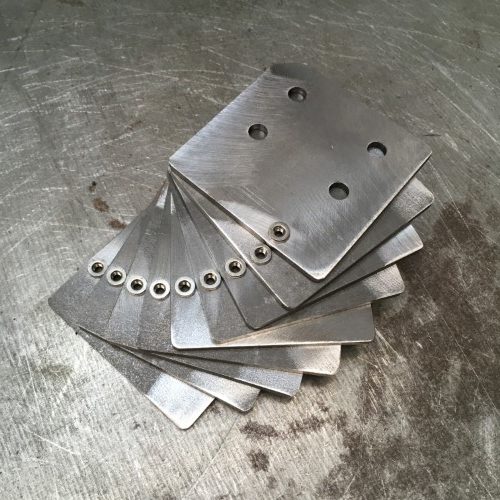
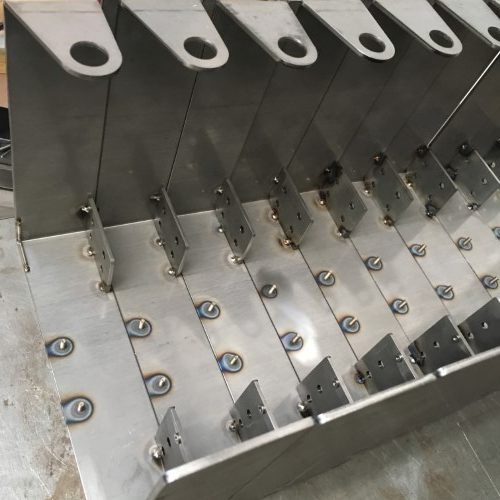
All of the frame corner brackets plus an extra one for the business end of the electronics box.
Frame spacer. This is an deluxe addition to the new frame design which helps with strength, alignment and precision. Using a laser-cut part means that the fame width, which is critical for a good fit of the bodywork, will have very high repeatability (precision and accuracy for a change!).
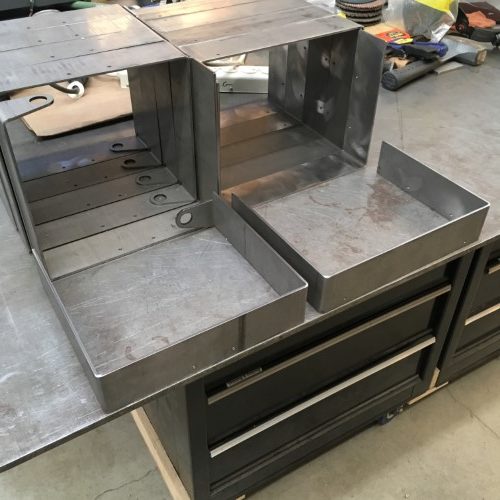
So that, apart from a couple of tiny details which we will get to later, is it for the “made-by-others” parts. Now for the in-house bits. The front corner brace doubles as a support for the electronics box. It receives a stainless self-cinching threaded insert – because tapping holes is boring and slow.
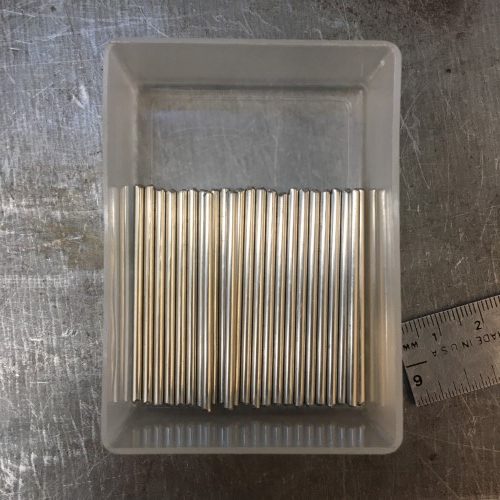
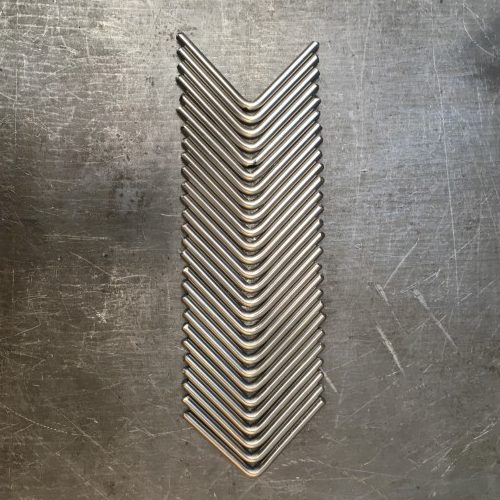
Sometimes you could have parts made, but unless you need 1000 pieces the time spent preparing drawings, requesting quotes, tracking packages etc would be more than just making them yourself – even if you don’t have the proper tools. The drip tray retaining detent is a good example. It’s just a piece of stainless wire (aka welding rod) cut to length and bent to 90 degrees. A simple thing, but without it the spring clips that hold the drip tray in place would have to be a friction fit against the frame. Which would wear the paint . Which just wouldn’t be cricket.
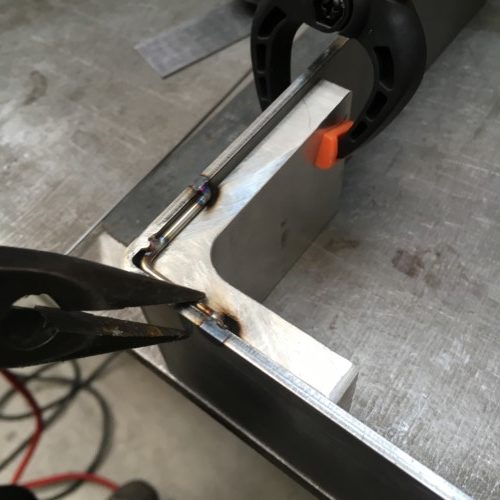
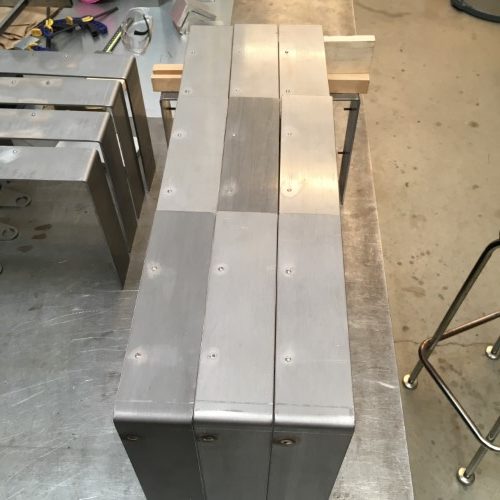
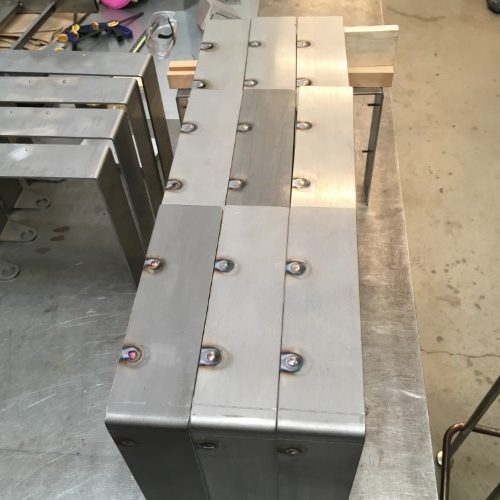
Frame preparation. So the right way to do the next bit is to use a robotic capacitive discharge stud welder. But I checked all of the tool drawers in the shop three times and I couldn’t find one. Home Depot didn’t have one either. Guess it has to be done the wrong way for now. All of the little holes in the frames are laser-cut to just under 4mm. This makes them both easy and fast to tap at M4 with a power tool and guide block. Once tapped, the stainless threaded studs can screwed in temporarily and perfectly aligned for welding. Side note: the 12mm M4 threaded studs had to be custom made.
Before welding.
And after.
Then all of the frames get introduced to “Rocky”, the new finishing machine. Rocky is shy, so no picture for the moment, but he does a good job: if you look really closely you can see the dots of different color where the stainless welds have been blended into the mild steel frames.
Two final details to take away for today:
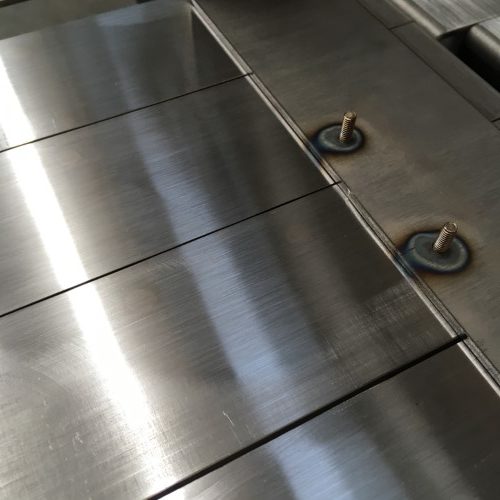
1 – “But why not just use nuts and bolts instead of going to all the trouble of welding (custom made!) stainless studs?” Well, because nuts and bolts would mean in-your-face visible fasteners on the exterior and that, at this particular epicenter of fastidiousness, is just not on.
2 – Even though the frame will be powder-coated, the frame detent and the threaded studs will be exposed as they wear, thus they are made of stainless steel.