
So Stravinsky’s ballet caused a riot… perhaps it was the shocking juxtaposition of pagan and modern Weltanschauungen, maybe the audience just didn’t like the music. What can I say? Springs are contentious. With that warning, I shall begin trying to unravel the (minor) mysteries of one particular spring.
A little more than a year ago, it was brought to my attention that replacement springs for the Brugnetti Aurora lever group were no longer available. I checked a number of suppliers and looked for substitutes without any success and I immediately went to my local parts dealer and bought the rest of their stock – a shockingly large number: four.
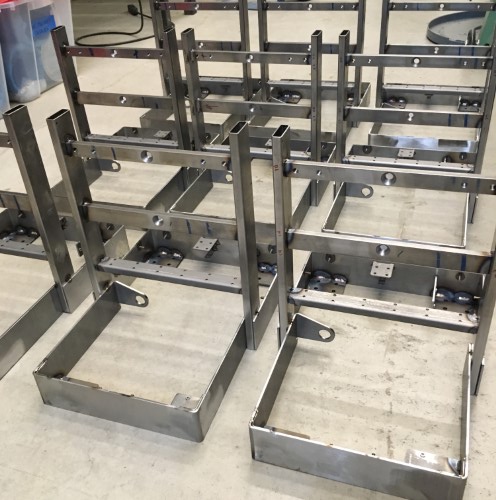
This is a problem if you are me and want to make new groups, or, if you are not me, repair old ones. So I took the dive into spring design and started to think a bit more carefully about a part that I had presumed was going to be “off the shelf”.
I have since come to the conclusion, for a number of reasons that will further elucidated, that the spring that was sold to me as a replacement for part number A.29 for the Aurora group, may not be, well, a replacement for part number A.29.
When I changed the spring on my first machine (well before I embarked on this voyage deep into the jungle down the Congo River) I noticed that the new one was a little taller than the original, making it quite a bit more difficult to install. Installed it was however, and I thought no more about it. That particular machine dates from 1987 and was rebuilt by a local dealer in the mid 90s – but may well have kept its original spring given how much of a hassle they are to change.
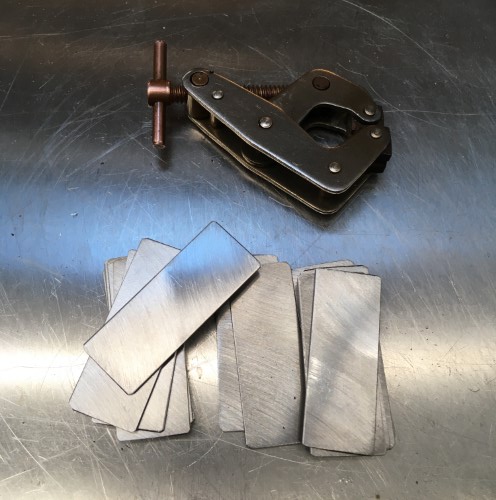
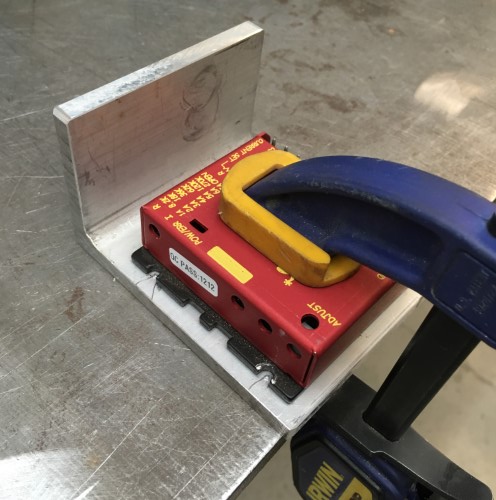
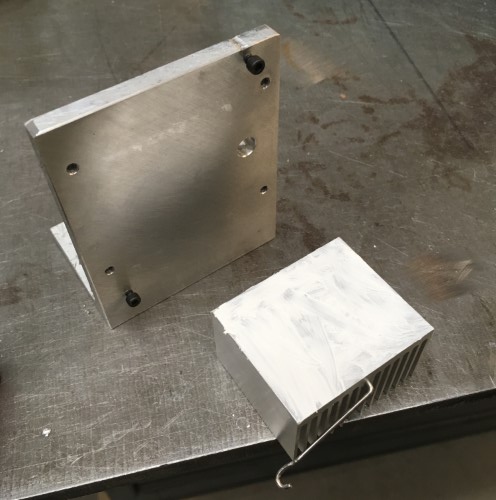
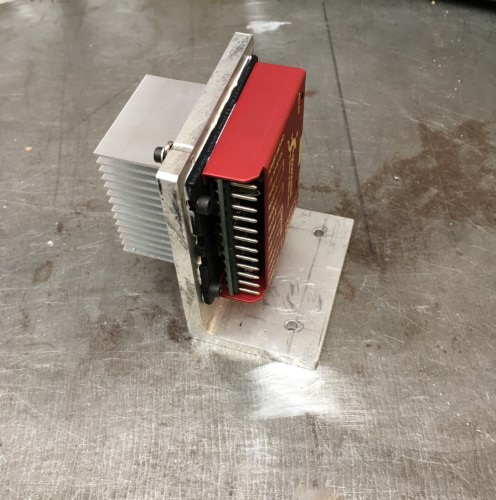
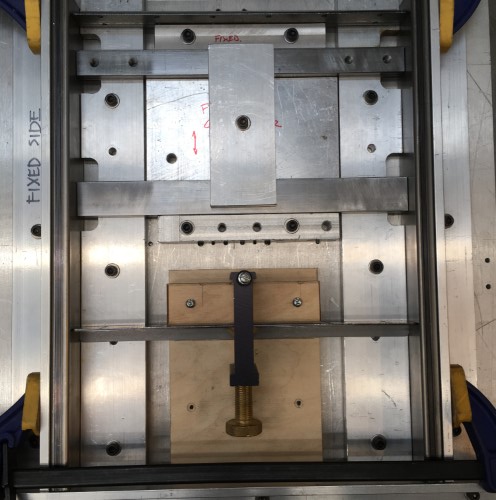
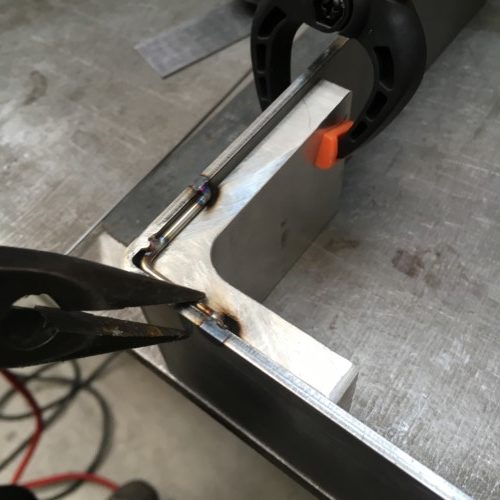
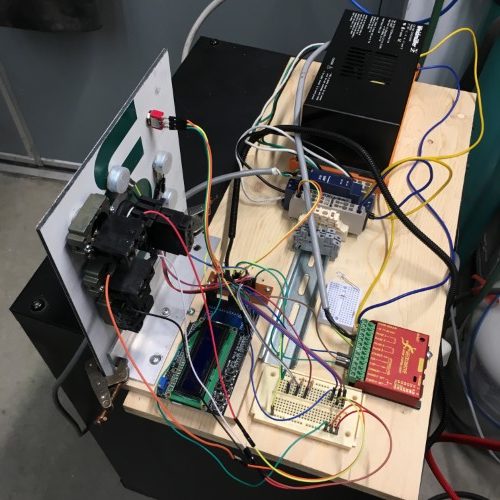
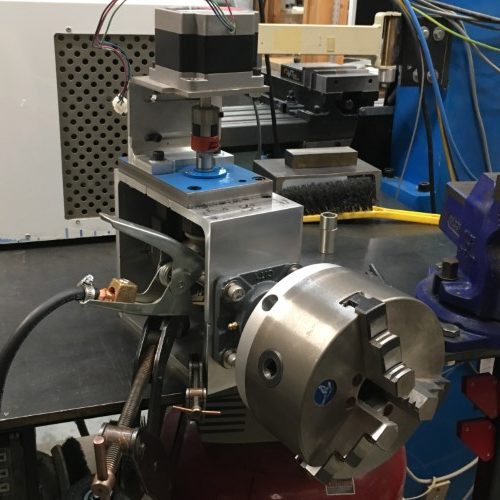
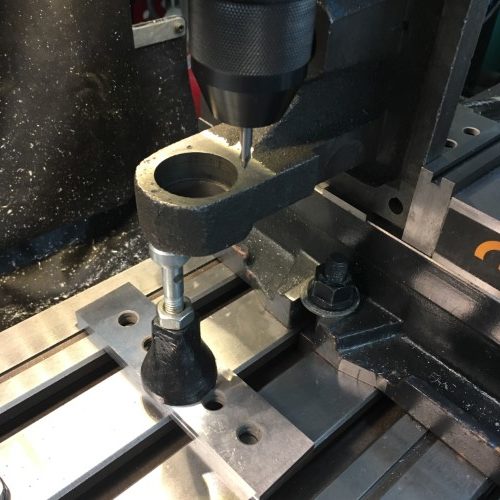
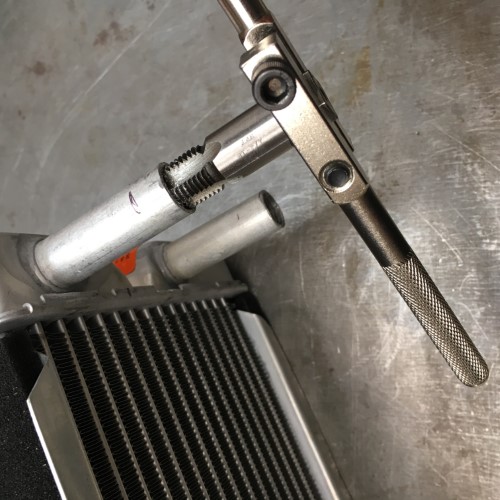
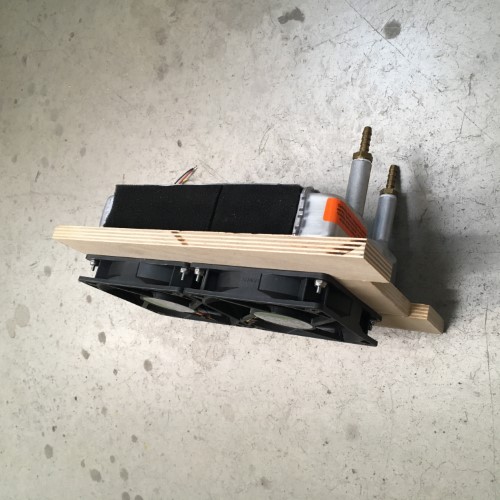
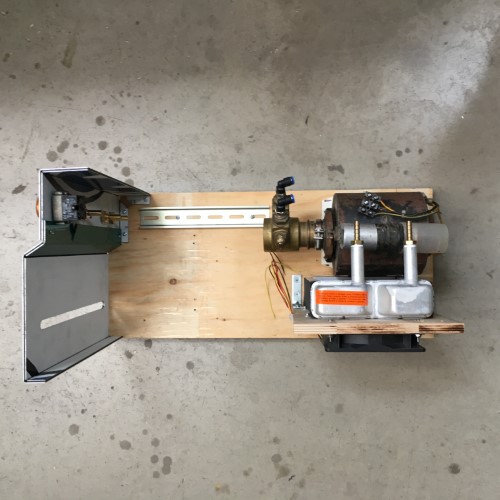
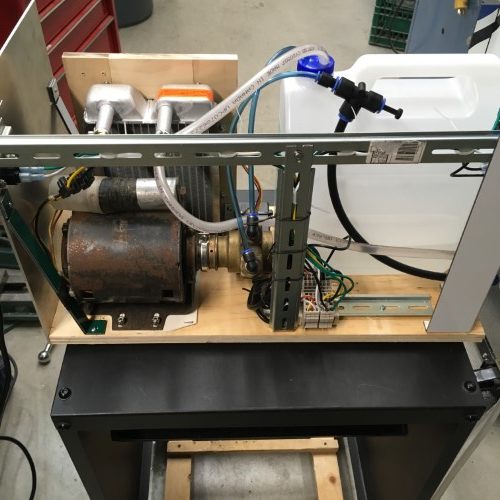
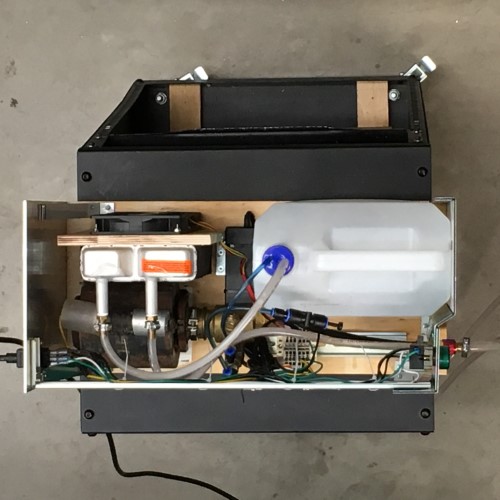
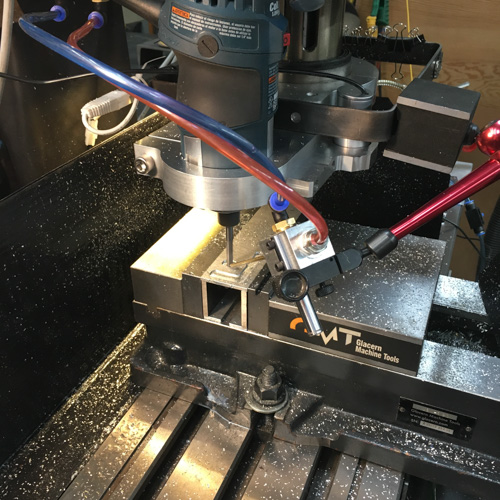
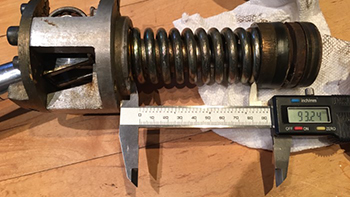
Under normal operation, springs will deliver an amount of force that is directly proportional to the distance they are compressed: F = kx (where F is Force, x displacement and k is the spring constant). Put another way the spring constant is simply how much force the spring imparts per unit of compression. So determining the spring constant can be done by measuring force versus displacement. This is the setup used – the force gauge (i.e. bathroom scale) isn’t ideal because of the built-in “intelligence” which automatically tares (zeros out) small readings and shuts off the display, but it does measure up to 175Kg. Displacement is measured using a digital height gauge (not shown) that (as so long as the same datums are used and the gauge isn’t re-zeroed) provides more accuracy than required with enough precision (I can never keep those straight).

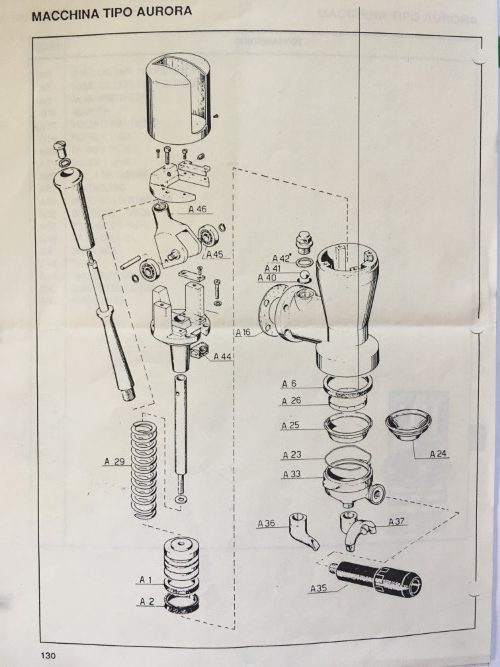
I believe that I have identified three different springs that were installed in the Aurora group at various stages:
The replacement “after-market” spring from the local dealer which has an uncompressed length of 133mm.
Antique spring #1 – which has an uncompressed length of 128mm.
Antique spring #2 – which has an uncompressed length of 116mm.
Here are the compression versus force profiles of those three plus a fourth new prototype spring.
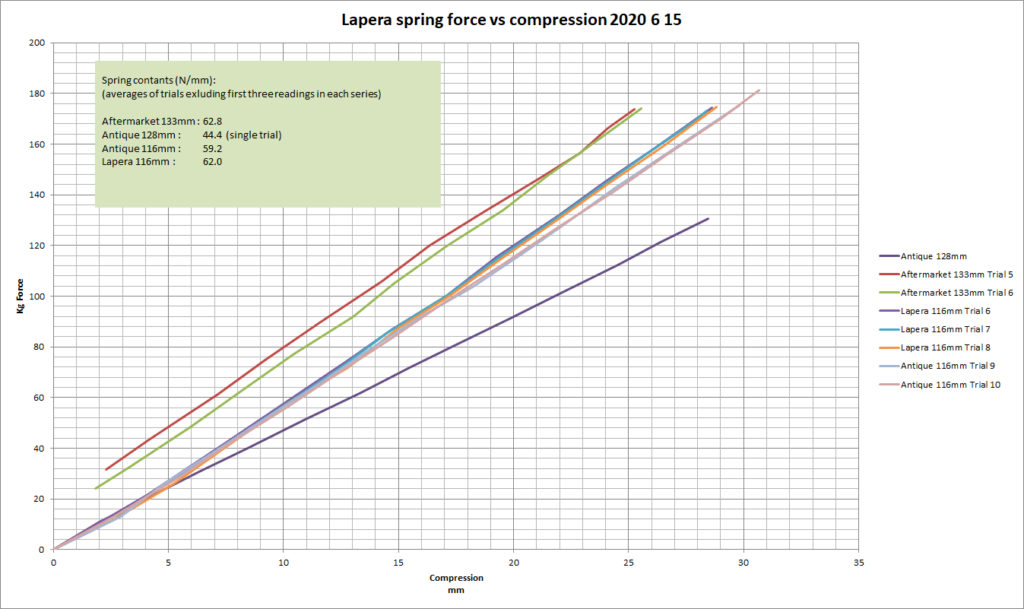
The two trials of the after-market 133mm spring suffer from some measurement error – i.e. if you extend the lines back towards the X axis, they don’t intersect the origin coordinates; which they should, as zero spring displacement results in zero force. If they were to be normalized (i.e. shifted down until they would intersect the origin if extended) you can see that they correlate closely with the all of the other trials except the Antique 128mm. In fact the spring constants (calculated using the average slope of all the data points in each trial) for all but the 128mm spring are around 60 N/mm whereas the 128mm is significantly lower at 44 N/mm.
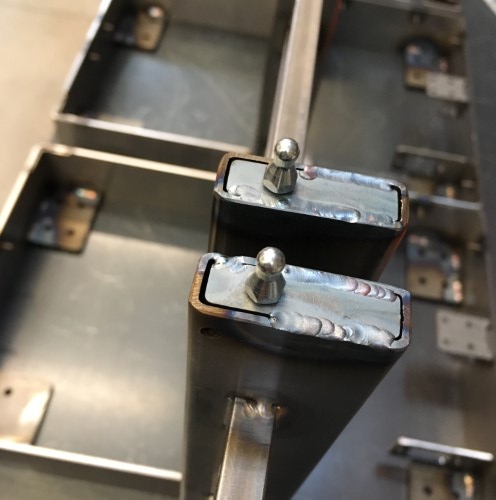
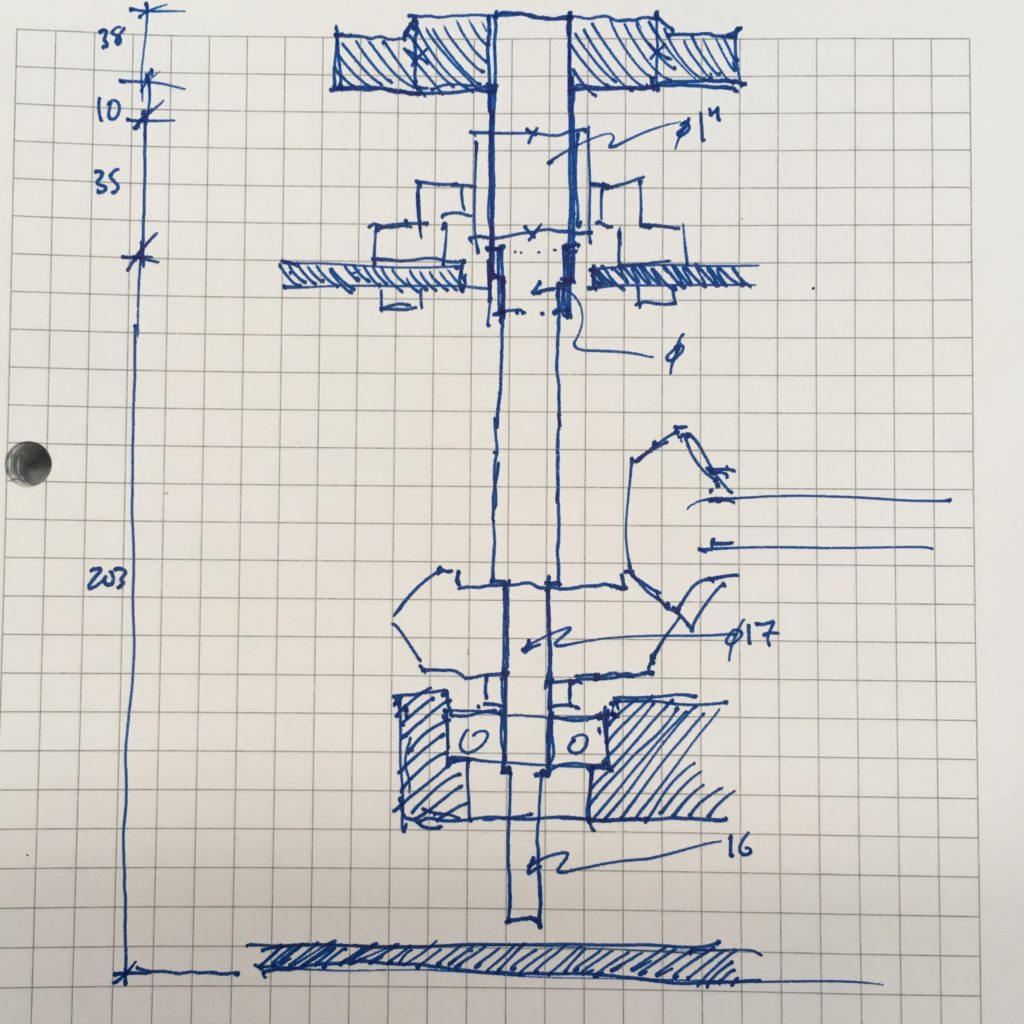
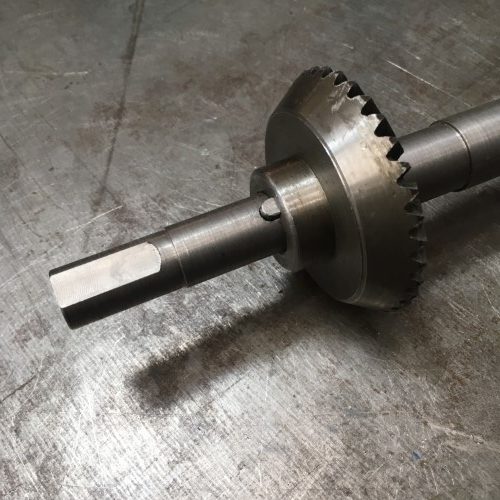
However, the fact that the springs are different lengths is not a minor detail. As the geometry of the piston assembly remains the same, the springs are all compressed to the same size when they are in use i.e. they have an installed length of 96.25mm (corresponding to the lever in the up position) and a fully compressed length (when the lever is in the down position) of 75.5mm.

Installing a springs of different lengths will mean they are operating over different force ranges. The corresponding pressures that the piston will deliver can be easily obtained from the equation P=F/A (where P is pressure, F is force and A is the surface area [19.63cm sq for the 50mm diameter piston in the Aurora group]).
| Spring length(mm) | Spring constant (N/mm) | Force @ fully compressed (N) | Pressure (bar) | Force @ installed length (N) | Pressure (bar) | |
| aftermarket | 133 | 62.80 | 3611 | 18.4 | 2308 | 11.8 |
| antique #1 | 128 | 44.39 | 2330 | 11.9 | 1409 | 7.2 |
| antique #2 | 116 | 59.21 | 2398 | 12.2 | 1169 | 6.0 |
| lapera | 116 | 61.99 | 2511 | 12.8 | 1224 | 6.2 |
Presuming that you find tables at all interesting, some interesting points can be drawn from the one above (although now we are getting into subjective and therefore contentious territory). The first line shows that the replacement after-market springs from the local dealer are very likely incorrect as their theoretical operating range is 18-12 bar. I think most people would agree that this is too high. The case for these springs being incorrect is strengthened by the fact that a design analysis of that spring configuration, (i.e. the spring constant, wire size, number of turns, end conditions etc) results in a non-compliant design when used in this application (i.e. the installed length and travel) meaning that it is likely to fail to perform as expected or simply to fail over time.
The second point of interest is that the two antique springs, despite their different properties, yield very similar pressures in the installed configuration – approximately 12bar maximum and 6-7bar minimum. Without knowing more about the provenance of these particular parts, it is hard to know whether they have changed over time or whether they are still operating as designed. However, based on the subjective results of the quality of the coffee that the machine produces when it is operated over this pressure range, I believe that this was the design intent. Further testing of other old springs of known provenance would be helpful to confirm this hypothesis.
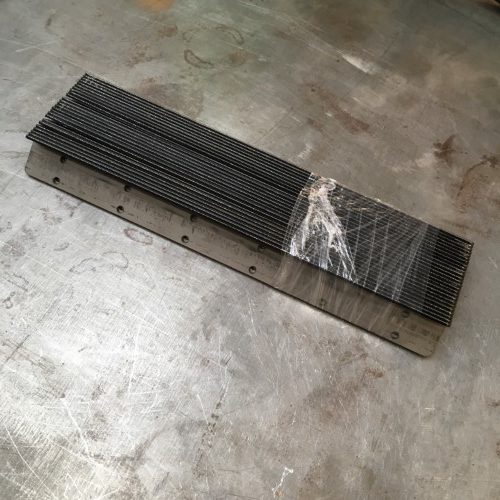
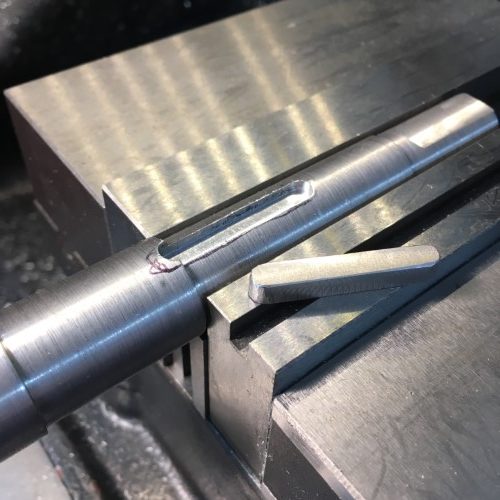
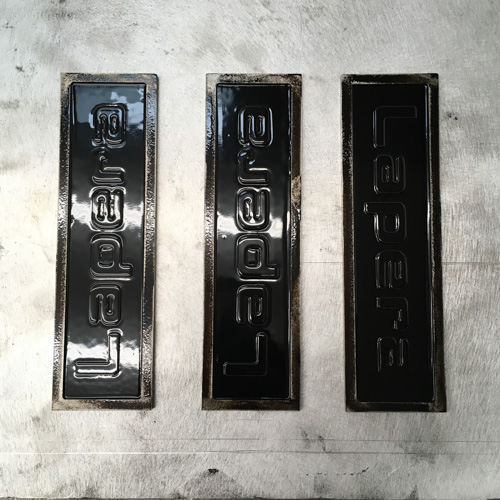
For the prototype I chose to use the shorter ~116mm format because it is significantly easier to install and opted for a similar 12-6bar range at the installed configuration. The new spring should be a drop-in replacement for the old Aurora groups.
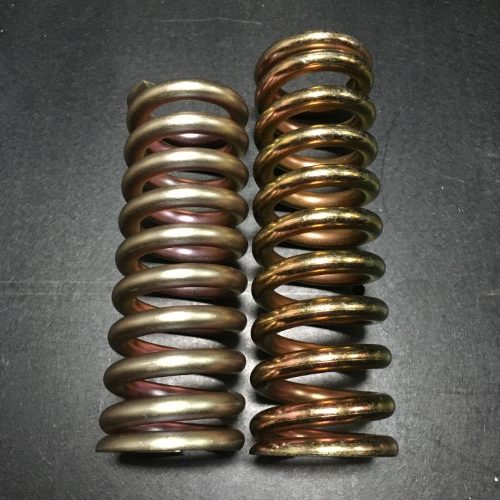
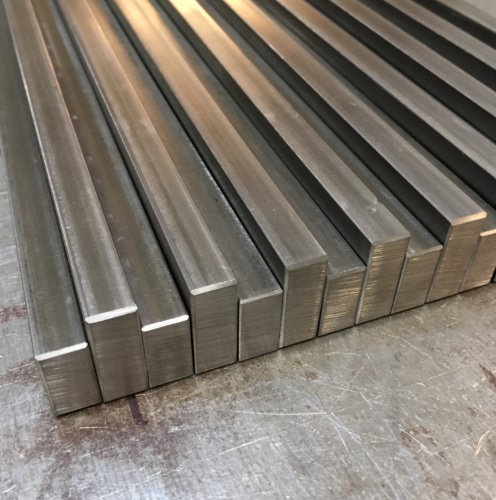
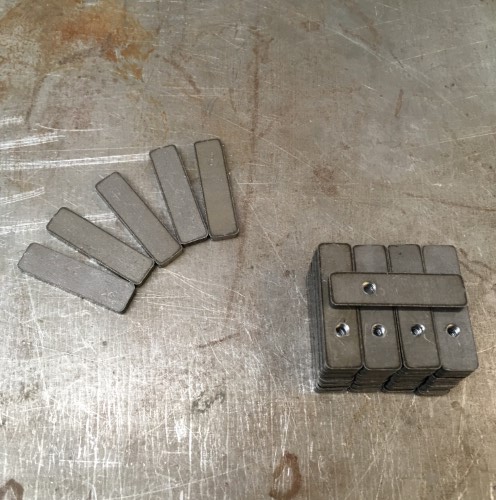
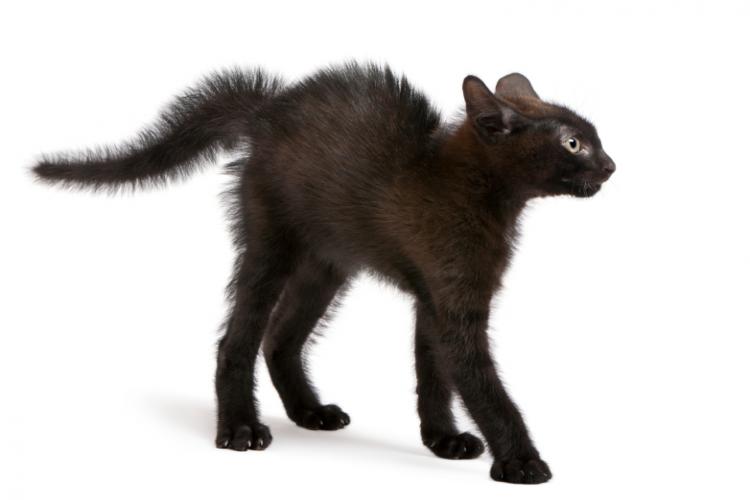
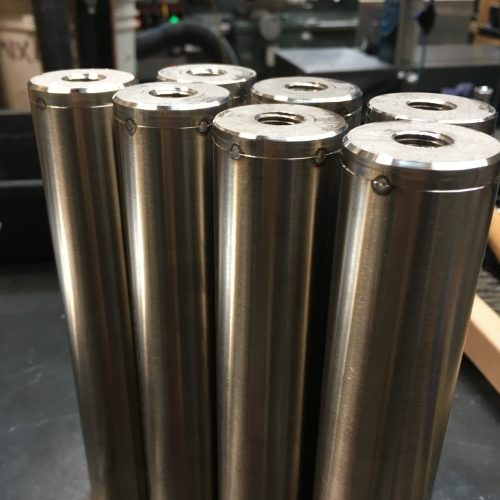
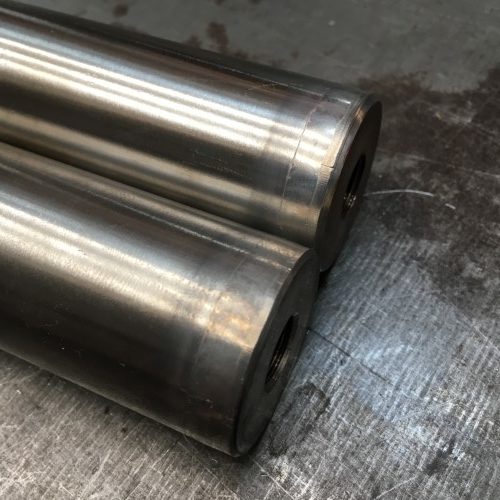
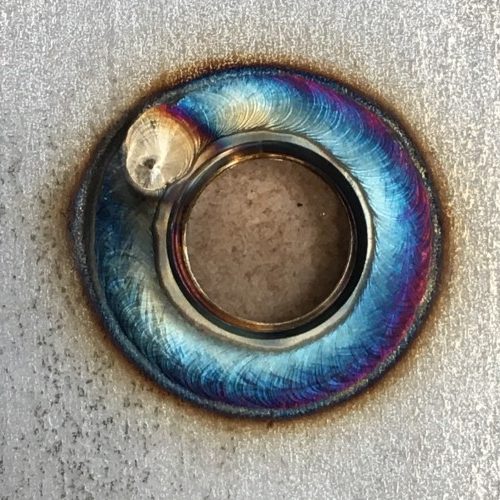
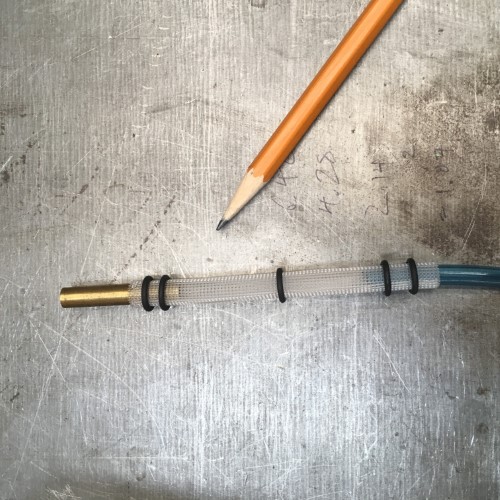
Prototype Lapera spring on the left, 18bar monster on the right. We fervently hope this little one doesn’t dance herself to death.

Pina Bausch – The Rite of Spring